

Stable 9-bar, learning-friendly
Gaggia Classic Pro
A commercial 58 mm group head and a simple 9-bar spring mod make shots repeatable. No built-in grinder.
Espresso Guides
Last updated
Learn how to dial in espresso: a starting recipe, grind changes by shot time and taste, and fixes for sour or bitter shots.
Affiliate disclosure: this page contains Amazon affiliate links. We may earn a commission if you buy through them, at no extra cost to you, and it never affects our rankings. Read our full affiliate disclosure
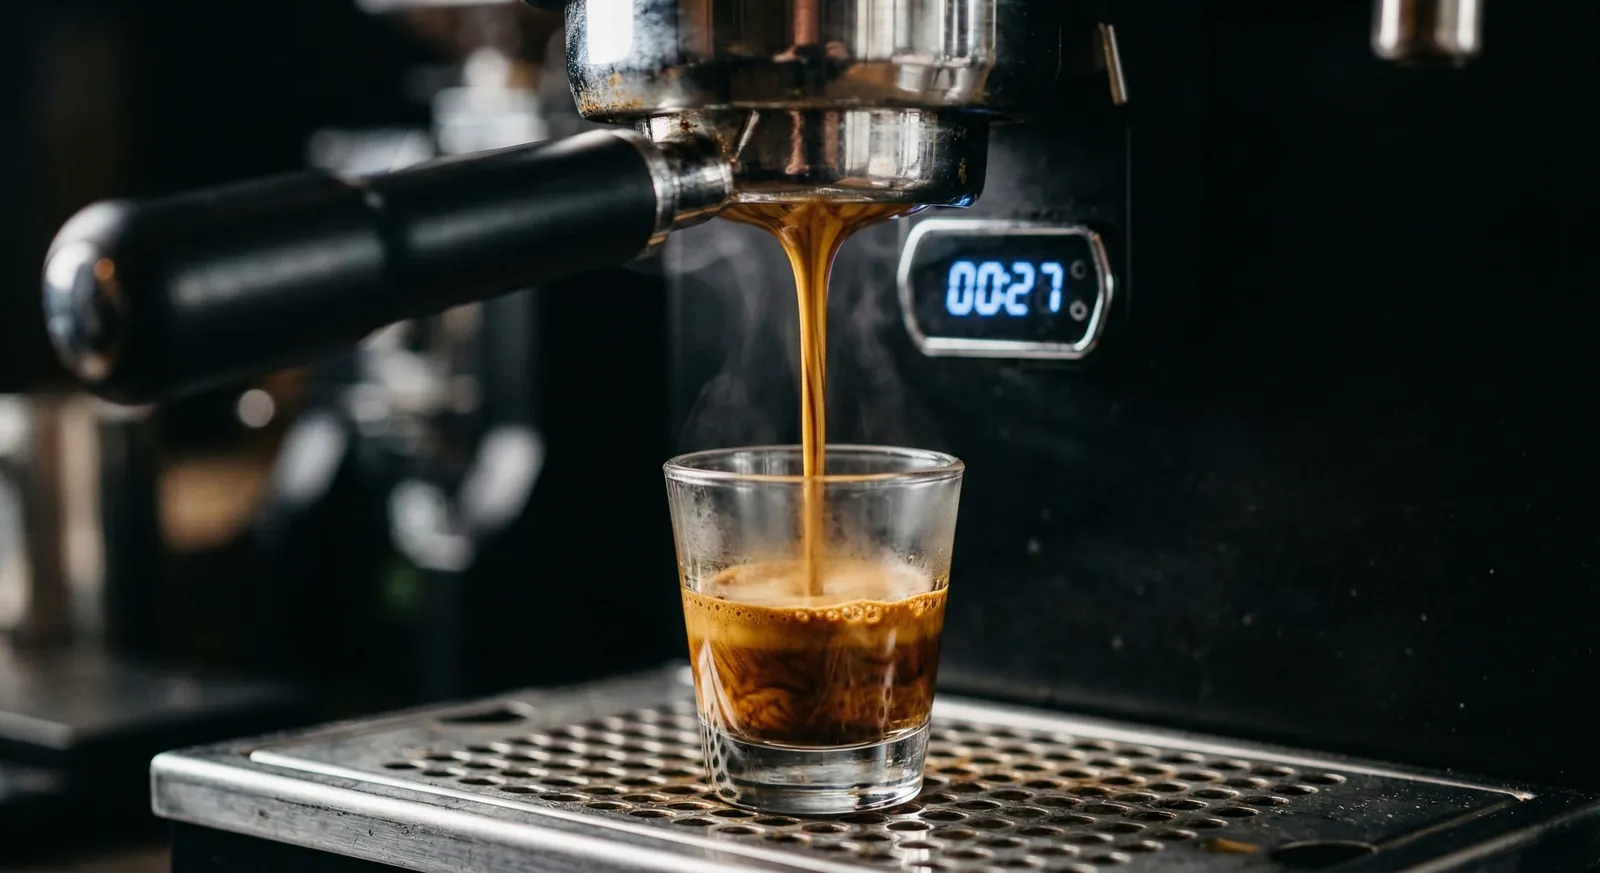
Start with 18 g in, 36 g out in 25-32 seconds. Change only the grind, one increment per shot, and taste each result until it is sweet and balanced.
Five things so the first shot teaches you something.
| Item | Why it matters |
|---|---|
| Burr grinder with adjustable grind | Blade grinders cannot be dialed in. See how to choose a burr grinder. |
| Scale reading to 0.1 g | You weigh the dose in and the yield out. |
| Timer | Time from pump start to pump stop. |
| Fresh beans with a roast date | Stale beans never dial in cleanly. See how to pick espresso beans. |
| Warm machine and grinder | Cold gear skews results. Purge 5-8 g through the grinder first. |
A fixed baseline, so you adjust one thing at a time.
| Variable | Start at |
|---|---|
| Dose | 18 g |
| Yield | 36 g (1:2) |
| Time | 25-32 seconds |
| Temperature | 93°C (199°F) |
Leave these fixed until the grind is right, then tune yield by 3-5 g for strength and sweetness; the espresso yield calculator turns your dose and ratio into a target weight.
Quick decision guide
Light roast
raise dose to 18-19 g and temperature to 94-95°C.
Dark roast
keep 18 g and try 91-92°C to avoid harshness.
Five steps, repeated until the cup tastes sweet.
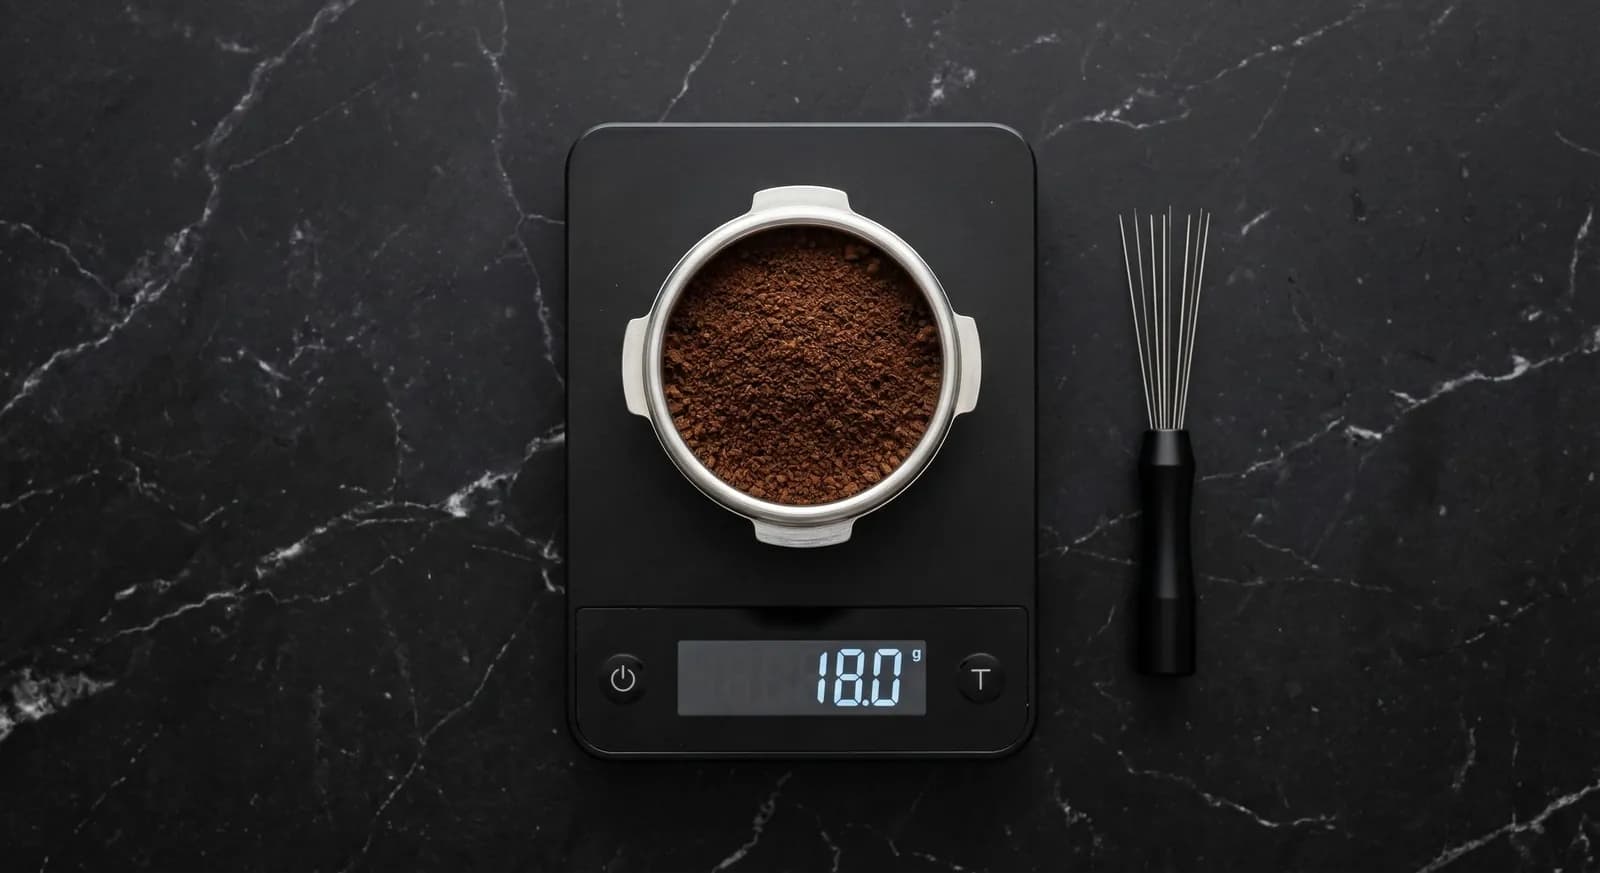
Dose. 18.0 g (within 0.2 g). The bed should sit 2-3 mm below the rim; if it overflows, drop to 17 g.
Prepare the puck. Stir with a WDT tool until level and clump-free, then tamp straight and level.
Pull the shot. Start pump and timer together, stop at 36 g. Little should drip in the first 3 seconds.3 seconds
Taste. After 30 seconds of cooling, and compare time with the table below.30 seconds
Change only the grind. By one increment and repeat.
More on the why: what WDT is, how to tamp espresso and espresso extraction.
Match what you see and taste to one grind adjustment.
| Time / taste | Diagnosis | Fix |
|---|---|---|
| Under 24 sec, pale, thin | Too coarse | Grind finer 1-2 steps |
| 25-32 sec, golden crema | In range | Taste it |
| Over 33 sec, dark, slow drip | Too fine | Grind coarser 1-3 steps |
| Sour, sharp, thin | Under-extracted | Grind finer one step |
| Bitter, harsh, dry | Over-extracted | Grind coarser one step |
| Sour and bitter together | Channeling | Fix distribution and tamp, keep the grind |
| Sweet, round, balanced | Dialed in | Log it and repeat |
Under 24 sec, pale, thin
25-32 sec, golden crema
Over 33 sec, dark, slow drip
Sour, sharp, thin
Bitter, harsh, dry
Sour and bitter together
Sweet, round, balanced
Problems that grind changes alone do not fix.
| Problem | What to try |
|---|---|
| Time right, taste sour | Rule out channeling, then drop yield to 34 g. See why is my espresso sour. |
| Time right, taste bitter | Check temperature and yield. See how to fix bitter espresso. |
| Erratic shots | See espresso channeling, or why your puck is wet. |
| Varies day to day | Humid days need a slightly coarser grind. Warm up fully and flush the group first. |
| Too fast at the finest setting | Dose 19 g as a stopgap; otherwise the grinder or burrs are the limit. |
| No crema | Usually stale beans. Light roasts also give less crema. |
Dose, yield and shot time from the test logs of machines we have reviewed.
The 25–32 second window holds across very different machines. These are the recipes each review settled on after dialing in, so you can see what “done” looked like on hardware like yours.
| Machine | Dose → yield | Shot time | Temperature stability |
|---|---|---|---|
| Breville Bambino Plus | 18 g → 36 g | 25–30 s | 200°F, ±1°F |
| Breville Barista Express | 18 g → 36–38 g | 25–31 s | PID thermocoil |
| Breville Barista Pro | 18 g → 36 g | 23–27 s | ±1.5°F |
| Barista Express Impress | 22 g → 40 g | 25–28 s | ±2°F |
| Gaggia Classic Pro | 18 g → 36 g | 26–28 s | Needs temperature surfing |
| Rancilio Silvia | 18 g → 36 g | 25–30 s | 8–12°F swing stock |
| De’Longhi La Specialista Opera | 18 g → 36 g | 25–28 s | Under 1°F shot to shot |
| De’Longhi Dedica EC685 | 14–18 g, pressurized | 25–30 s | 192–204°F |
De’Longhi La Specialista Opera
Read the last column before blaming your grind. On machines with wide temperature swings (Silvia, Dedica, Gaggia without a PID mod), two identical shots can taste different, so pull a blank shot first and judge over three shots, not one. On a stable machine, a change in taste almost always means grind, dose or beans.
Signals that your settings have drifted.
A good habit is to keep a short note for each bag: the grind setting, dose, yield, time and a word on taste. It takes ten seconds and means that when you buy the same coffee again, or switch back after trying something else, you start close to the right setting instead of from scratch. Our grind size calculator matches a texture to each brew method.
Optional refinements after you dial in within 3-4 shots.
Change these only after grind, dose and yield are consistent, and only one at a time, so you can taste what each one does. Most home baristas never need more than one or two of them.
Grind size sets resistance, and resistance sets how long water spends in the coffee.
Finer grounds pack tighter and slow the flow, so water stays in contact longer and extracts more. Coarser grounds let water rush through and extract less. Dissolved flavour comes out in an order: acids and fruit first, sweetness next, bitterness and astringency last. A fast shot stops early (sour), and a slow one runs on too long (bitter).
Dose, yield and time are linked to that process. Fix dose and yield first (a 1:2 ratio is a typical starting point), then use grind to land the time. This is why tamping force and water temperature are secondary tweaks, not primary ones. For the science behind it, see what is espresso extraction.
Dose and yield are the other two levers, but they are easier to hold steady than grind. Weighing both fixes them in place, so the only thing left to move is the grind, and each change has a clear, readable effect on time and taste.
A scale, good puck prep and a few machine features remove most of the noise.
The espresso dial-in calculator turns your last shot into a recommended next step.
Stable pressure and fine grinder steps remove guesswork.
Look for consistent 9-bar delivery, ideally PID temperature control, and a grinder with fine, uniform steps.
Stable 9-bar, learning-friendly
A commercial 58 mm group head and a simple 9-bar spring mod make shots repeatable. No built-in grinder.
Fine micro-stepped grinder
Fine steps let you land between too fast and too slow. Not stepless.
Affiliate links: we may earn a commission at no extra cost to you.
You want PID in a standalone machine under $450
the Breville Bambino Plus has PID temperature control and automatic pre-infusion.
You want one box with a grinder
the Breville Barista Express Impress combines grinder, PID and pre-infusion.
You're torn between a compact machine plus grinder and an all-in-one
our Bambino Plus vs Barista Express comparison lays out the cost and workflow of each route.
You already own a Barista Express
start from the roast-by-roast numbers in our Barista Express grind settings guide.
You need a burr grinder under $110
the Capresso Infinity Plus works, but expect to hit its limit at fine espresso steps.
Starting from scratch? See how to make espresso at home or the best espresso machines.
Quick answers before you buy.
Not necessarily.
Ristretto shots run shorter and lungos longer.
Treat time as a check and chase taste.
Usually 3-4 for experienced users and 5-8 for beginners.
If you are still off after 8, you are likely changing more than the grind.
Finer than for any filter method, but there is no universal setting.
Start at your grinder's espresso range and move until an 18 g dose yields 36 g in 25-32 seconds.
Beans age and degas, and humidity shifts how coffee grinds, so the same setting can run faster or slower.
Adjust by one small step rather than resetting.
Inconsistent dosing or puck prep can also cause it.
You can use time and taste, but it is much harder to repeat results.
Weighing dose and yield removes two variables, which is why a 0.1 g scale is the first upgrade worth making.
Only partly.
Pre-ground coffee is fixed at one grind size, so you can adjust dose and tamp but not the main variable.
A burr grinder with fine steps gives you real control.
Keep reading: more guides on the same topic.
 How to
Espresso6 min read
Learn how to tamp espresso: pick the right tamper size, distribute with WDT, press level and fix channeling with a simple routine.
 How to
Espresso7 min read
Make great espresso at home: the minimum gear, a repeatable 18 g in, 36 g out workflow, and fixes for sour or bitter shots.
 How to
Espresso6 min read
How hard to tamp espresso: 15–30 lbs is enough, and a level tamp matters more than force. Calibrate espresso tamping pressure step by step.
 Explained
Espresso6 min read
Espresso extraction explained: how brew ratio, grind size and time shape taste, plus how to fix sour or bitter shots.

Reader questions
Questions or tips? Leave a comment
Ask about your setup or share what worked for you. Comments are checked before they appear.