

Our pick
OXO Good Grips Cold Brew Maker
Pick it if you brew often and want less mess: the OXO Good Grips Cold Brew Maker (32 oz) filters faster. Skip it if a jar already works for you.
Brewing Guides
Last updated
Ratio, steep time and fixes for cold brew at home
Affiliate disclosure: this page contains Amazon affiliate links. We may earn a commission if you buy through them, at no extra cost to you, and it never affects our rankings. Read our full affiliate disclosure
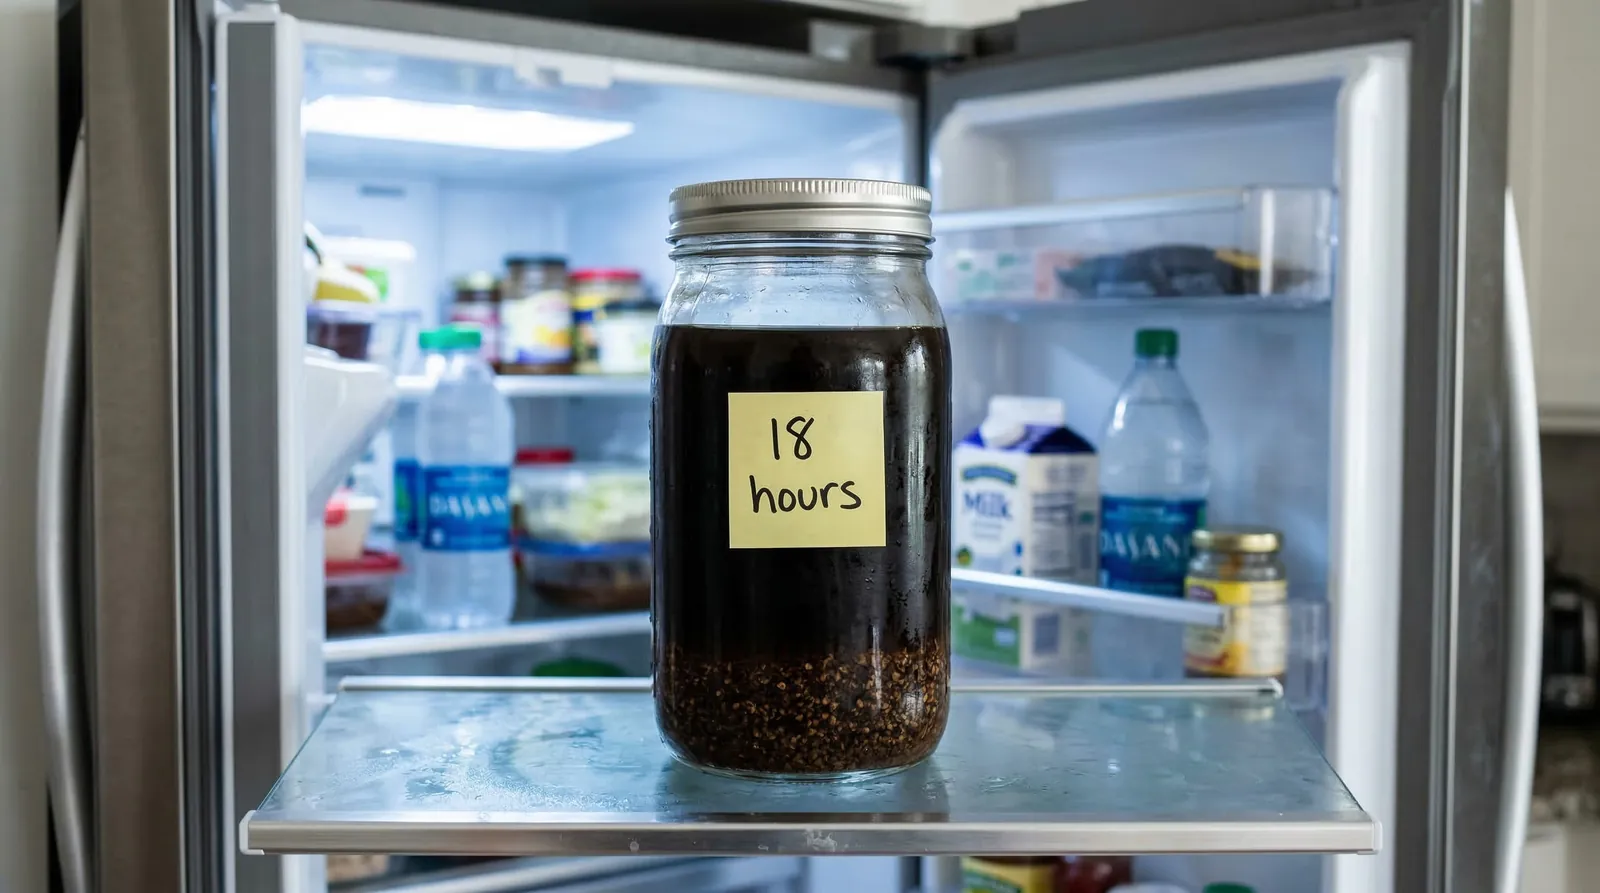
Steep 100 g coarse-ground coffee in 800 ml cold filtered water (1:8) for 18 hours in the fridge, then filter through paper or cheesecloth. Dilute the concentrate 1:1 with water or milk; it keeps 10-14 days.
A jar is enough; a dedicated maker mainly filters faster.
| Item | Amount / why |
|---|---|
| Coffee | 100 g, coarsest grind (coarse sea salt); weigh it |
| Water | 800 ml cold and filtered; hard tap water dulls flavor |
| Jar | Wide-mouth, 32 oz or larger; a French press also works |
| Filter | Fine-mesh strainer with paper filter or dampened cheesecloth |
| Grinder | A burr grinder; blades make fines that cloud the brew |
Cold brew has no heat to hide defects, so use fresh, good beans.
Coarse grounds soak up a lot of water, so a batch always yields less than you pour; the brew yield calculator works out how much to start with.
No cold brew maker? A French press works well: steep in it, then press. See how to use a French press for grind and cleaning tips.
Six steps; scale linearly for bigger batches.
Grind coarse. , coarser than French press.
Weigh. 100 g coffee and 800 g cold water.
Stir gently. For 30-45 seconds so no dry pockets remain.30-45 seconds
Seal and refrigerate for 18 hours. 18 hours
Filter slowly. Without stirring or pressing; allow 10-20 minutes.10-20 minutes
Store in sealed glass. And label the date.
18 hours is the sweet spot for a coarse grind.
| Steep time | Result |
|---|---|
| 12 hours | Thin, closer to weak iced coffee |
| 18 hours | Full body, natural sweetness, clean finish |
| 24 hours | Bitter, woody edge; little extra body |
| Room temp (20-22°C) | 8-12 hours; more acidic, less clean |
Concentrate is the better default.
| Concentrate (1:8) | Ready-to-drink (1:15) | |
|---|---|---|
| Per batch | 100 g : 800 ml | 100 g : 1500 ml |
| Shelf life | 10-14 days | 5-7 days |
| Flexibility | Dilute to taste or with milk | Fixed strength |
Per batch
Shelf life
Flexibility
Quick decision guide
You want one jar for iced coffee, lattes and tonic
make 1:8 concentrate and dilute to taste.
You only want grab-and-go glasses
make 1:15 and finish it within a week.
Most drinks take under a minute.
Use large ice cubes, since small ice melts and dilutes fast. For how it differs from other drinks, see coffee drink differences.
Match the symptom to the fix for the next batch.
| Problem | Fix |
|---|---|
| Bitter, filtering takes over an hour | Grind too fine; use your coarsest setting. See the grind size chart |
| Cloudy, bitter | Grounds were pressed; let gravity filter |
| Watery | Too little coffee; weigh it |
| Flat or chlorine note | Use filtered water |
| Off-flavors after days | Plastic absorbs oils; store in glass |
Cold water extracts differently, not just more slowly.
Heat drives extraction. Hot water pulls out acids, aromatic oils and bitter compounds quickly; cold water dissolves them far more slowly, so a long cold brew steep leaves much of the sharp acidity and harshness behind. That is why cold brew tastes rounder and sweeter, and why it is lower in perceived acidity rather than truly acid-free. To size a batch, use the cold brew ratio calculator.
Because the process is immersion with a high coffee-to-water ratio, you make a concentrate that is diluted afterwards. Contact time, grind size and ratio replace temperature as your main controls: finer grounds or a longer steep raise extraction, and over-extraction shows up as woody, papery bitterness instead of sourness. For a starting point, use the coffee grind size calculator.
Cold brew is not the same as iced coffee, which is hot coffee chilled, or Japanese iced coffee, which is brewed hot directly over ice.
Small changes that remove most cloudy, weak or muddy batches.
Immersion pitchers and cold brew towers add convenience, not better flavour; a jar and a good filter produce the same extraction when the ratio and time match.
Concentrate keeps longer and is more flexible.
| Style | Coffee to water | How to serve |
|---|---|---|
| Concentrate | About 1:4 to 1:5 | Dilute 1:1 with water or milk, over ice |
| Ready-to-drink | About 1:8 to 1:12 | Pour straight over ice |
| Strong ready-to-drink | About 1:7 | Over ice, or with a splash of milk |
Concentrate
Ready-to-drink
Strong ready-to-drink
Concentrate takes less fridge space and lets you decide the strength each time: dilute more for a light drink, less for a strong one, or mix it with milk for a cold brew latte. Ready-to-drink cold brew is simpler but takes more space and cannot be made stronger later. If you are new to cold brew, start with a concentrate around 1:5 and dilute it 1:1, then adjust.
About one to two weeks in the fridge, best in the first week.
Strain thoroughly before storing. Fine grounds left in the brew keep extracting slowly and make it taste bitter and muddy. A paper filter after a mesh strainer gives the cleanest result.
Label the jar with the date you made it so you know when to finish it, and give it a gentle swirl before pouring, as fine particles settle at the bottom.
Cold brew is brewed cold; iced coffee is hot coffee chilled.
Cold brew is made by steeping coarse coffee in cold or room-temperature water for many hours, so it extracts slowly and tastes smooth, sweet and low in acidity. Iced coffee is brewed hot and then poured over ice or chilled, which keeps more of the bright, acidic flavours and aroma. Cold brew tastes rounder and chocolatey; iced coffee tastes crisper and more like hot coffee.
Cold brew takes planning but is easy to make in batches. Iced coffee is ready in minutes. If you like the taste of your regular coffee, brew it slightly stronger and pour it straight over ice; if you want something smoother, make cold brew. Our how to make an iced latte guide covers the espresso-based option.
Only if you brew often and want faster, cleaner filtering.
Our pick
Pick it if you brew often and want less mess: the OXO Good Grips Cold Brew Maker (32 oz) filters faster. Skip it if a jar already works for you.
Our pick
Pick it if you want a lower-cost pitcher: the Takeya Tritan is cheaper. Skip it if you want the cleanest filtering.
Affiliate links: we may earn a commission at no extra cost to you.
A KitchenAid glass carafe is another reviewed option. Check the listing for current prices.
Quick answers before you buy.
Only if it is coarse.
Standard pre-ground is usually too fine, which gives bitter, cloudy cold brew that is slow to filter.
Buy whole beans and grind them coarse, or ask for a French press grind.
Cold brew concentrate is stronger per ounce, but you dilute it.
Once diluted, caffeine ends up in a similar range to regular coffee.
Strength mostly depends on your ratio and dilution.
Medium to dark roasts give the chocolatey, low-acid cup most people expect. Light roasts work but taste brighter and more tea-like.
Fresh beans matter either way. See top espresso beans for ideas.
Yes.
Dilute the concentrate with hot water for an easy, smooth hot coffee.
It tastes less acidic than regular drip, though it will not taste identical.
Steep at room temperature for about 8-12 hours, then refrigerate once filtered.
It tastes more acidic and less clean than a fridge steep, so use a shorter time.
The ratio is too thin, the steep too short, or the grind too coarse.
Try 1:8 for 18 hours, then dilute less.
See our grind size chart.
Keep reading: more guides on the same topic.
 Compare
Brewing6 min read
Drip vs pour over coffee compared on taste, temperature, effort and cost, with a simple rule for which brewer fits your routine.
 How to
Brewing6 min read
How to make an iced latte: ice, 150 ml cold milk, then a hot double espresso on top. Ratio, milk choice and fixes for a watery cup.
 Explained
Brewing6 min read
What is pour over coffee? Learn how it works, a starting recipe, grind size and water temperature, and which dripper to buy.
 How to
Brewing6 min read
How to use a French press: the right ratio, coarse grind, water temperature and steep time, plus fixes for bitter or muddy coffee.

Reader questions
Questions or tips? Leave a comment
Ask about your setup or share what worked for you. Comments are checked before they appear.