

A grinder that allows fine adjustment
Baratza Encore ESP
A Strong-Value Entry-Level Micro-Stepped Espresso Grinder Under $300 Typical price: $199-$299
Espresso Guides
Last updated
Sour, thin espresso is usually under-extraction. Work through grind, dose, water temperature, bean age, shot ratio and distribution, one change at a time.
Affiliate disclosure: this page contains Amazon affiliate links. We may earn a commission if you buy through them, at no extra cost to you, and it never affects our rankings. Learn more
A sour espresso shot is almost always under-extraction: acids come out first, and the sugars that balance them never arrive. The most likely cause is a grind that is too coarse, so grind one click finer, keep dose and yield the same, and taste. If that fails, work through the causes below in order.
Match what you see to the likely cause and jump straight to its fix.
| Symptom | Likely cause | Jump to |
|---|---|---|
| Fast, thin shot with pale crema | Grind too coarse | Grind |
| Shallow, loose puck before brewing | Dose too low | Dose |
| Sour only after steaming, or at startup | Water too cool | Temperature |
| Sharp but fruity, or beans under a week old | Beans or roast | Beans |
| Right time and grind, still sour | Yield too short | Ratio |
| Sour and inconsistent shot to shot | Uneven distribution | Distribution |
The most common cause: water rushes through before it pulls out sugars.
A double finishes well under 25 seconds, or the stream runs thin and pale from the first second. For how to read shot time in detail, see shot too fast or too slow.
A slower, thicker stream and a reddish-brown crema. New to a bean? Use the grind size chart for starting points, or how to dial in espresso for a full session.
Acids dissolve first; sweetness and body arrive later if the shot runs long enough.
Coffee contains organic acids that dissolve early in extraction. If a shot is stopped too soon or the water flows too quickly, the sweeter and heavier compounds never arrive to balance the acids, and the cup tastes sharp, thin or salty.
Under-extraction can come from a grind that is too coarse, a dose that is too low, water that is too cool or uneven water flow through the puck. Light roasts are denser and need more energy to extract, so they are more likely to taste sour.
Sourness and bitterness can appear together when channeling gives some areas too much water and others too little.
It helps to know what sour is not. Pleasant brightness, like the citrus or berry notes in a light-roast espresso, is acidity that is balanced by sweetness. Sourness is sharp and thin and makes your mouth water without any sweetness behind it. If a shot is bright but also sweet, it is probably dialed in for that coffee; if it is sharp and thin, keep adjusting.
A short dose leaves a loose puck that water bypasses.
The puck looks shallow, or you measure by scoop and not by scale. Beans lose density as they age, so a scoop that held 18 g when fresh can weigh a gram or more less weeks later.
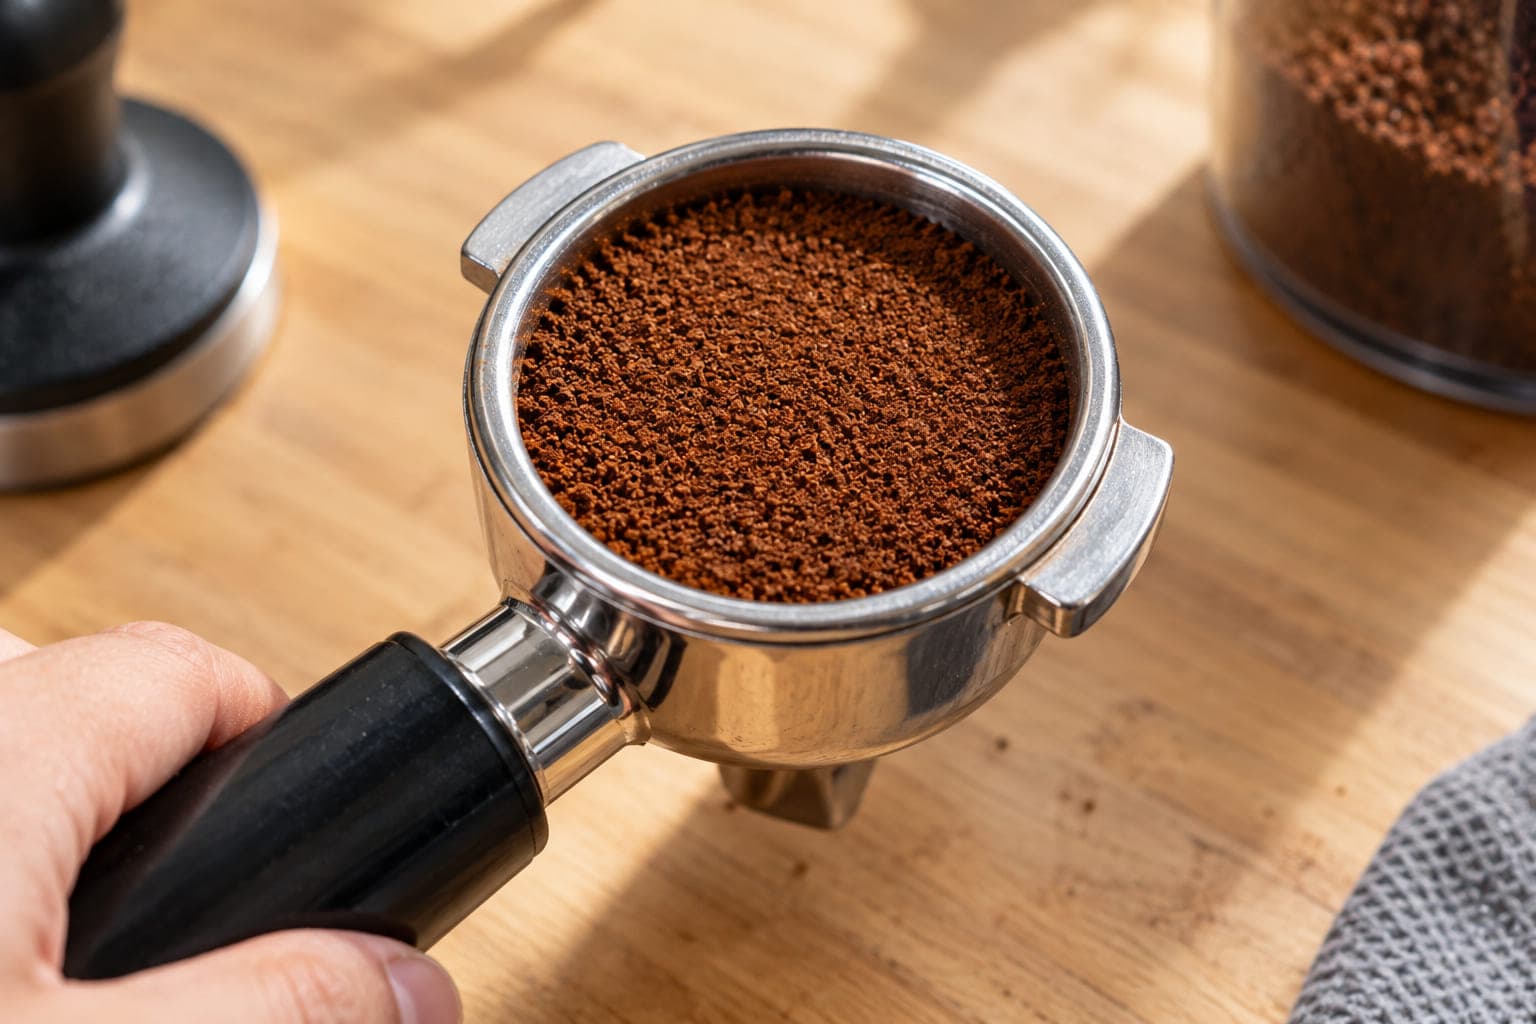
A full, even puck with firm resistance. A wet, soupy puck points the other way; see why your puck is wet.
Cool water extracts acids easily but struggles to pull sugars and oils.
The shot is sour with grind and dose correct, especially right after steaming milk on a single-boiler machine or at startup. Under roughly 90°C under-extraction becomes significant, and most medium roasts balance around 90-93°C.
More sweetness and body at the same grind. Machines without a PID are the most prone to this.
Some sourness is acidity you are not used to, or beans that are too fresh.
Bright, fruity acidity (citrus, berry) with some sweetness is what a light roast is meant to taste like. True under-extraction is a flat, one-dimensional pucker.
Our best beans for espresso page covers forgiving options.
A truncated shot stops before the sweet middle of the extraction.
You are pulling closer to 1:1.5 than the common 1:2 starting point (for example 18 g in, 36 g out) and the grind is already right. Short ratios read sour unless the grind is fine enough to match.
Water finds weak spots in the puck, so some coffee over-extracts and some barely does.
Sour and inconsistent shot to shot, with uneven crema or spurting from the basket. Check this last, because channeling can mimic a coarse grind while the real fix is elsewhere.
See espresso channeling for the full diagnosis and what is WDT for the technique.
If your grinder cannot make small, repeatable steps, it may be the real limit.
A grinder with fine, repeatable adjustment makes every fix above easier. Pressurised baskets can partly mask a coarse grind, so if shots stay sour on one, grind finer anyway. Compare more options in our best coffee grinders roundup.
A grinder that allows fine adjustment
A Strong-Value Entry-Level Micro-Stepped Espresso Grinder Under $300 Typical price: $199-$299
A step-up espresso grinder
A Near-Silent Espresso Grinder — With a Learning Curve Typical price: $700-$800
Affiliate links: we may earn a commission at no extra cost to you.
Equipment and habits that make extraction more even.
A puck screen can improve consistency on older or dirty shower screens. Use the dial-in calculator to adjust one variable at a time.
Pick the line that matches where you are now.
Quick decision guide
The shot turned harsh or astringent after going finer
You overcorrected. See how to fix bitter espresso.
Everything checks out but you want a repeatable method
Use the espresso dial-in calculator.
You are shopping for a grinder with finer steps
Start with the Baratza Encore ESP review.
You use a Breville Barista Express and even the finest setting runs fast
our Barista Express grind settings guide explains when to move the upper burr finer.
Quick answers before you buy.
Something changed: a new bag with a different roast or age, a grinder setting bumped, drifting burrs, or a machine overdue for descaling that now brews cooler.
Possibly, but less often than grind or dose.
Very soft or distilled water can taste flatter and sharper, so compare against plain filtered tap water if you recently changed it.
Usually, yes.
Acids dissolve first, so a shot cut short by a coarse grind, low dose, cool water or short yield tastes sour.
Light-roast acidity that is fruity and balanced is the exception.
Grind finer first, one click at a time, with dose and yield unchanged.
Check dose only if the puck looks shallow; see how to dial in espresso.
Sour with a thin, salty or watery body is a classic under-extraction sign, often from a too-coarse grind or a channeling puck.
Tighten the grind and improve distribution; the channeling guide helps.
Sour is sharp, thin and puckering at the front; bitter is harsh, dry and lingers at the back.
Fix sour by extracting more, and bitter by extracting less; see how to fix bitter espresso.
Keep reading: more guides on the same topic.
 Fix a problem
Espresso4 min read
Learn how to fix bitter espresso fast: check grind, temperature, yield, channeling, dirty gear and stale beans, one change at a time.
 Fix a problem
Maintenance4 min read
Coffee maker leaking water from the bottom, filter basket or carafe? Match the leak to its cause, fix it step by step, or know when to replace.
 Fix a problem
Espresso5 min read
Why does coffee taste bitter? Find your cause (grind, water temperature, stale beans, dirty gear) and fix bitter coffee one change at a time.
 Fix a problem
Espresso5 min read
Steam wand not frothing milk? Run the plain-water test, then fix clogs, technique, low heat, scale or worn seals in likelihood order.

Reader questions
Questions or tips? Leave a comment
Ask about your setup or share what worked for you. Comments are checked before they appear.