Our pick
Espresso Guides
Last updated
How to Get More Crema on Espresso: 6 Fixes
How to increase espresso crema when it is thin, pale or vanishes in seconds: each cause has a specific fix. Work through them in order.
- By Michael Anderson
- 4 min read
Affiliate disclosure: this page contains Amazon affiliate links. We may earn a commission if you buy through them, at no extra cost to you, and it never affects our rankings. Read our full affiliate disclosure
Quick answer
The most likely cause is stale beans: use beans 4-21 days past their roast date, then tighten the grind until the shot runs 25-30 seconds. If both are right, check dose, pressure and temperature below. Machine limits are covered in what your machine can deliver.
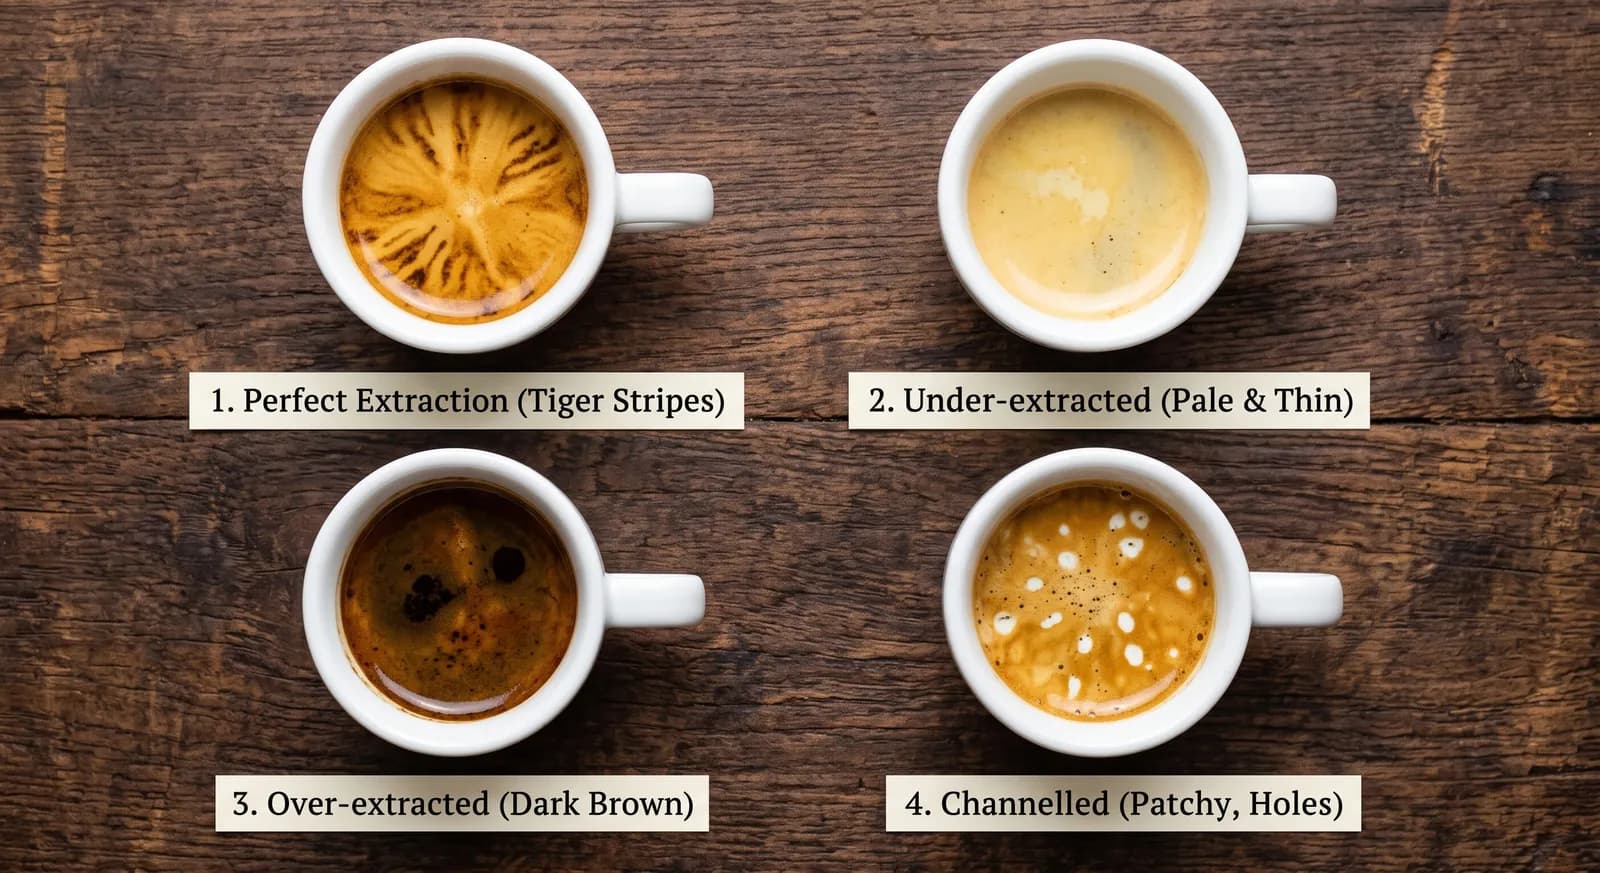
Which crema problem do you have?
Match what you see in the cup to the most likely cause, then jump to the fix.
| Symptom | Likely cause | Jump to |
|---|---|---|
| Pale, gone in 10-20 seconds | Stale beans | Fix 1 |
| Big bubbles that collapse fast | Beans too fresh (under 4 days) | Fix 1 |
| Thin, watery, shot under 20 seconds | Grind too coarse | Fix 2 |
| Thin, patchy, hollow-centred puck | Under-dosed basket | Fix 3 |
| Thin even with fresh beans and right grind | Low pump pressure | Fix 4 |
| Pale and sour, or dark and burnt | Water too cool or too hot | Fix 5 |
| White holes, uneven streaks | Channeling | Fix 6 |
Pale, gone in 10-20 seconds
- Likely cause
- Stale beans
- Jump to
- Fix 1
Big bubbles that collapse fast
- Likely cause
- Beans too fresh (under 4 days)
- Jump to
- Fix 1
Thin, watery, shot under 20 seconds
- Likely cause
- Grind too coarse
- Jump to
- Fix 2
Thin, patchy, hollow-centred puck
- Likely cause
- Under-dosed basket
- Jump to
- Fix 3
Thin even with fresh beans and right grind
- Likely cause
- Low pump pressure
- Jump to
- Fix 4
Pale and sour, or dark and burnt
- Likely cause
- Water too cool or too hot
- Jump to
- Fix 5
White holes, uneven streaks
- Likely cause
- Channeling
- Jump to
- Fix 6
Are your beans too old (or too fresh) for good crema?
Bean age changes crema more than any other variable, and no setting rescues stale beans.
Sign
Beans are best 4-21 days after roast. In the first 3-4 days they are too gassy and crema collapses; after 4-5 weeks most CO2 has left the bean.
Fix
- 1Check the roast date, not the best-before date, and buy from a roaster that prints one.
- 2Buy 250 g at a time so the bag does not go stale mid-way.
- 3Store airtight, away from light and heat.
- 4Prefer a medium-dark espresso roast: it usually gives more crema than a light roast at the same freshness.
Expect
Thicker, longer-lasting crema on the very next shot. For choosing beans, see how to pick espresso beans or the espresso bean picks.
Is your grind too coarse?
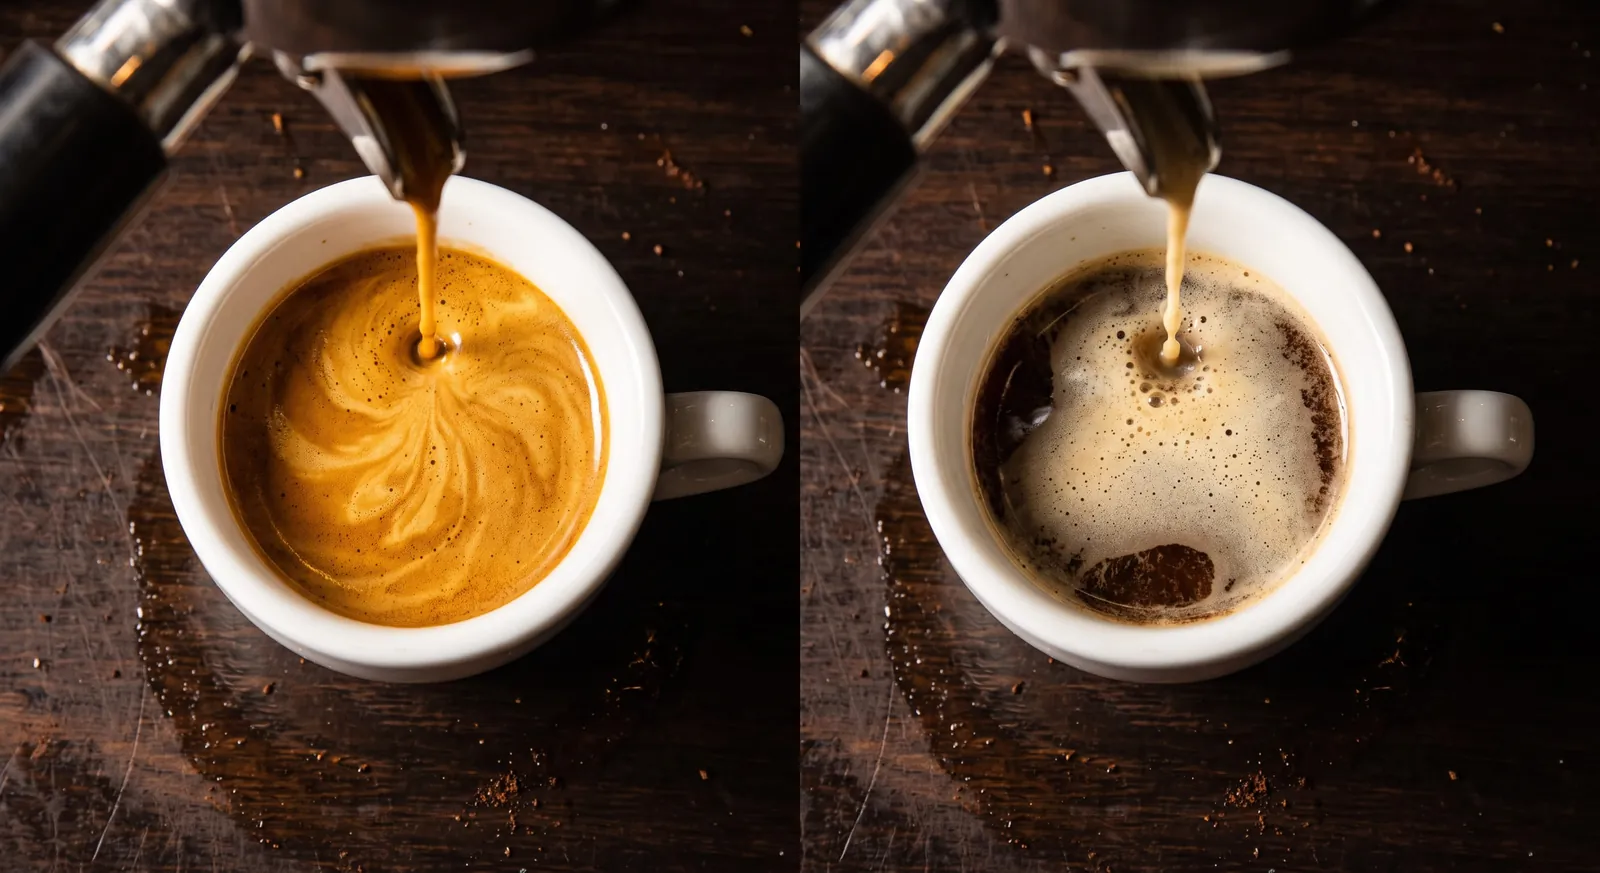
A coarse grind lets water rush through, so pressure and CO2 extraction drop.
Sign
The shot finishes in under 20 seconds with thin, watery crema.
Fix
- 1Move the grinder one step finer.
- 2Pull a shot and time it from pump start.
- 3Repeat until a 1:2 shot (such as 18 g in, 36 g out) lands in 25-30 seconds.
Expect
Golden, dense crema. If the shot now crawls past 35 seconds, go back one step. Timing details are in shot too fast or too slow, and the espresso dial-in calculator helps with ratios.
Are you under-dosing the basket (thin crema)?
More coffee means more CO2 and a denser puck that builds pressure.
Sign
Thin, patchy crema, fast flow and a hollow centre in the puck.
Fix
- 1Weigh your dose instead of eyeballing it.
- 2Move toward the top of the basket's rated range: 7-9 g single, 16-18 g double, 18-20 g ridgeless or VST.
- 3Re-adjust the grind if timing shifts.
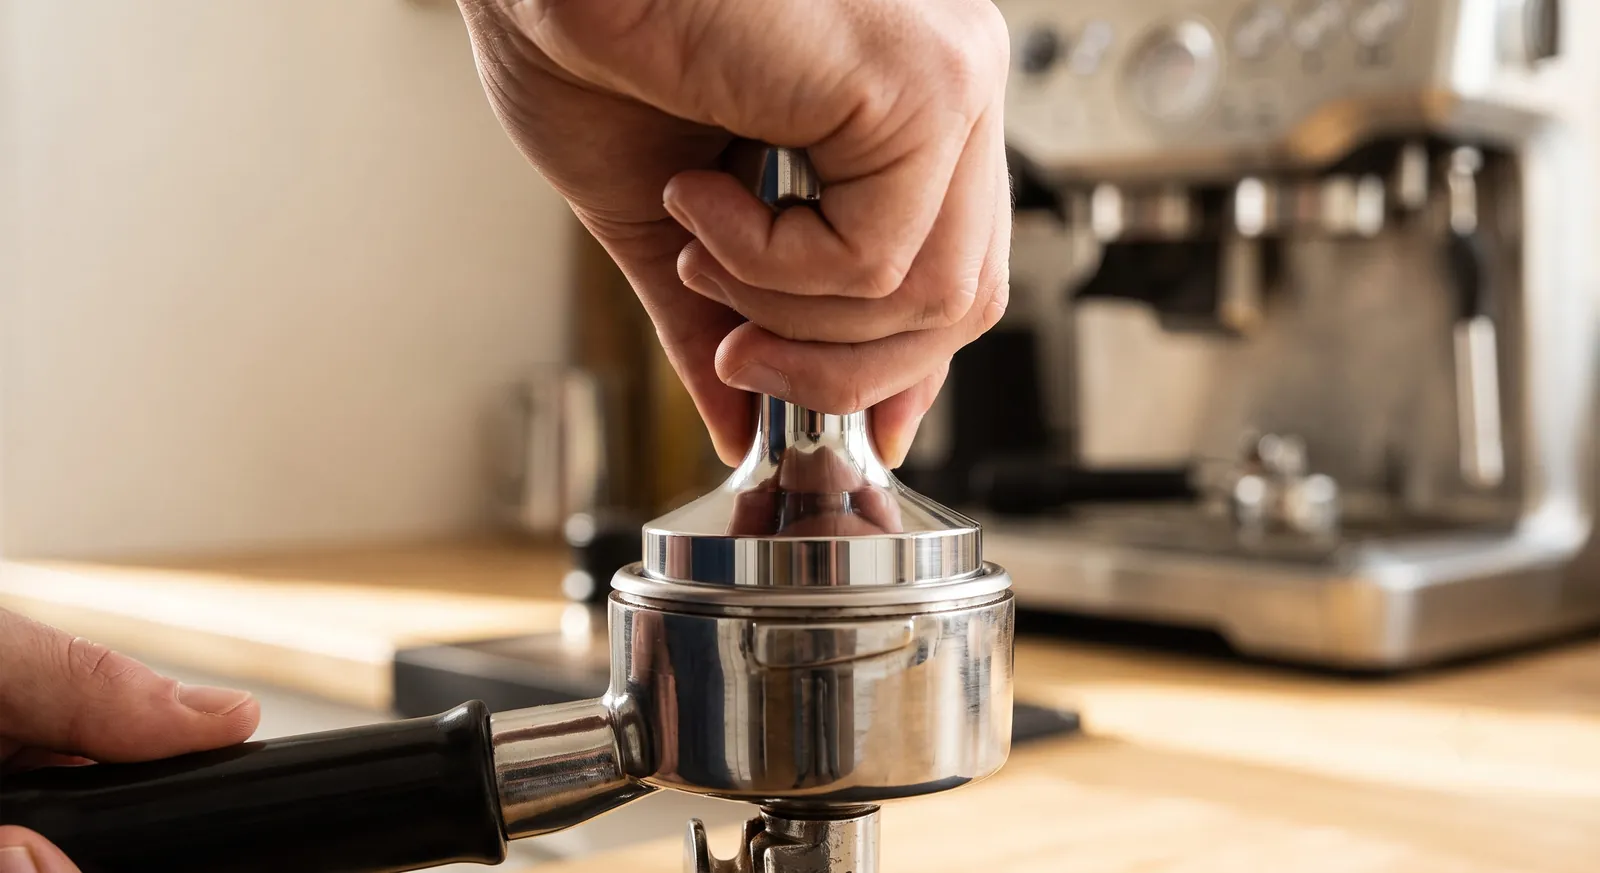
Stay within the basket's rating: an overfilled basket cannot be tamped properly and channels.
Is brew pressure really 9 bar?
Without about 9 bar at the puck, CO2 cannot dissolve enough to form crema.
Sign
Thin, watery shots even with fresh beans, correct grind and full dose. Pump pressure drifts over time, especially in budget machines.
Fix
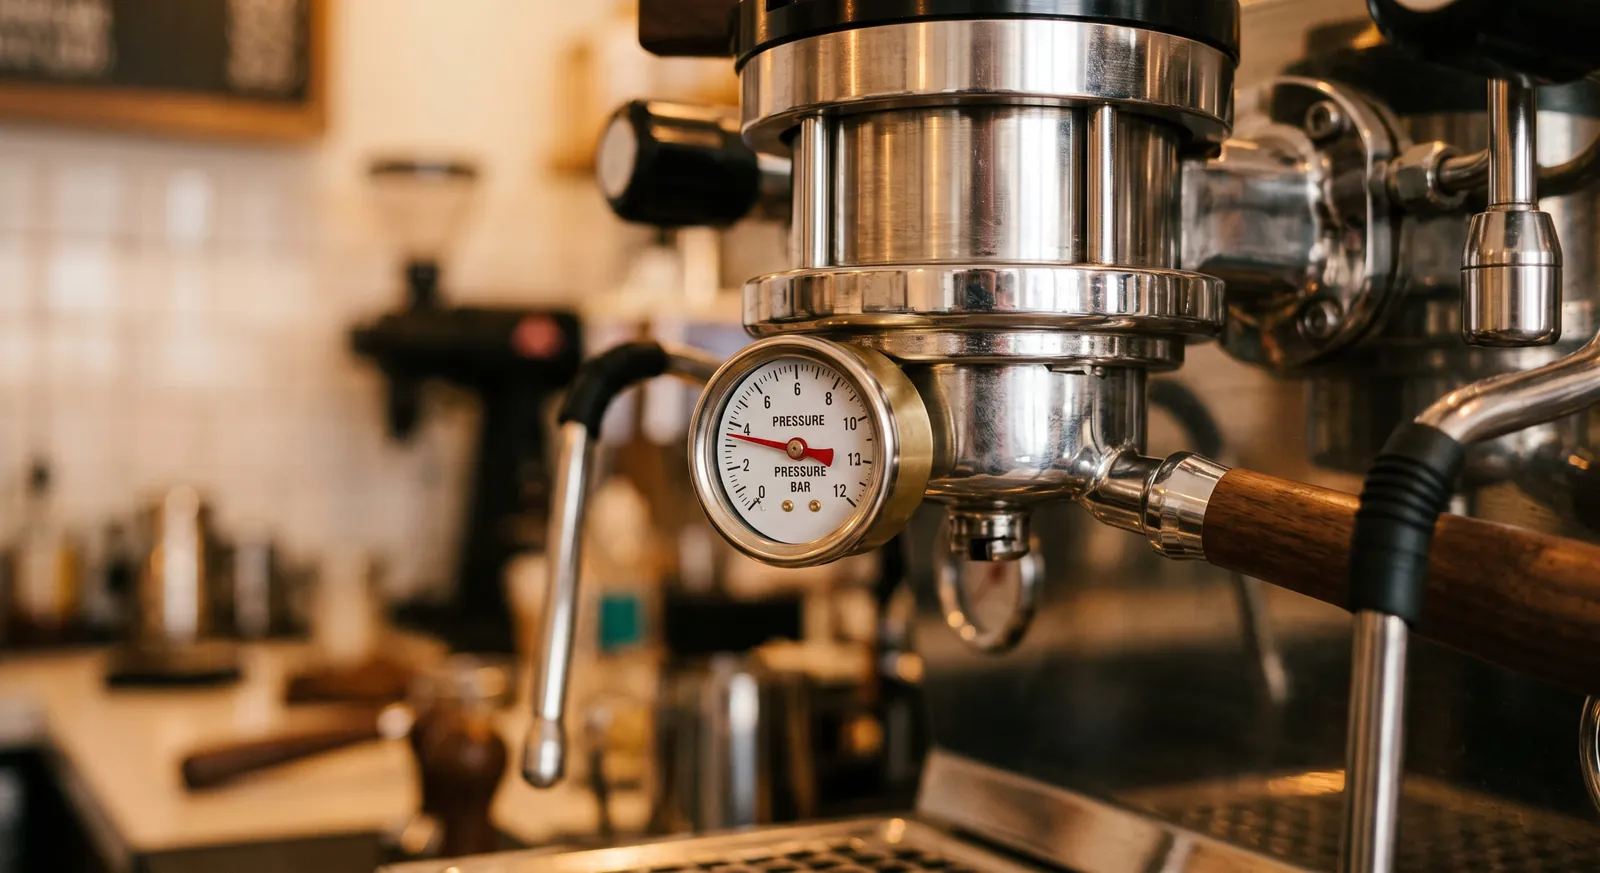
- 1Lock in a blind portafilter with a pressure gauge ($20-$40).
- 2Run a pull and read the peak.
- 3If it is below 8 or above 11 bar, adjust the over-pressure valve (OPV) where the machine allows it; on a Gaggia Classic Pro that means a 9-bar spring swap.
Is water temperature off?
Too cool gives pale, sour crema; too hot gives dark, burnt-looking crema.
Aim for roughly 88-96°C; most home machines default to 92-94°C. The usual error on single boilers is pulling before the machine stabilizes.
- Single boiler (Silvia, Gaggia): wait 30-45 seconds after the ready light and flush the group head before each shot.
- PID machines (Breville, Lelit): set 93°C for medium-dark roasts, 94°C for light.
- Super-automatics: run 2-3 rinse cycles after power-up.
Sour or bitter taste as well? See why espresso tastes sour or how to fix bitter espresso.
Are white holes or streaks breaking up the crema?
Channeling punches gaps through crema; uneven tamping and dirty parts are common triggers.
Sign
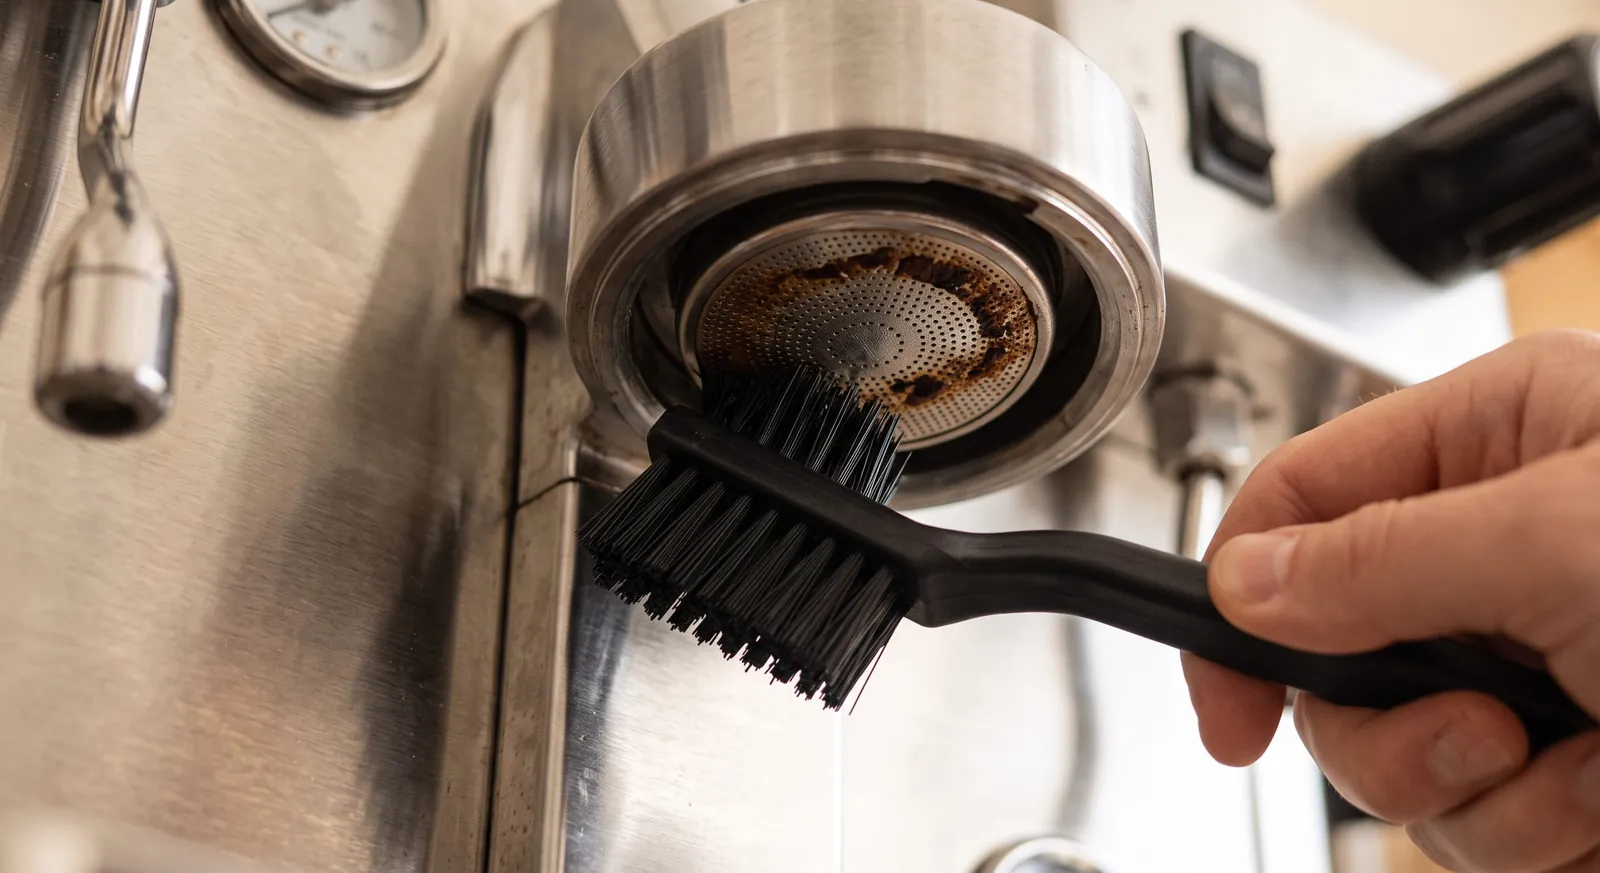
White gaps, asymmetric streaks or spurting. Level the tamp (level matters more than force), then clean the group head and shower screen. Full fixes are in espresso channeling, how to tamp and cleaning your machine.
How much crema can your machine realistically make?
Machine type sets a ceiling, so know what your hardware can deliver before spending more.
| Machine | Crema potential | What to know |
|---|---|---|
| Semi-automatic | Highest | You control every variable. Master grind and dose first. |
| Super-automatic | Good | Thinner than semi-automatic; the built-in grinder is often the limit. Use the finest setting and clean the brew unit monthly. |
| Pod or capsule | Limited | Pre-ground, variable freshness. Nespresso's foam is crema-like but fades faster; Vertuo is more stable than Original. |
| Budget under $130 | Variable | Fresh beans and a good grinder beat stale coffee in any machine. |
Semi-automatic
- Crema potential
- Highest
- What to know
- You control every variable. Master grind and dose first.
Super-automatic
- Crema potential
- Good
- What to know
- Thinner than semi-automatic; the built-in grinder is often the limit. Use the finest setting and clean the brew unit monthly.
Pod or capsule
- Crema potential
- Limited
- What to know
- Pre-ground, variable freshness. Nespresso's foam is crema-like but fades faster; Vertuo is more stable than Original.
Budget under $130
- Crema potential
- Variable
- What to know
- Fresh beans and a good grinder beat stale coffee in any machine.
The biggest hardware upgrade is usually the grinder, or moving from pods or a budget pump machine to a semi-automatic. See the coffee grinder picks.
Quick decision guide
You want full control of the variables
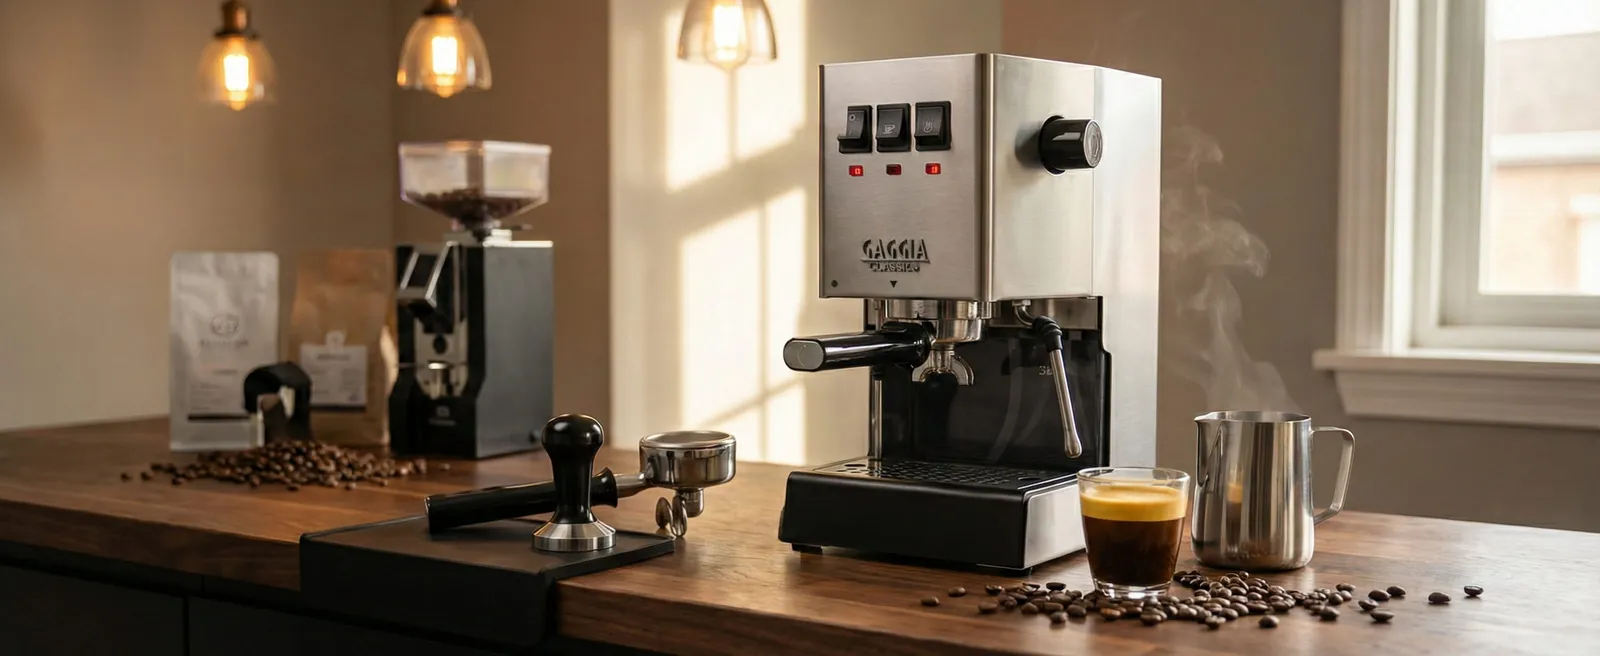
buy an entry-level semi-automatic such as the Gaggia Classic Pro; the Rancilio Silvia raises the ceiling.
You want solid crema with minimal technique
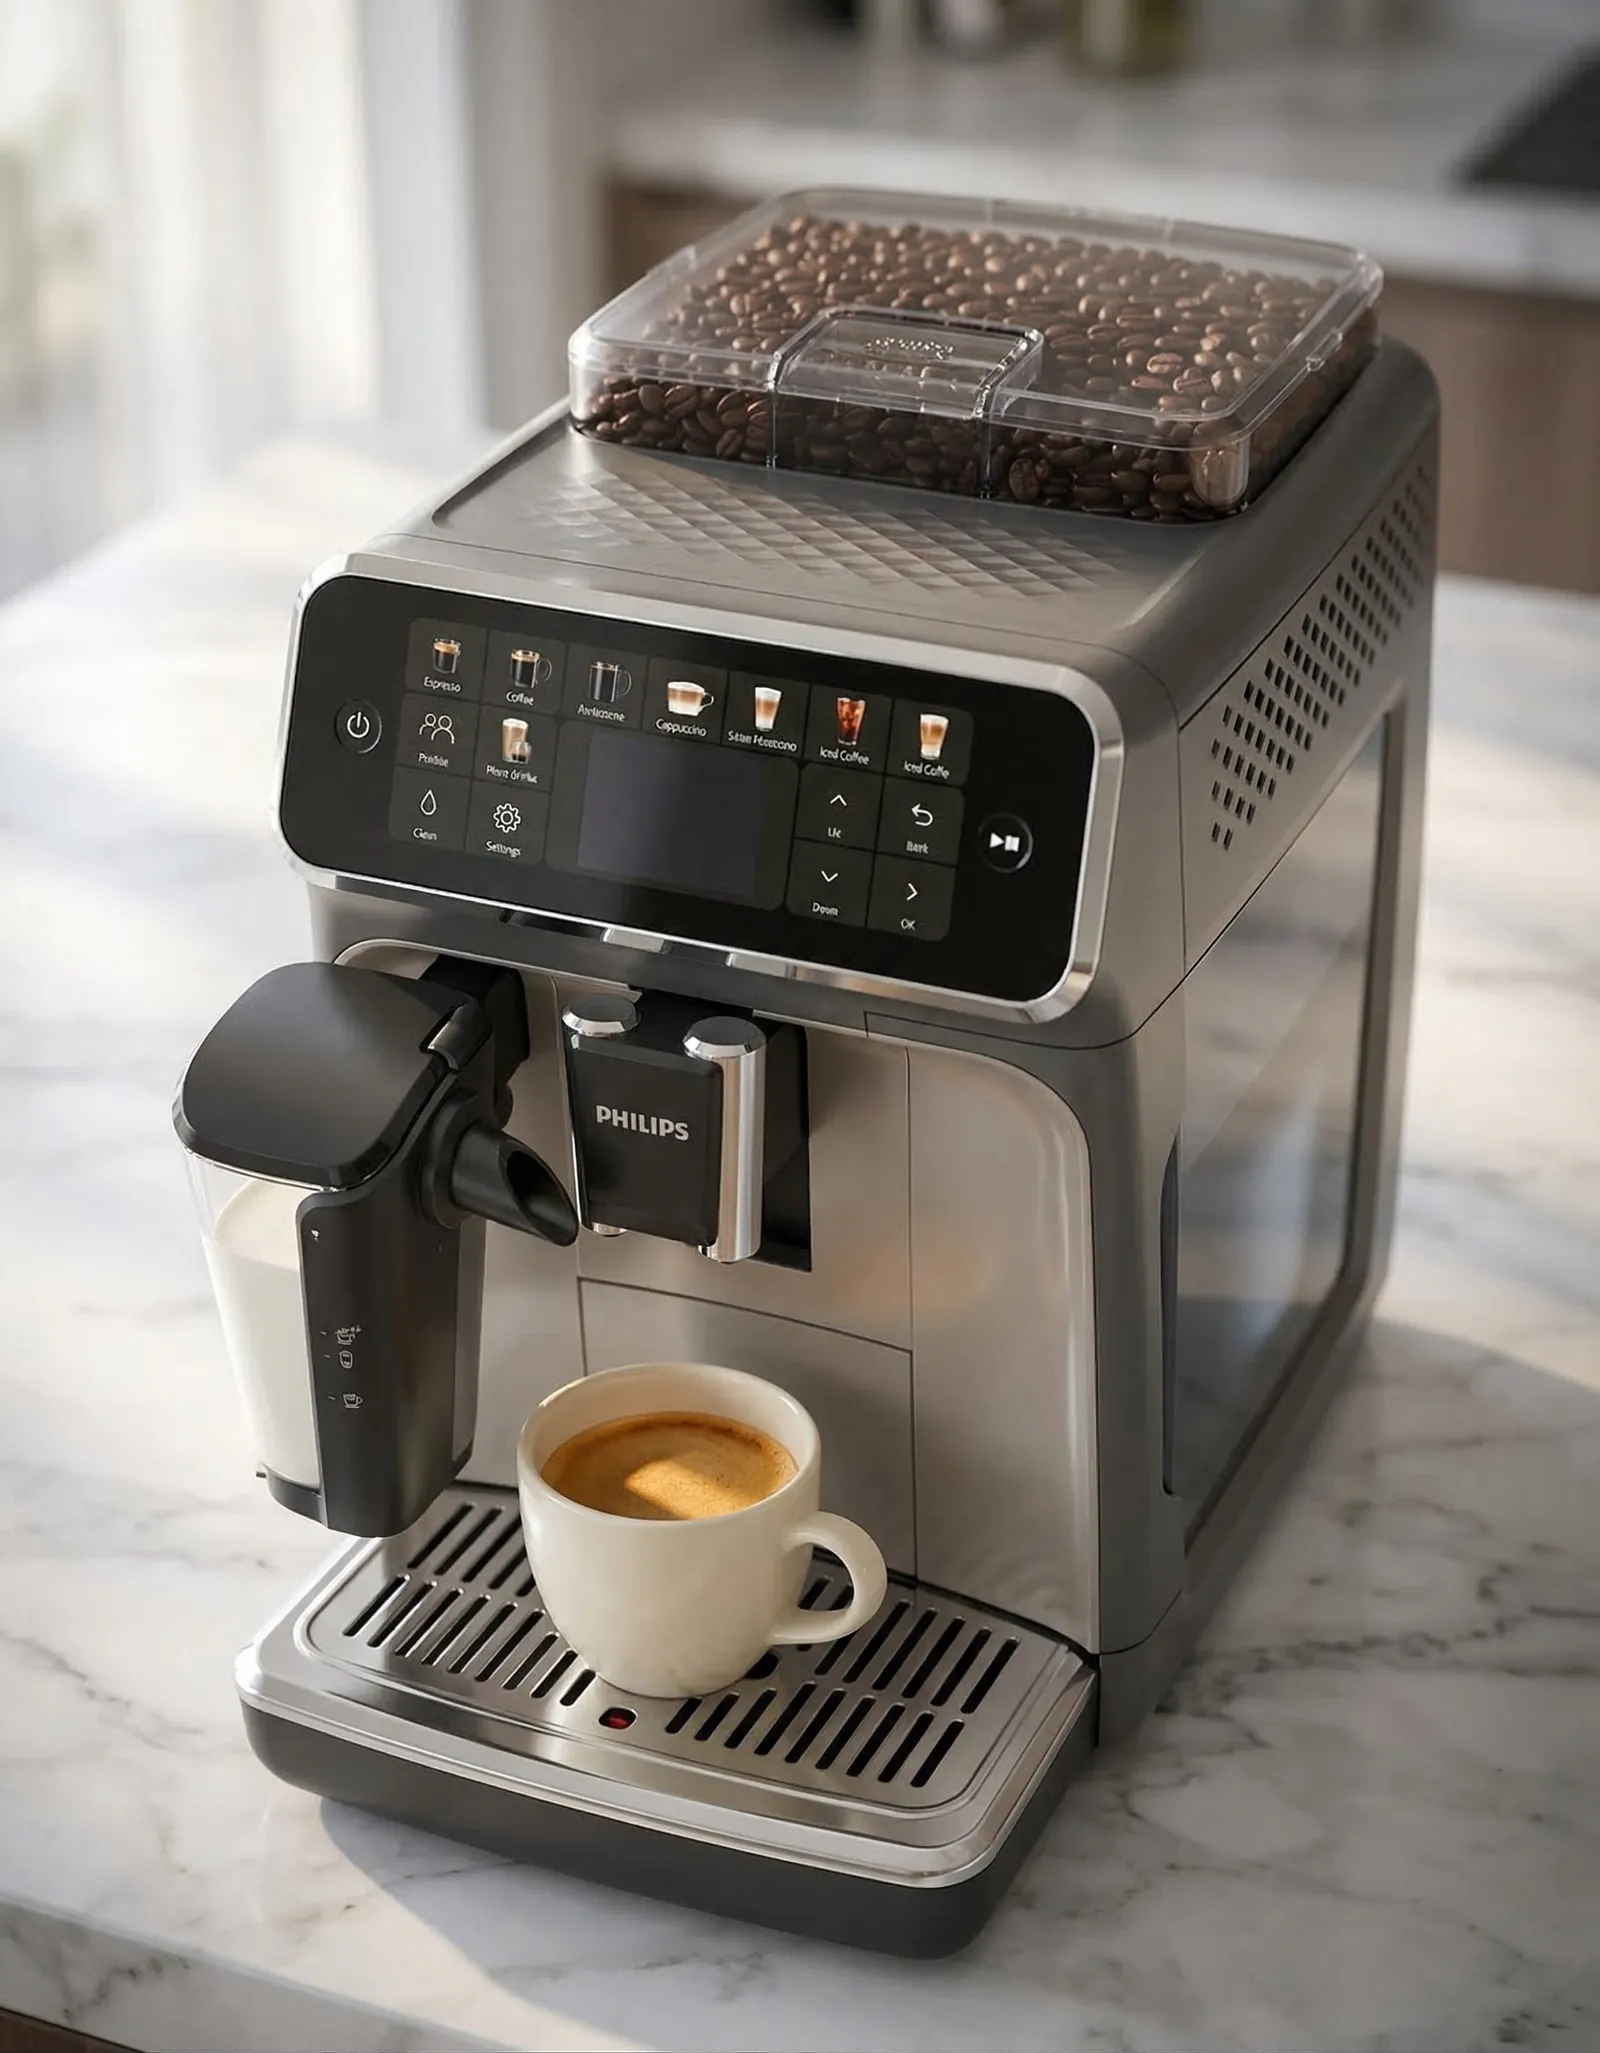
choose a super-automatic like the Philips 5500, accepting less control over each shot, or compare others in our super-automatic espresso machine rankings.
Our pick
Philips 5500
Affiliate links: we may earn a commission at no extra cost to you.
Reviews: Gaggia Classic Pro ($450-$550), Rancilio Silvia ($1,000-$1,100, a high ceiling on a manual machine if budget allows) and Philips 5500 ($799-$899, automated dosing and tamping). Browse more in the espresso machine picks.
More options: espresso machine picks.
What is crema and why does it form?
Crema is CO2 and oils emulsified under pressure, and it tells you about freshness, not flavour.
Roasted beans hold carbon dioxide. Under about 9 bar, hot water dissolves some of that gas and the oils in the coffee. When the shot leaves the portafilter, the pressure drops and the gas forms tiny bubbles stabilised by the emulsified oils. That foam is crema.
Fresh beans, a finer grind, enough dose, steady pressure and Robusta in the blend all increase crema. Over-degassed beans, coarse grind or pre-ground coffee reduce it. Heavy crema looks impressive but does not guarantee taste; see what is espresso crema for what it can and cannot tell you.
What helps most with crema on a modern setup?
Fresh roasting, tight puck prep and pressure control matter more than gadgets.
- Buy beans roasted recently: aim to brew between roughly one and four weeks after the roast date.
- Grind fresh, just before brewing: ground coffee loses gas within minutes.
- WDT and a level tamp: an even puck holds pressure better, producing a more continuous crema layer.
- Pre-infusion: a low-pressure soak lets the puck swell and dissolves more CO2 for better foam.
- Check brew pressure: many machines run 12 to 15 bar pumps; an OPV or pressure-profiling setup brings the shot to about 9 bar.
- Pressurised baskets: these create artificial crema, useful for entry machines and pre-ground coffee, but they hide real extraction.
- Use a brew scale: a consistent dose of 18 g or more keeps resistance high.
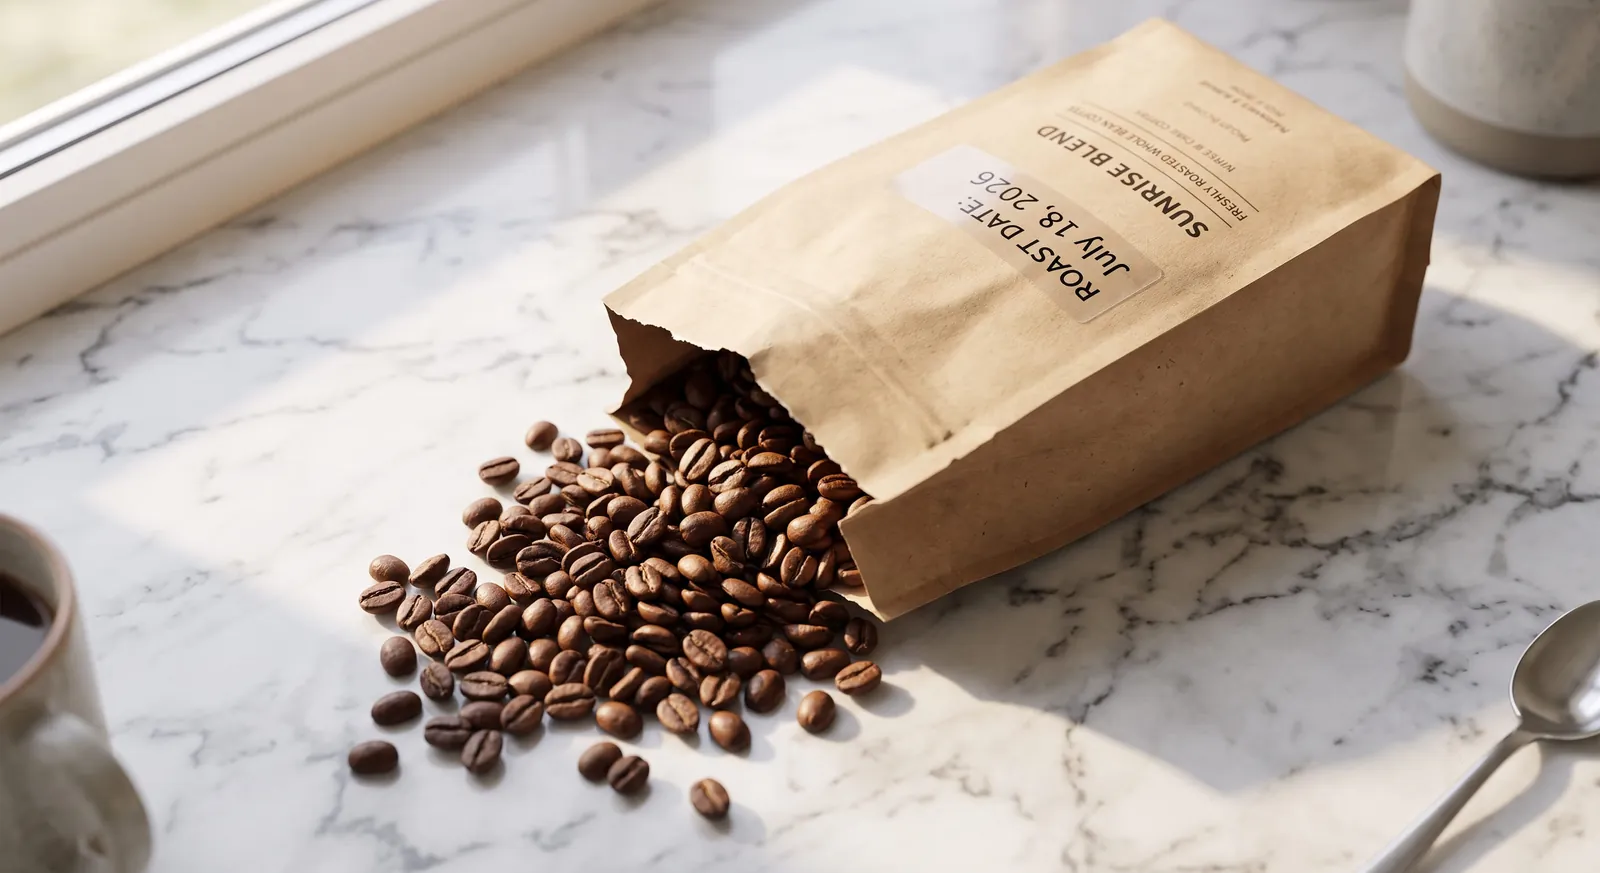
If you need steady quality, see how to pick espresso beans.
Still not fixed?
Pick the closest match for your next step.
Crema is fine but the shot tastes sour
read why espresso tastes sour.
Shots run unevenly or you are unsure of your settings
follow how to dial in espresso.
You want to judge what good crema looks like
Frequently Asked Questions
Quick answers before you buy.
Do supermarket beans produce crema?
They can, but usually less.
They are often roasted weeks or months before purchase, so much of the CO2 has degassed.
Buy from a roaster and use beans within 3 weeks of roast.
Is a lot of crema a sign of a good espresso?
Not by itself.
Crema reflects freshness and extraction conditions, but taste decides quality: a thick crema can still be bitter or sour.
Why is there no crema on my espresso?
The usual causes are stale beans, a grind that is too coarse, or too little coffee in the basket.
Check the roast date first.
Pressurized baskets can fake crema, but a missing crema points to these basics.
Can you get crema from pre-ground coffee?
Rarely much. Pre-ground coffee loses CO2 quickly, and CO2 is what builds crema.
Freshly ground beans from a recent roast do far better. See the coffee grinder picks.
Why does my crema disappear so quickly?
Fast-vanishing crema typically means stale beans or a coarse grind, which leave large, unstable bubbles.
Fresher beans and a finer grind usually produce a denser crema that lasts longer.
Does a dark roast make more crema?
Often it looks like more, since dark roasts degas faster and produce thick, dark foam. But it can taste bitter.
A fresh medium roast gives good crema with better flavor. See how to pick espresso beans.
Related Guides
Keep reading: more guides on the same topic.
 Fix a problem
Espresso5 min read
Steam Wand Not Frothing Milk? 5 Fixes to Try
Steam wand not frothing milk? Run the plain-water test, then fix clogs, technique, low heat, scale or worn seals in likelihood order.
 Fix a problem
Espresso4 min read
Why Is My Espresso Puck Wet? 5 Fixes in Order
Why is my espresso puck wet? Check dose, grind, shower screen, 3-way valve and gasket in order, with one-change-at-a-time fixes.
 Fix a problem
Maintenance4 min read
Coffee Maker Leaking Water? Causes & Quick Fixes
Coffee maker leaking water from the bottom, filter basket or carafe? Match the leak to its cause, fix it step by step, or know when to replace.
 Fix a problem
Espresso5 min read
Espresso Channeling: Why It Happens & How to Fix
Learn how to spot and fix espresso channeling: uneven flow, sour-and-bitter shots, a holey puck. Ordered fixes from distribution to grinder.
Reader questions
Questions or tips? Leave a comment
Ask about your setup or share what worked for you. Comments are checked before they appear.