

Top pick
Gaggia Classic Pro
Commercial 58 mm group head; a cheap spring swap brings it to 9 bar. Skip if you want push-button convenience.
Espresso Guides
Last updated
How hard to tamp espresso: 15–30 lbs is enough, and a level tamp matters more than force. Calibrate espresso tamping pressure step by step.
Affiliate disclosure: this page contains Amazon affiliate links. We may earn a commission if you buy through them, at no extra cost to you, and it never affects our rankings. Read our full affiliate disclosure
Tamp with roughly 15–30 lbs (7–14 kg) and repeat it consistently. Keep the tamper level and distribute the grounds first; those matter more than force.
A scale and your normal tamper are enough.
| Item | Why |
|---|---|
| Digital kitchen scale | Shows the force you actually apply |
| Your usual tamper and portafilter | Calibrate with the gear you use daily |
| Counter at your shot-pulling height | Surface height changes muscle memory |
Five steps on a scale; repeat every few months.
Set. The scale on your counter with the portafilter on top.
Place. The tamper centrally and level, held as you normally would.
Press. Slowly until the scale reads about 14 kg (30 lbs); note the lean and wrist resistance.
Repeat. 20–30 times, guessing the pressure before checking.
Pull. 10 shots by feel, aiming to stay within about 3 kg.
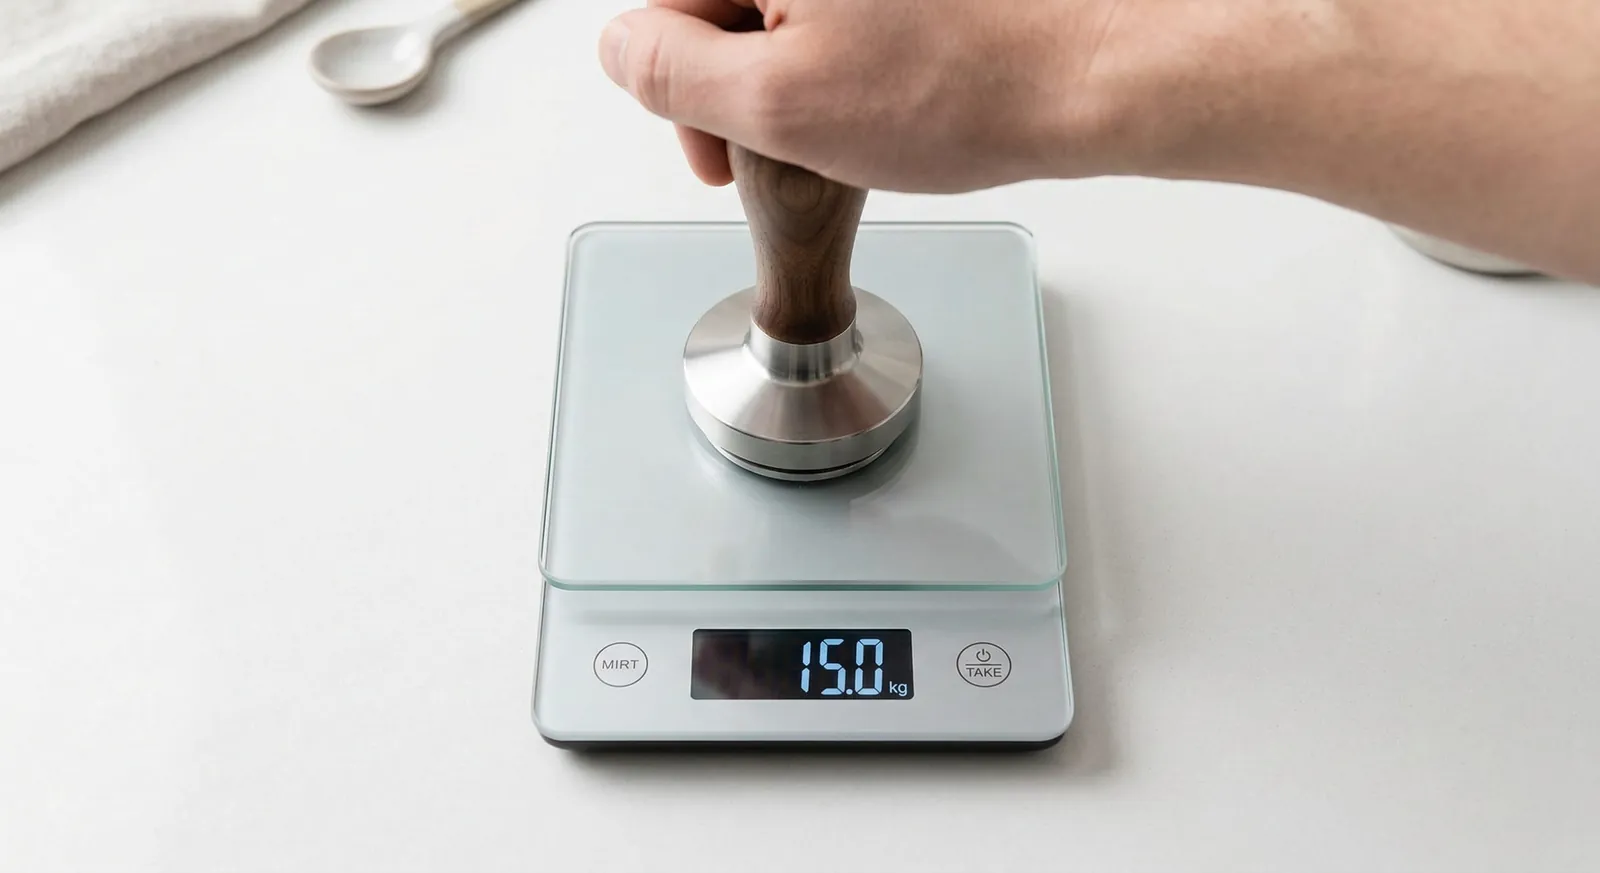
Firm enough that the puck will not shift under 9 bar; more adds nothing.
The 30 lb figure comes from early commercial training as a threshold to seat the puck. It is a floor, not a proven optimum, because grounds compact quickly and most compression happens by about 8–10 kg.
| Force | What happens |
|---|---|
| Below ~11 lbs (5 kg) | Under-compressed; the puck can crack and channel |
| ~15–30 lbs (7–14 kg) | Stable puck and clean shots |
| Above ~30 lbs | No meaningful extra compression, only wrist fatigue |
Consistency beats the absolute number. Varying pressure adds a hidden variable while you diagnose taste. Varying between 15 and 30 lbs changes shot time by only 1–4 seconds, less than one grind click on most grinders. To check a shot, enter it in our espresso dial-in calculator.
A tilted tamp makes one side thin, and water channels through it.
A level 12 lb tamp usually pulls more evenly than a tilted 25 lb one. The shot then tastes sour and bitter at once. Check from the side that the base is parallel to the basket rim; see how to tamp espresso for elbow position and self-leveling tampers.
Problem and fix, most common first.
| Problem | Fix |
|---|---|
| Pressing harder to slow a fast shot | Grind finer; see shot too fast or too slow |
| Changing grind while tamp force drifts | Fix tamp pressure first, then adjust one variable |
| Tamping harder to stop channeling | Fix distribution and tilt; see espresso channeling and WDT |
| Bitter shot, so tamping lighter | Coarsen the grind; see why coffee tastes bitter |
Grind, dose and temperature drive espresso extraction; pressure within the normal range barely does.
Only if pressure is your remaining variable.
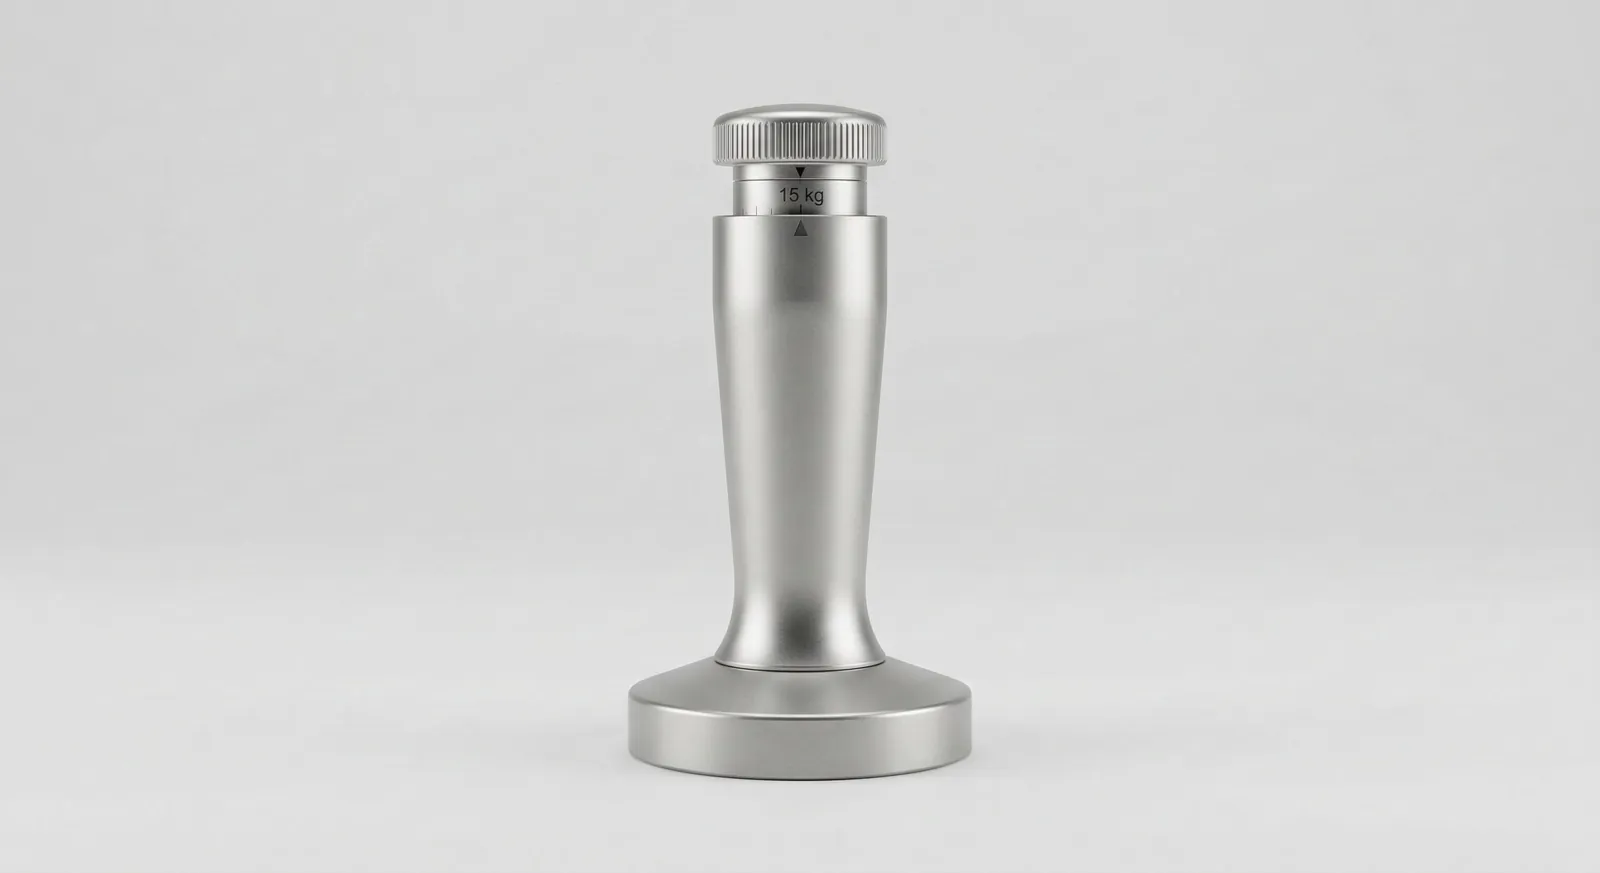
A calibrated tamper clicks at a set force, typically about 30 lbs (14 kg). Self-leveling models (Normcore V4, Pesado) also address tilt.
Quick decision guide
You are starting out and want one less variable
a calibrated tamper is a reasonable buy.
Your pressure is already roughly consistent
spend the $40–$100 on a WDT tool or tamping station instead.
Water takes the easiest route; the tamp decides how easy every route is.
Espresso is water forced through a bed of ground coffee at roughly 9 bar. Water follows the path of least resistance, so any spot in the puck that is looser, thinner or cracked gets more flow than the rest. That spot over-extracts and the dense areas under-extract, which is why a poor tamp tastes bitter and sour in the same cup.
The tamp does two jobs: it compacts the grounds into an even bed, and it makes the surface flat so the shower screen wets the whole puck at once. Pressure beyond "firm" adds little, because the pump and the grind size set resistance far more than an extra 10 lb of push. Uneven distribution before the tamp is the usual culprit behind espresso channeling. For a starting point, use the coffee grind size calculator.
Distribution first, a level tamp second, and a few tools that remove guesswork.
Once the puck is level, tamp straight down, give one firm press, lift off without twisting, and then change only the grind. Tamp force is not a dial-in variable; use the dial-in method for that.
Once the coffee is compressed, extra force changes little.
Ground coffee compresses quickly at first and then stops getting much denser. Most of the change happens with the first few kilograms of force; beyond that, pressing harder does relatively little to the flow. What does change the shot is pressing differently each time, or unevenly, because then the puck's density changes from shot to shot or from one side to the other.
That is why the old advice of "30 pounds of pressure" has given way to a simpler rule: press firmly until the coffee stops compressing, keep the tamper level, and do it the same way every time. If you want a number to aim for, calibrated tampers that click at a set force, often around 15 kg, take the guesswork out. Grind size remains the main way to control shot time; changing tamp pressure to fix a fast or slow shot only adds another variable.
A bathroom or kitchen scale gives you a feel for it.
Place a kitchen or bathroom scale on the counter and zero it.
Put your portafilter (or just your tamper on a hard surface) on the scale.
Tamp as you normally would and watch the reading.
Repeat a few times to see how consistent you are.
Practise until your tamps land within a narrow range, then trust the feel.
Most people find they tamp more lightly or more heavily than they thought, and that their pressure varies more than expected. A few minutes of practice with a scale is the cheapest way to make your tamping consistent. Our how to tamp espresso guide covers technique, and espresso channeling shows what uneven tamps do to the shot.
Posture matters more than strength.
If tamping hurts your wrist or you struggle to stay level, a calibrated or self-levelling tamper can help, as can a tamping station that holds the portafilter at the right height. These tools make it easier, but a standard tamper used with good posture works just as well for most people.
Buy the Gaggia to learn real puck prep; skip it for push-button ease.
Top pick
Commercial 58 mm group head; a cheap spring swap brings it to 9 bar. Skip if you want push-button convenience.
Best all-in-one
Assisted tamping applies consistent pressure. Skip if you want to build manual skill.
Best beginner
Compact, PID control; 54 mm basket is easy to tamp consistently. Skip if you want a 58 mm basket.
Best value
Entry-level for learning fundamentals on a budget. Skip if you want to upgrade the machine later.
Affiliate links: we may earn a commission at no extra cost to you.
More picks in the highest-rated home espresso machines; clumpy grounds make distribution harder, so see the top-rated coffee grinders too.
Quick answers before you buy.
No; group heads and baskets handle far more force than a hand can apply.
Past roughly 14 kg you only add wrist fatigue.
No. Extra force barely changes flow, so grind finer to slow a shot instead.
It removes force as a variable, which helps beginners, but it does not fix tilt or poor distribution.
Hand tamping works well once your pressure is consistent.
One smooth, steady press is enough; there is no need to hold or twist.
Polishing adds little and can disturb the surface.
See how to tamp espresso.
Within the normal range, only slightly.
Uneven or tilted tamping changes taste far more by causing channeling, which gives sour-and-bitter shots.
Yes.
A leveller or screen helps distribution but does not compact the bed.
You still need one firm, level tamp so the grounds hold together and resist the water evenly.
Keep reading: more guides on the same topic.
 Explained
Espresso6 min read
What is WDT in espresso? Breaks up clumps before tamping to reduce channeling. What it fixes, whether you need a tool, and how to use it.
 How to
Espresso6 min read
Learn how to tamp espresso: pick the right tamper size, distribute with WDT, press level and fix channeling with a simple routine.
 Explained
Espresso6 min read
Are puck screens worth it? They keep your group head cleaner but won't fix channeling. See who should buy one and which size fits.
 How to
Espresso7 min read
Learn how to dial in espresso: a starting recipe, grind changes by shot time and taste, and fixes for sour or bitter shots.


Reader questions
Questions or tips? Leave a comment
Ask about your setup or share what worked for you. Comments are checked before they appear.