

Top pick
Baratza Encore ESP
40 mm conical burrs with espresso-fine adjustment. Consistent sizing means less clumping, so WDT and tamping both work better.
Espresso Guides
Last updated
Learn espresso tamping: distribution first, then level pressure for consistent shots.
Affiliate disclosure: this page contains Amazon affiliate links. We may earn a commission if you buy through them, at no extra cost to you, and it never affects our rankings. Learn more
Match the tamper to your basket, distribute the grounds with WDT, then press level with steady pressure. Any force between 15 and 30 lbs works if the tamp is level. Clumpy grounds make this harder: see grinders that help puck prep.
Tamper size and prep tools come first.
| Item | What to know |
|---|---|
| Tamper | Base must match the basket inside diameter; a gap channels at the edge. Choose flat stainless steel. |
| 58 mm | Most commercial and premium machines, Gaggia Classic Pro, Breville Oracle and Dual Boiler |
| 54 mm | Breville Barista Express, Barista Pro, Bambino series |
| 51-53 mm | DeLonghi Dedica and some entry-level models |
| WDT tool | Needles (0.25-0.4 mm) break up clumps; about $10-$25 |
Measure the basket with calipers rather than eyeballing: a 1-2 mm gap is enough to channel.
Distribute, tamp level, lift straight out.
Stir with a WDT tool. 10-15 passes, outside in, until clumps vanish.
Check the bed. Level with the collar, no mound or low edge.
Grip with elbow near 90°. And a straight wrist; lower the portafilter if the counter is high.
Align the base. Flat on the grounds all the way round.
Press steadily. With body weight, not a punch.
Lift straight up. Do not twist or drag.
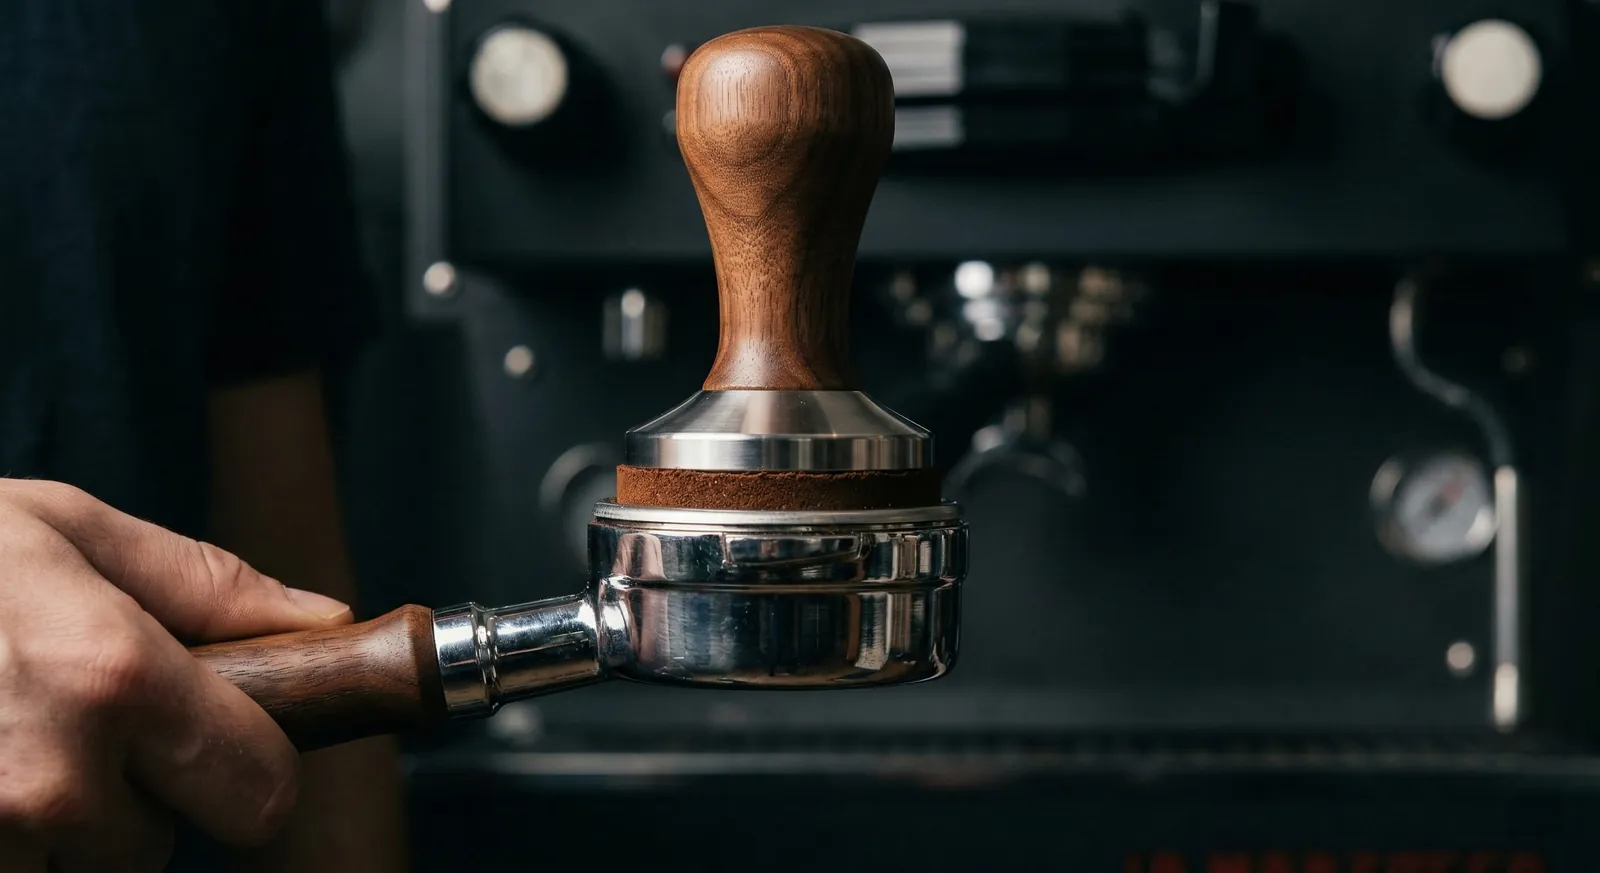
No tool? The Stockfleth method works: rest a finger on the bed and rotate the portafilter to sweep it level. It will not break deep clumps. Skip tapping the portafilter: it pushes fines to the bottom. A WDT tool is the first accessory worth buying.
Firm, repeatable and level beats hard.
Roughly 15-30 lbs works when the base is level. A light level tamp beats a hard tilted one. Details are in the tamping pressure guide.
A tilted or uneven tamp is the most common cause of channeling.
| Problem | Fix |
|---|---|
| Tilted tamp: spray one side of a bottomless basket | Look from the side before pressing; use a tamping station ($20-$50) or self-leveling tamper |
| Edge channeling | Fit the tamper to the basket diameter |
| Clumps or uneven bed | Stir with WDT before tamping |
| Shots still channel | See espresso channeling |
| Shots run fast | See shot too fast or too slow |
The puck needs even resistance so water flows through it uniformly.
Water takes the path of least resistance. A puck with uneven density, soft spots or a tilted surface lets water rush through the weakest area, which is channeling. The result is a shot that tastes sour and bitter at once, because some coffee is under-extracted and some over-extracted.
Tamping compacts loose grounds and closes air gaps, but the real work is levelness and even distribution beforehand. Extra force does little once the puck is compact; grind size sets the resistance, not tamp strength. A tilted tamp also leaves the edge looser, so the basket rim and tamper diameter matter. Our grind size calculator matches a texture to each brew method.
Distribution tools now do most of the work that heavy tamping once did.
Most tamping problems start with distribution.
Weigh the dose. So the coffee bed is the same height every time.
Break up clumps. With a WDT tool, stirring through the full depth of the coffee.
Level the surface. With a gentle tap on the side of the portafilter or a distribution tool.
Check the rim. And brush any loose grounds off the edge of the basket.
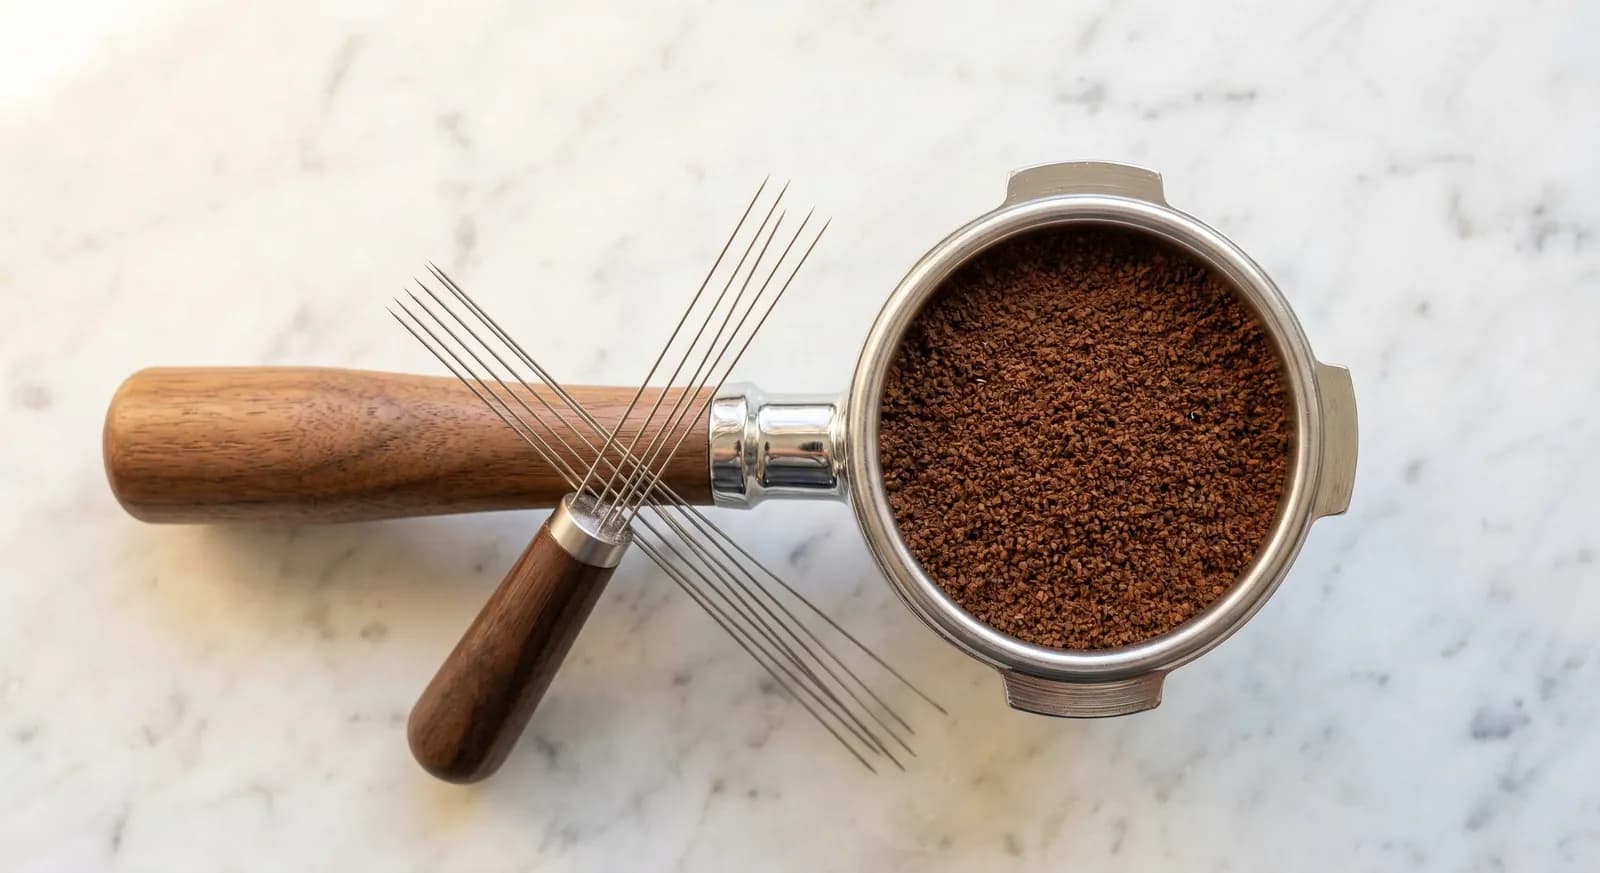
A level tamp on an uneven bed still leaves dense and loose areas underneath, which is how channels form. Spending ten seconds on distribution makes the tamp itself far more forgiving. Our what is WDT guide explains the technique.
If you see the same pattern of channeling every shot, try distributing with a slightly different motion, such as stirring in small circles from the bottom up, before changing the tamp. Distribution problems often look like tamping problems.
Fit matters more than weight or handle style.
| Basket size | Common tamper size | Notes |
|---|---|---|
| 58 mm (most commercial-style machines) | 58–58.5 mm | 58.5 mm leaves less unpressed coffee at the edge |
| 54 mm (many Breville machines) | 53.3–54 mm | Check against your basket; sizes vary |
| 51 mm (many entry-level machines) | 51 mm | Plastic tampers are common; a metal one tamps more evenly |
A tamper that is too small leaves a ring of loose coffee around the edge where water can rush through. Measure the inside of your basket, not the portafilter, and buy the closest fit. Calibrated tampers that click at a set pressure, and palm-style distributor-tamper combinations, both help consistency, but a well-fitting flat tamper used with a straight arm works well too.
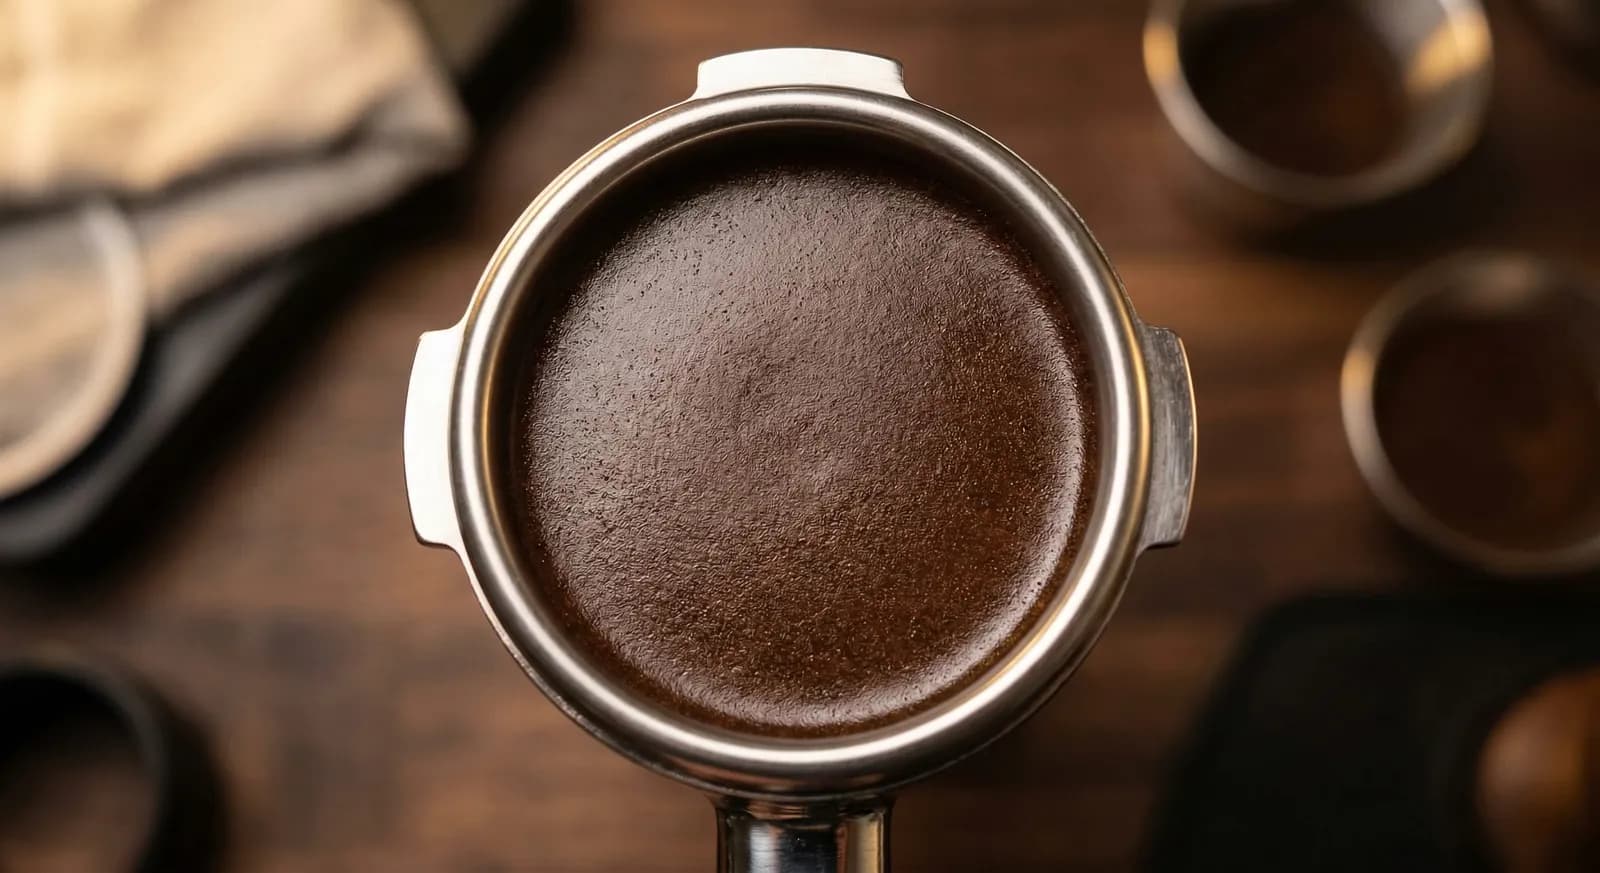
Tamper weight and handle shape are mostly about comfort. A heavier tamper needs less effort to apply the same pressure, and a handle that fits your hand makes it easier to keep the tamper level. If your wrist tires or the tamp tilts, try holding the tamper like a doorknob with your index finger and thumb resting on the base, which gives you a feel for when it is flat.
Look at the puck, then let the shot tell you.
If the shot runs unevenly with good distribution and a level tamp, look at the grind next. Our espresso tamping pressure guide explains why consistency matters more than force, and espresso channeling covers what to check when shots spurt.
Small habits that cause uneven shots.
| Mistake | What it does | Fix |
|---|---|---|
| Tamping at an angle | One side packs tighter; water channels through the loose side | Keep your wrist straight and elbow above the tamper |
| Tamping twice or tapping after | Cracks the puck or loosens the edge | Tamp once, firmly, then stop |
| Twisting hard while pressing | Can shear the top layer unevenly | A light polish at the end is optional; do not twist under pressure |
| Tamping on an uneven surface | Tilts the portafilter as you press | Use a tamping mat or stand on a flat counter |
| Using a loose-fitting tamper | Leaves loose coffee at the edges | Use a tamper that matches the basket diameter |
Technique cannot fix clumpy, staticky grounds.
Quick decision guide
You want espresso-capable consistency
the Baratza Encore ESP.
You need the lowest cost
the Capresso Infinity Plus.
Top pick
40 mm conical burrs with espresso-fine adjustment. Consistent sizing means less clumping, so WDT and tamping both work better.
Best budget
Quiet gear-reduction motor and conical burrs at a budget price. Reaches espresso fineness with less static than most entry-level grinders.
Affiliate links: we may earn a commission at no extra cost to you.
More options in the best coffee grinders, or see the best espresso machines that ship with a fitting tamper.
Quick answers before you buy.
About 15-30 lbs is plenty if the tamp is level.
Consistency and levelness matter more than force; see the tamping pressure guide.
Only slightly.
Once the puck is compact, extra force barely changes flow; uneven distribution and a tilted tamp change taste far more through channeling.
Match the tamper base to the basket's inside diameter, commonly 58 mm, 54 mm or 51-53 mm depending on your machine.
A visible gap at the edge invites channeling.
Not always.
Bundled plastic tampers are often loose or lightweight, so a snug stainless steel tamper is a cheap upgrade that improves levelness.
Usually clumps, a mounded bed or a tilted tamp.
Stir with a WDT tool first and check the base is parallel before pressing.
It helps if you struggle to keep the tamp level, since it holds the basket flat and steady.
Many people get the same result with a wrist-straight, low-elbow technique.
Keep reading: more guides on the same topic.
 How to
Espresso6 min read
How hard to tamp espresso: 15–30 lbs is enough, and a level tamp matters more than force. Calibrate espresso tamping pressure step by step.
 How to
Espresso6 min read
Learn how to dial in espresso: a starting recipe, grind changes by shot time and taste, and fixes for sour or bitter shots.
 Explained
Espresso6 min read
What is WDT in espresso? Breaks up clumps before tamping to reduce channeling. What it fixes, whether you need a tool, and how to use it.
 How to
Espresso6 min read
Make great espresso at home: the minimum gear, a repeatable 18 g in, 36 g out workflow, and fixes for sour or bitter shots.

Reader questions
Questions or tips? Leave a comment
Ask about your setup or share what worked for you. Comments are checked before they appear.