

A manual machine where puck prep matters
Gaggia Classic Pro
Strong value in manual espresso, if you're willing to learn. Typical price: $450-$550
Espresso Guides
Last updated
Learn how to spot and fix espresso channeling: uneven flow, sour-and-bitter shots, a holey puck. Ordered fixes from distribution to grinder.
Affiliate disclosure: this page contains Amazon affiliate links. We may earn a commission if you buy through them, at no extra cost to you, and it never affects our rankings. Learn more
Channeling is usually a puck-prep problem. Stir the grounds with a WDT tool before tamping, then check static, tamp level, grinder wear and basket fit if it persists.
Match what you see or taste to the likeliest cause, then jump to its fix.
| Symptom | Likely cause | Jump to |
|---|---|---|
| Sprays from one side of the spout; hole or crack in the puck | Uneven distribution | Distribution |
| Grounds clump before dosing | Static or fresh, oily beans | Clumping |
| One side of the puck wet, the other dry | Off-level tamp | Tamping |
| Channels despite good prep | Worn burrs or basket and gasket fit | Grinder and basket |
Any single sign can have another cause, so look for two together. A sour-and-bitter cup is the classic one, and a hole or wet patch beside a dry one in the spent puck confirms it.
Water takes the path of least resistance through the puck.
Espresso needs even resistance across the puck. If one area is looser, cracked or less dense, water flows through it faster than elsewhere. That channel over-extracts while the rest of the puck is under-extracted, so the cup tastes both sour and bitter.
Common causes are clumped grounds, uneven distribution, an off-level tamp, a basket or shower screen with worn holes, and stale or poorly ground coffee. Very high pressure at the start of the shot can also crack a weak puck, which is why a gentler ramp helps.
Pressure makes channeling worse. At around 9 bar, water is pushed hard through the puck, and any weak path, a loose edge, a clump that broke apart, a crack from knocking the portafilter, gets more water than the rest. That path then washes out further, so a small flaw becomes a large channel within seconds. This is why gentle pre-infusion, which wets the puck at low pressure before full pressure arrives, reduces channeling on machines that have it.
The current routine most home baristas use.
Weigh your dose on a scale, then stir with a WDT tool (see what is WDT) to break clumps. Level the bed, tamp straight (tamping technique) and consider a puck screen or paper filter. Use a dosing funnel to keep grounds in the basket.
Pre-infusion and flow control or pressure profiling soften the early rush of water, which reduces cracking. On machines that brew above 9 bar, lowering the pressure helps too; Gaggia Classic Pro owners do it with a 9-bar OPV spring. Single dosing fresh beans reduces stale, static-prone grounds. Replace worn baskets and gaskets, and keep the shower screen clean. Check results with a bottomless portafilter, which shows spurting and uneven flow immediately.
Rule out look-alikes before you change your puck prep.
Water takes the path of least resistance, so a crack or low-density pocket gets most of the flow. That channel over-extracts while the denser coffee around it under-extracts, which is why one cup tastes sour and bitter at once.
The most common cause: piles and air pockets get locked in when you tamp.
Spraying from one spot, or a hole or crack in the spent puck.
Even flow from both spout sides and a uniformly damp puck.
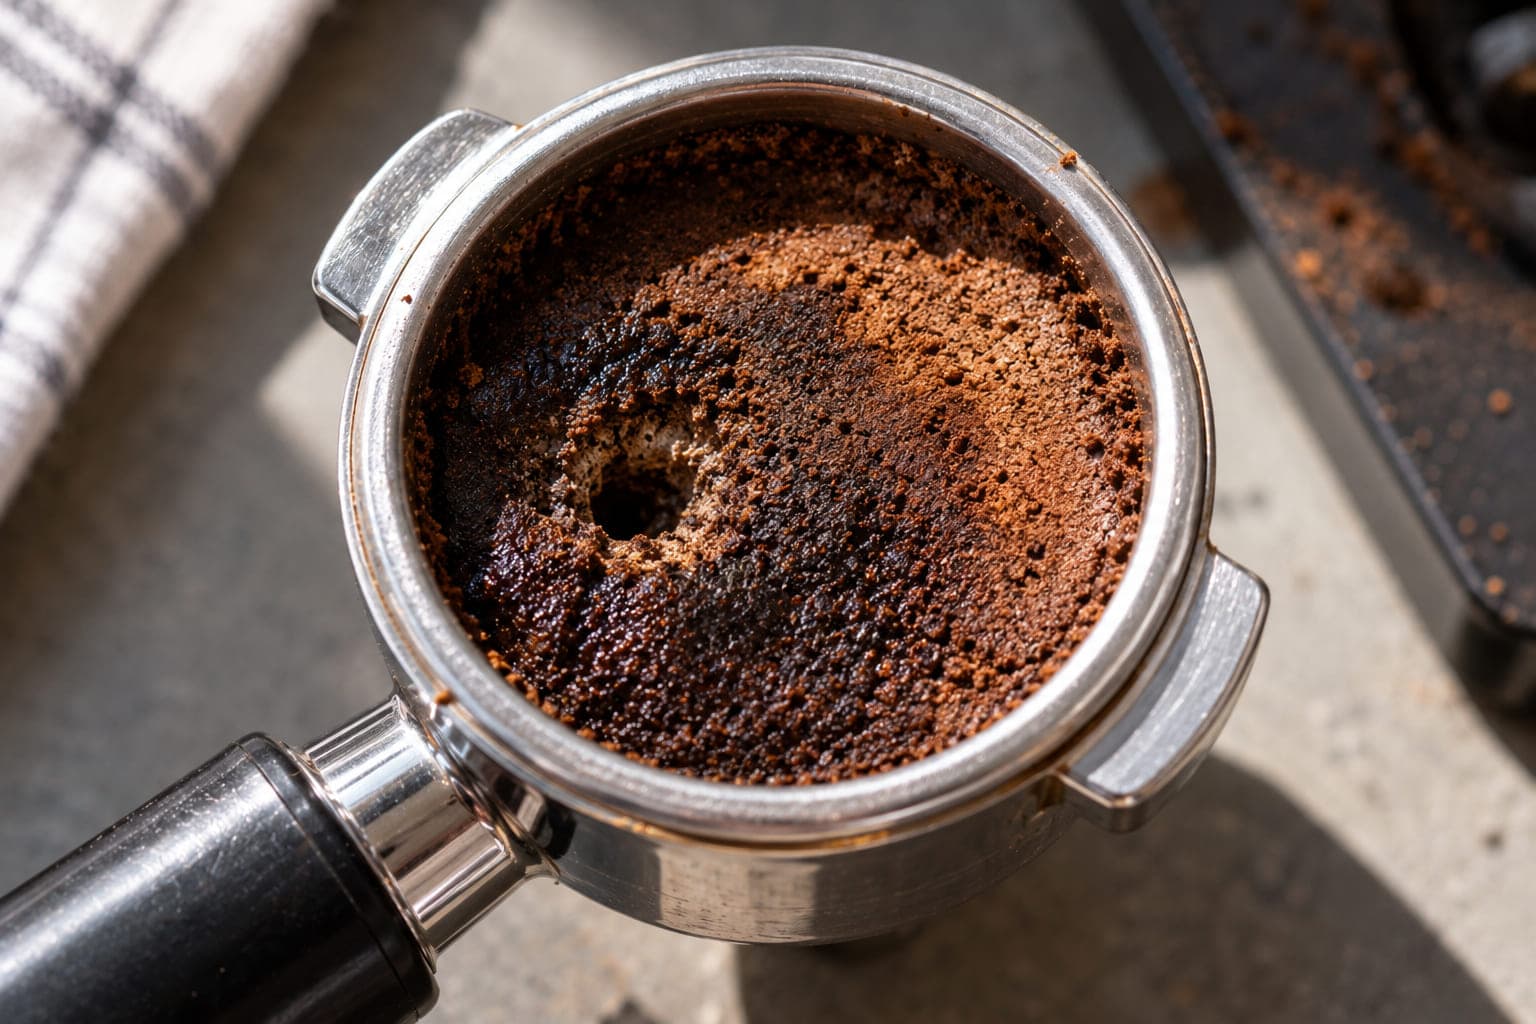
Clumps act like one dense particle and leave loose gaps around them.
Grounds cling to the bin or form clumps before dosing, common with fresh, oily beans.
Loose, fluffy grounds with no clumps before tamping.
Matters less than distribution, but it compounds a poorly prepared puck.
One side of the spent puck wet and the other dry.
Technique details are in how to tamp espresso and tamping pressure.
If prep is solid and channeling persists, look at particle consistency and seating.
Channeling returns despite good distribution and a level tamp.
What you should see: steady flow and a puck that is evenly wet through.
A short, repeatable routine beats any single tool.
Weigh the dose. To 0.1 g so the basket is filled the same every time.
Break up clumps. With a WDT tool, stirring through the full depth of the bed, not just the top.
Level the bed. Before tamping, with a gentle tap or a distribution tool.
Tamp level and firmly. Once; there is no need to tamp again or twist hard.
Wipe the rim. Of the basket so grounds do not stop the portafilter sealing.
Lock in and brew promptly. So the puck does not sit under the hot group head.
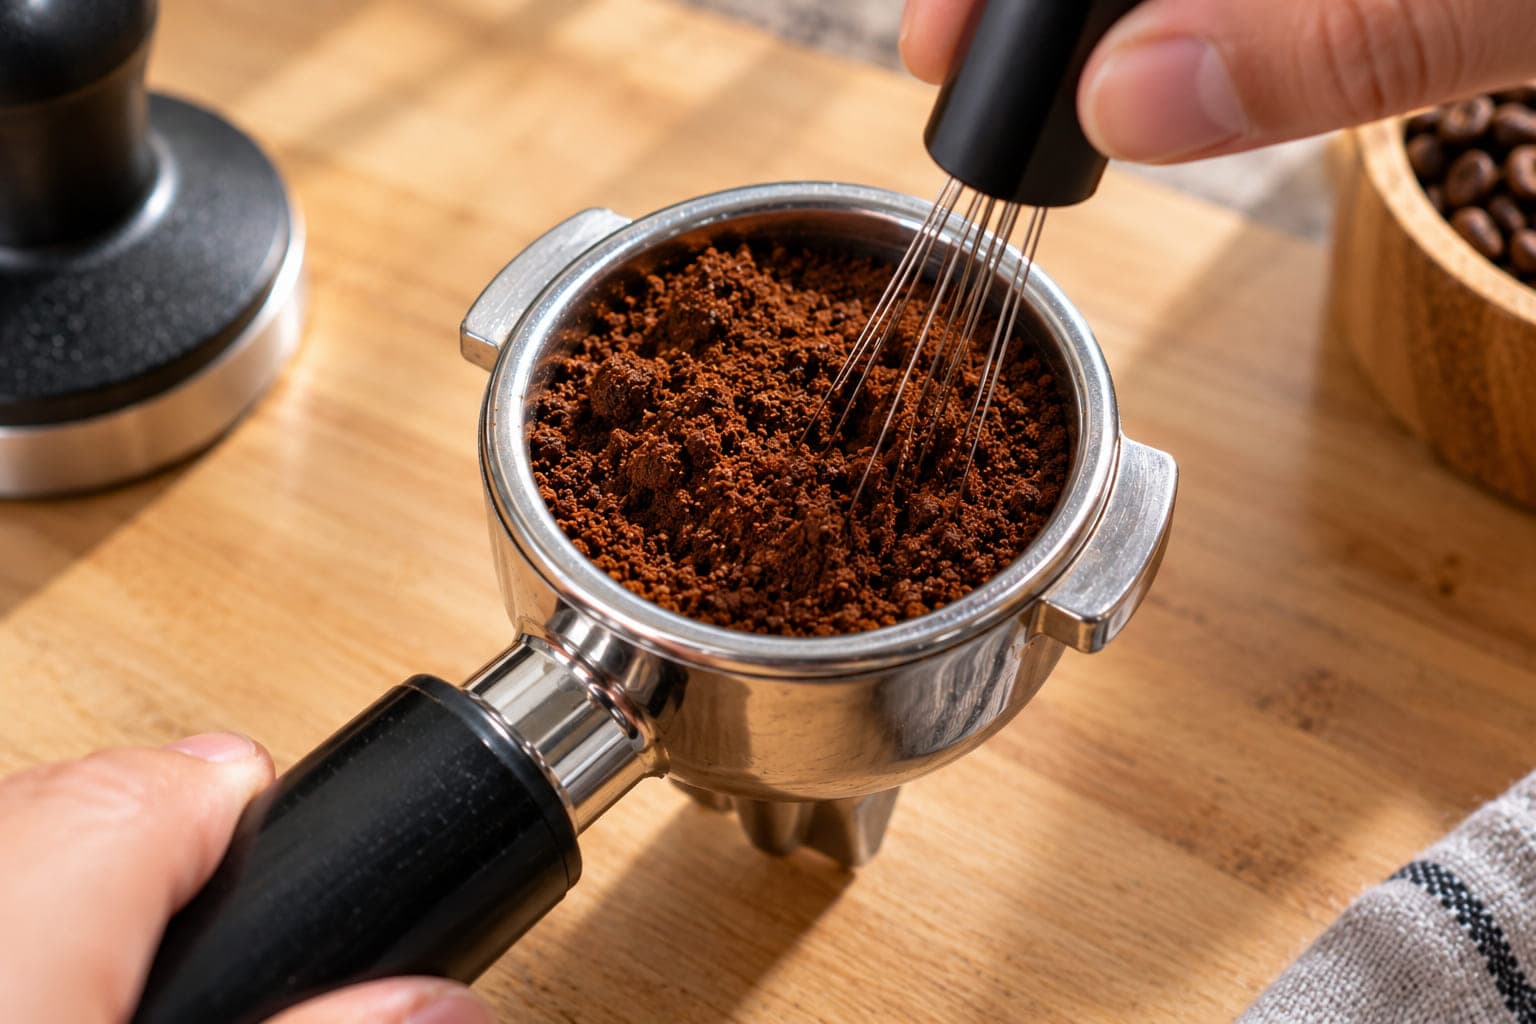
Repeat the same routine for every shot and change only one variable at a time. If shots still channel with good prep, look at the grinder and the basket next, since worn burrs and cheap baskets with uneven holes both produce channels that no technique can fully fix. A puck screen can help even out water from a basic shower screen, and our tamping guide covers a level tamp in detail.
A bottomless (naked) portafilter is the most useful diagnostic tool here. It lets you see the shot form under the basket: a healthy shot starts as several drips that merge into one steady stream, while channeling shows up as spurts, pale streaks or a jet from one side. Watching a few shots this way tells you whether your prep changes are working faster than tasting alone.
Pick the next step based on what you are seeing.
Quick decision guide
Prep is clean but the grinder is old or a blade unit
Upgrade the grinder first: compare the best espresso grinders under $300.
Shots are even but consistently too fast or slow
Dial in with how to dial in espresso.
You want a machine that gives clear feedback on puck prep
Buy the Gaggia Classic Pro if you want a manual machine that rewards good prep; skip it for push-button simplicity. The Barista Express suits a built-in grinder. More options: best espresso machines under $500.
A manual machine where puck prep matters
Strong value in manual espresso, if you're willing to learn. Typical price: $450-$550
An all-in-one machine to compare
A popular all-in-one espresso machine. Typical price: $449-$699
Affiliate links: we may earn a commission at no extra cost to you.
Quick answers before you buy.
Usually not.
A uniformly too-coarse or too-fine grind gives sour or bitter shots without channeling, so change prep first and adjust grind only to tune taste.
Not by itself, provided the basket is filled to a sensible level.
Distribution matters far more than a gram either way.
Look for spraying or uneven streams from the spout, then check the spent puck for holes, cracks or wet and dry patches.
A cup that tastes sour and bitter together is the classic taste sign.
Yes. With no spout hiding the flow, you can see jets, spurts or one-sided dripping as the shot runs.
Fix distribution first, then watch for even, centered flow. See shot too fast or too slow for timing.
Indirectly.
Very fresh, oily beans clump and build static, which leaves uneven gaps in the puck, while stale beans can make flow harder to read.
Stirring with a WDT tool helps with clumps.
A very hard tamp rarely cures it and can't fix poor distribution.
Level, consistent tamping matters more than force; see tamping pressure.
Keep reading: more guides on the same topic.
 Fix a problem
Espresso4 min read
Why is my espresso puck wet? Check dose, grind, shower screen, 3-way valve and gasket in order, with one-change-at-a-time fixes.
 Fix a problem
Espresso4 min read
Espresso pulling too fast (under 20 sec) or too slow (past 40)? Fix shot time by checking grind, dose, tamp, bean age and machine in order.
 Fix a problem
Espresso4 min read
Learn how to increase espresso crema: fix bean freshness, grind, dose, pressure and temperature in order of impact.
 Fix a problem
Espresso5 min read
Why does coffee taste bitter? Find your cause (grind, water temperature, stale beans, dirty gear) and fix bitter coffee one change at a time.

Reader questions
Questions or tips? Leave a comment
Ask about your setup or share what worked for you. Comments are checked before they appear.