Espresso Guides

Espresso Extraction Explained: Ratio, Yield & Fixes

Espresso extraction is the process of dissolving soluble coffee compounds into water under pressure.

Last Updated: September 20, 2026
17 min read

Espresso extraction is the process of dissolving soluble coffee compounds into water under pressure. That one sentence covers a lot of ground. In practice it means: hot water at 9 bars forces through a compacted puck of finely ground coffee, dissolving acids, sugars, lipids, and bitter compounds in a specific time-ordered sequence — and the quality of your shot depends almost entirely on how much of each you pull through.

Most shot problems trace back to one of three things: grind size, distribution, or an incomplete understanding of the brew ratio. Once those click, everything else falls into place. This guide covers all three, plus channeling, pre-infusion, and a practical diagnosis framework for the next time a shot goes wrong.

Quick Answer

Most bad shots come down to grind size, not extraction theory. Start with an 18g in / 36g out ratio in 25–32 seconds — sour and fast means grind finer, bitter and slow means grind coarser. For full manual control over pressure and temperature, the Gaggia Classic Pro is our top pick for extraction-focused home baristas.

Espresso Extraction at a Glance

Under-Extracted

  • Taste: sour, sharp, thin
  • Shot runs too fast (<20s)
  • Fix: grind finer

Ideal Extraction

  • Taste: balanced, sweet, round
  • 25–32s at 1:2 ratio
  • 18–22% extraction yield

Over-Extracted

  • Taste: bitter, dry, harsh
  • Shot runs too slow (>35s)
  • Fix: grind coarser

What Espresso Extraction Actually Is

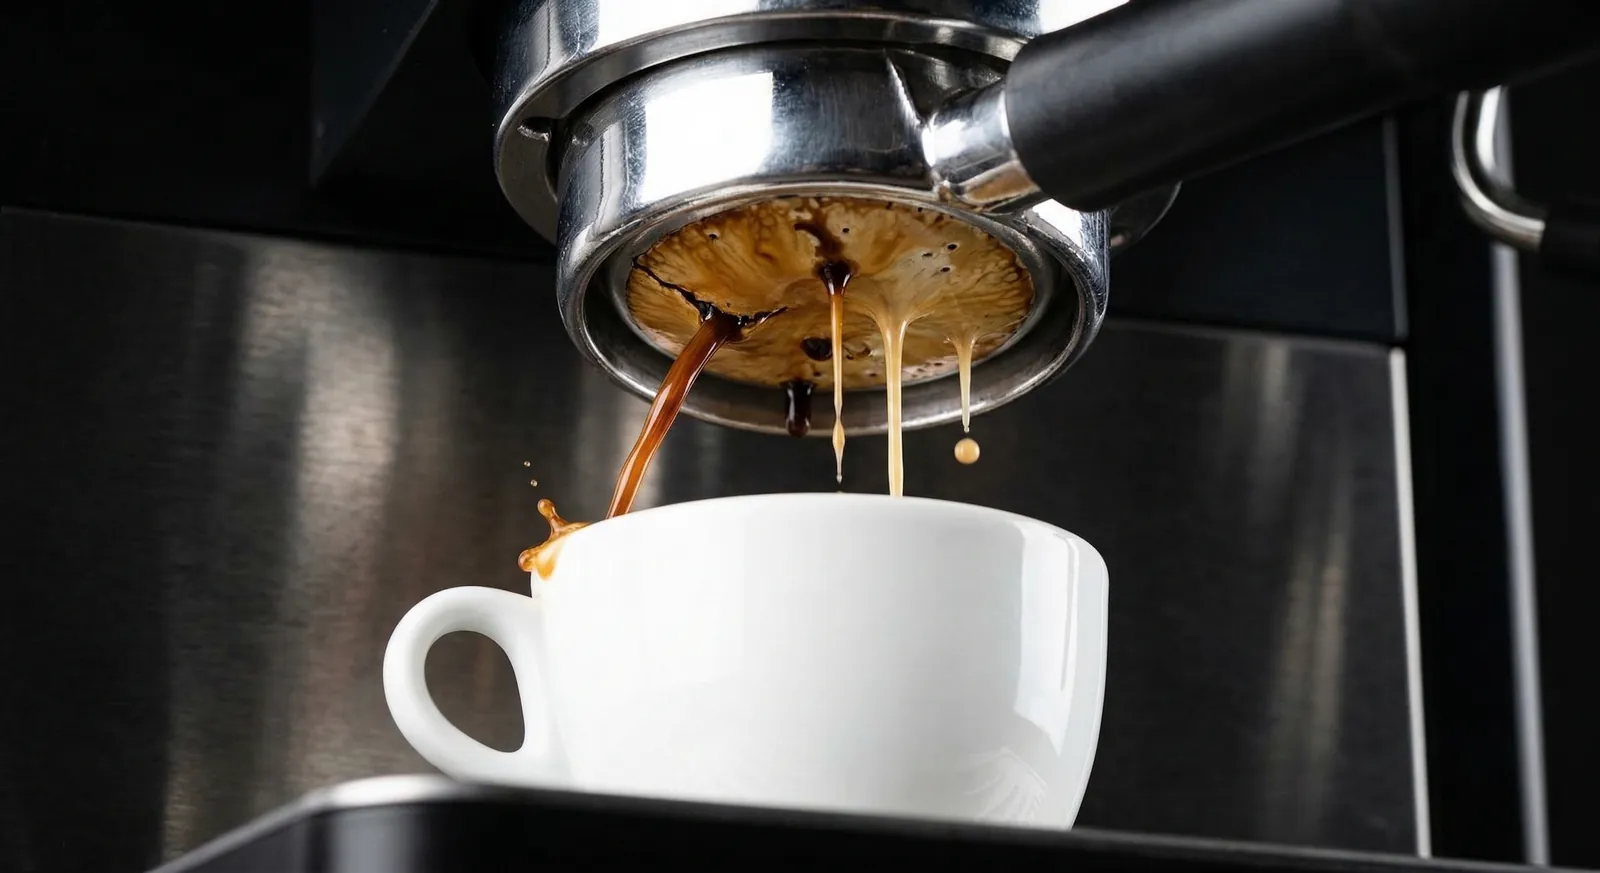
When you pull an espresso shot, water at 90–96°C forces through a bed of compacted, finely ground coffee at about 9 bars of pressure. The water dissolves soluble compounds from the grounds in sequence — acids and fruity esters first, then sweetness and body, then bitter and astringent compounds last.

This sequential extraction is why timing and ratio matter. Pull for 15 seconds and you capture mostly acids — sour, sharp, thin. Pull for 50 seconds and you've dragged out every bitter compound available. The 25–32 second window at a 1:2 ratio catches the sweet spot: enough sweetness and body, minimal bitterness, controlled acidity.

The extraction window is consistent across machines, from entry-level to commercial: the variable that matters is always the preparation that happens before pressure engages, not the pressure itself.

Extraction Yield and What It Measures

Extraction yield is the percentage of dry coffee mass that dissolved into your cup. If you use 18g of grounds and 3.24g dissolved into the liquid, your yield is 18%. Specialty coffee targets 18–22% as the range where most espresso tastes balanced.

You can measure yield precisely with a refractometer, which reads TDS (total dissolved solids) as a percentage of the liquid: Extraction Yield = (TDS × Beverage Weight) / Dose Weight. A reading of 10% TDS on a 36g shot from 18g of coffee gives a 20% yield — right in the ideal window.

Most home baristas don't need a refractometer — your palate measures the same thing: sour means low yield, bitter means high yield, balanced means ideal. TDS measurement earns its keep when dialling in a new bean origin or comparing machines.

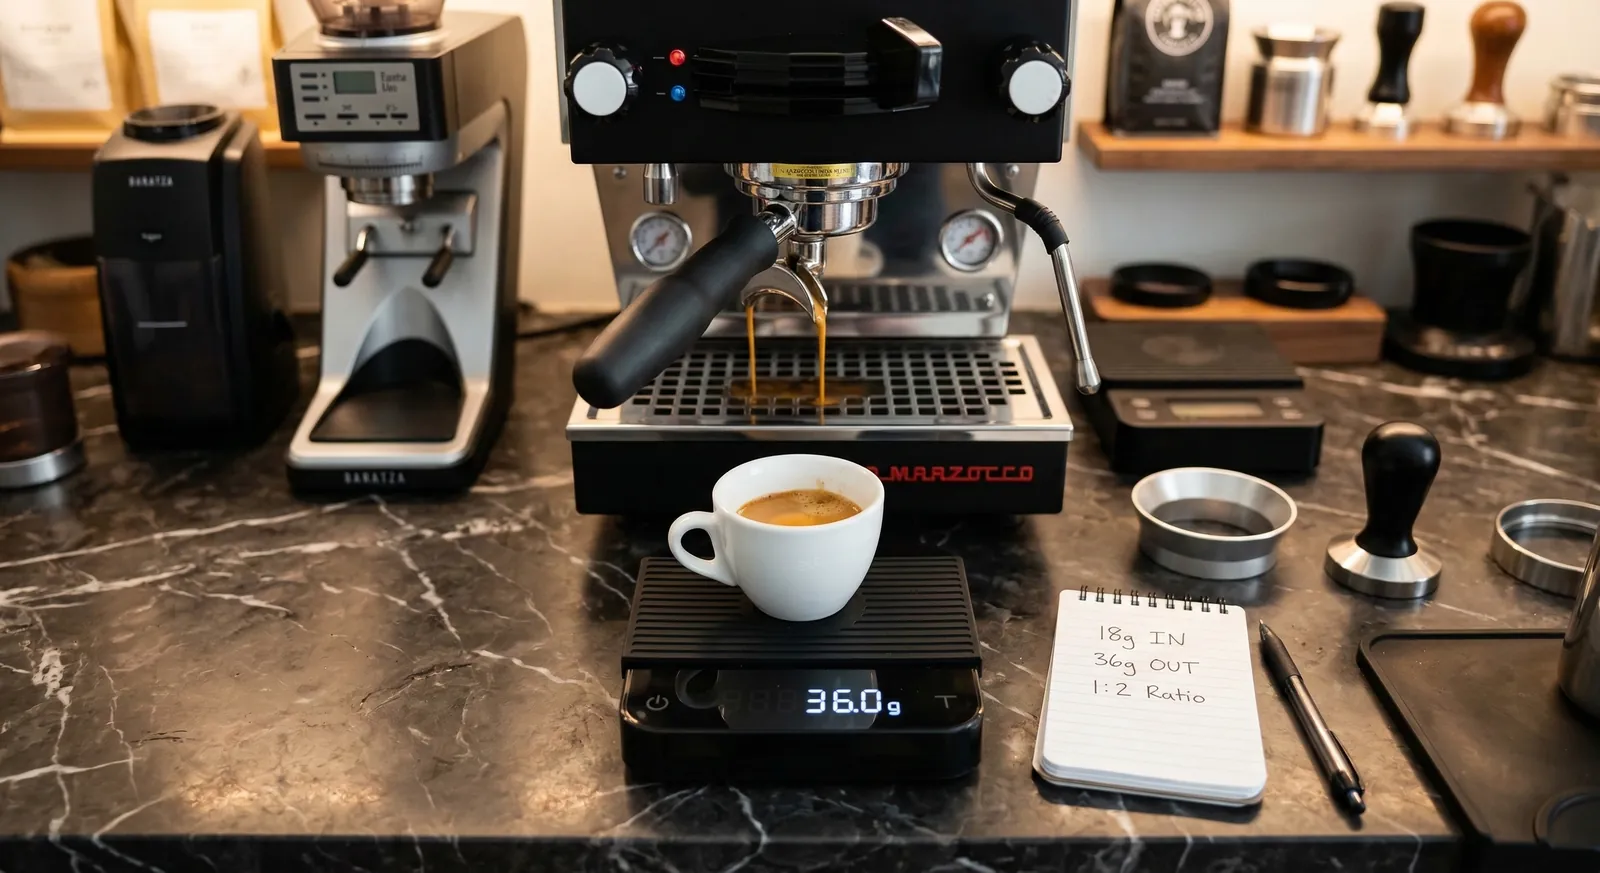
Digital kitchen scale showing espresso shot being weighed as it extracts — brew ratio measurement with 18g dose and 36g yield demonstrating 1:2 espresso extraction ratio

Under-Extraction: Signs, Causes, and Fixes

Under-extracted espresso happens when water moves through the puck too quickly, dissolving only the early acids and missing the sweetness that comes after. It's the most common problem in home setups — and almost always a grind-size issue.

Signs of Under-Extraction

  • Taste: sharp sourness, vinegary acidity, thin mouthfeel, no lingering sweetness
  • Visual: blonde crema almost immediately, watery colour, fast shot time
  • Time: shot pulls in under 20 seconds at a 1:2 ratio — see our [shot too fast or too slow guide](/guide/espresso-shot-too-fast-or-too-slow/) for the full cause-by-cause fix
  • Puck: wet, sloppy puck after extraction — grounds absorbed water unevenly (see our [wet puck guide](/guide/why-is-my-espresso-puck-wet/) for the full cause-by-cause breakdown)

Common Causes

  1. Grind too coarse — the most common cause. Larger particles create less flow resistance, so water speeds through
  2. Dose too low — not enough coffee in the basket creates a thin, low-resistance puck
  3. Water temperature too low — cooler water extracts less efficiently across the board
  4. Channeling — water bypassing large areas of the puck, effectively under-extracting those sections
  5. Stale beans — coffee that has lost most of its CO2 compacts differently and may channel or extract unevenly

Over-Extraction: Signs, Causes, and Fixes

Over-extraction pulls too many compounds from the grounds, including the harsh, astringent ones that develop late. The result finishes dry, bitter, and unpleasant, coating your palate rather than lingering sweetly.

Signs of Over-Extraction

  • Taste: pronounced bitterness, dry astringency, hollow body, harsh finish
  • Visual: very dark shot, crema that collapses quickly or tastes harsh on its own
  • Time: shot drips slowly and runs past 35 seconds
  • Puck: very dry, cracked puck — the coffee was squeezed of nearly all moisture
Side-by-side comparison of under-extracted espresso (pale, watery, fast) versus over-extracted espresso (dark, slow, bitter) in clear glass espresso cups — showing visual differences in colour and crema

Common Causes

  1. Grind too fine — excessive resistance slows flow, extending extraction time
  2. Water temperature too high — above 96°C extracts bitter compounds aggressively
  3. Dose too low for a fine grind — less coffee in the basket with a fine grind creates extreme resistance
  4. Stale, dark roast beans ground too fine — dark roasts extract more aggressively and need a coarser grind than beginners expect

The Six Variables That Control Extraction

Every extraction problem traces back to at least one of these variables, listed in rough order of influence. Mastering grind size alone resolves 70% of shot problems.

1. Grind Size

The single most influential variable. Finer grind means more resistance, slower flow, and longer extraction; coarser grind means the opposite. A quality burr grinder is the most impactful upgrade you can make — blade grinders produce irregular particles that channel and extract unpredictably regardless of any other setting. See our guide on how to choose a burr grinder if you're still using a blade.

2. Dose (Coffee Weight)

The weight of dry coffee grounds in the portafilter basket. Standard double baskets are designed for 17–21g. A larger dose creates a denser, thicker puck with more resistance; a smaller dose creates less. Dose also sets your brew ratio — changing it without adjusting yield changes the extraction balance. For most 58mm double baskets, 18g is a reliable starting point.

3. Yield (Liquid Weight)

The weight of liquid espresso in the cup. Combined with dose, yield defines your brew ratio. More water through the same dose extracts more total compounds and dilutes concentration; less does the opposite. A scale under your cup is more accurate than shot glasses or volumetric presets.

4. Water Temperature

The standard window is 90–96°C (194–205°F). Higher temperatures extract more aggressively, favouring darker roasts; lower temperatures extract more selectively, preserving delicate aromatics in light roasts. PID controllers let you dial in temperature to ±1°C. Budget machines without PID often run 97–99°C, which pushes extraction toward bitter.

5. Time

Extraction time is an output, not an input — it results from grind size, dose, distribution, and tamping. A target of 25–32 seconds for a 1:2 double tells you whether your other variables are dialled correctly. If you're hitting that window and the shot still tastes sour, the problem is channeling or grind uniformity, not time. Chase taste, not the clock.

6. Pressure

Standard espresso pressure is 9 bars — the factory setting on most machines. Many prosumer machines (Breville Barista Express, Rancilio Silvia Pro, Gaggia Classic Pro) have adjustable OPV that lets you dial in 8–9 bars. Higher pressure extracts faster and produces more crema; lower pressure (7–8 bars) can round out harsh edges. Pressure profiling on high-end machines allows finer control but isn't necessary for great espresso.

Brew Ratio: The Framework That Makes Sense of It All

Brew ratio is the relationship between how much dry coffee you use (dose) and how much liquid espresso you produce (yield), expressed as dose:yield. A 1:2 ratio means 18g in, 36g out; a 1:1.5 ristretto means 18g in, 27g out.

The ratio framework separates concentration (how strong the coffee tastes) from balance (whether extraction is correct). Two shots with identical 1:2 ratios but different grind sizes can taste completely different — one balanced, one sour — because grind affects how compounds extract, not just how much water passes through.

Shot TypeDoseYieldRatioCharacter
<a href="/guide/what-is-a-ristretto/">Ristretto</a>18g20–22g1:1.1–1:1.2Sweet, syrupy, concentrated, no bitterness
Standard Double18g34–40g1:2Balanced, full-bodied, slight sweet finish
<a href="/guide/what-is-a-lungo/">Lungo</a>18g54–60g1:3+Milder, more bitter, larger volume
<a href="/guide/americano-vs-espresso/">Americano base</a>18g36g espresso1:2 then dilutedBalanced espresso extended with hot water

18g / 36g is a reliable default across most origins. For pronounced brightness (Ethiopian naturals, Kenyan washed), tighten to 18g / 32g to reduce acidity. For dark Italian-style blends, extend to 18g / 40g to dilute bitterness — small adjustments, rarely more than 8g off the base target.

Puck Preparation and Distribution

Even a perfectly dialled grind delivers inconsistent results if the coffee isn't distributed evenly before tamping. Uneven distribution creates density differences — and water always takes the path of least resistance.

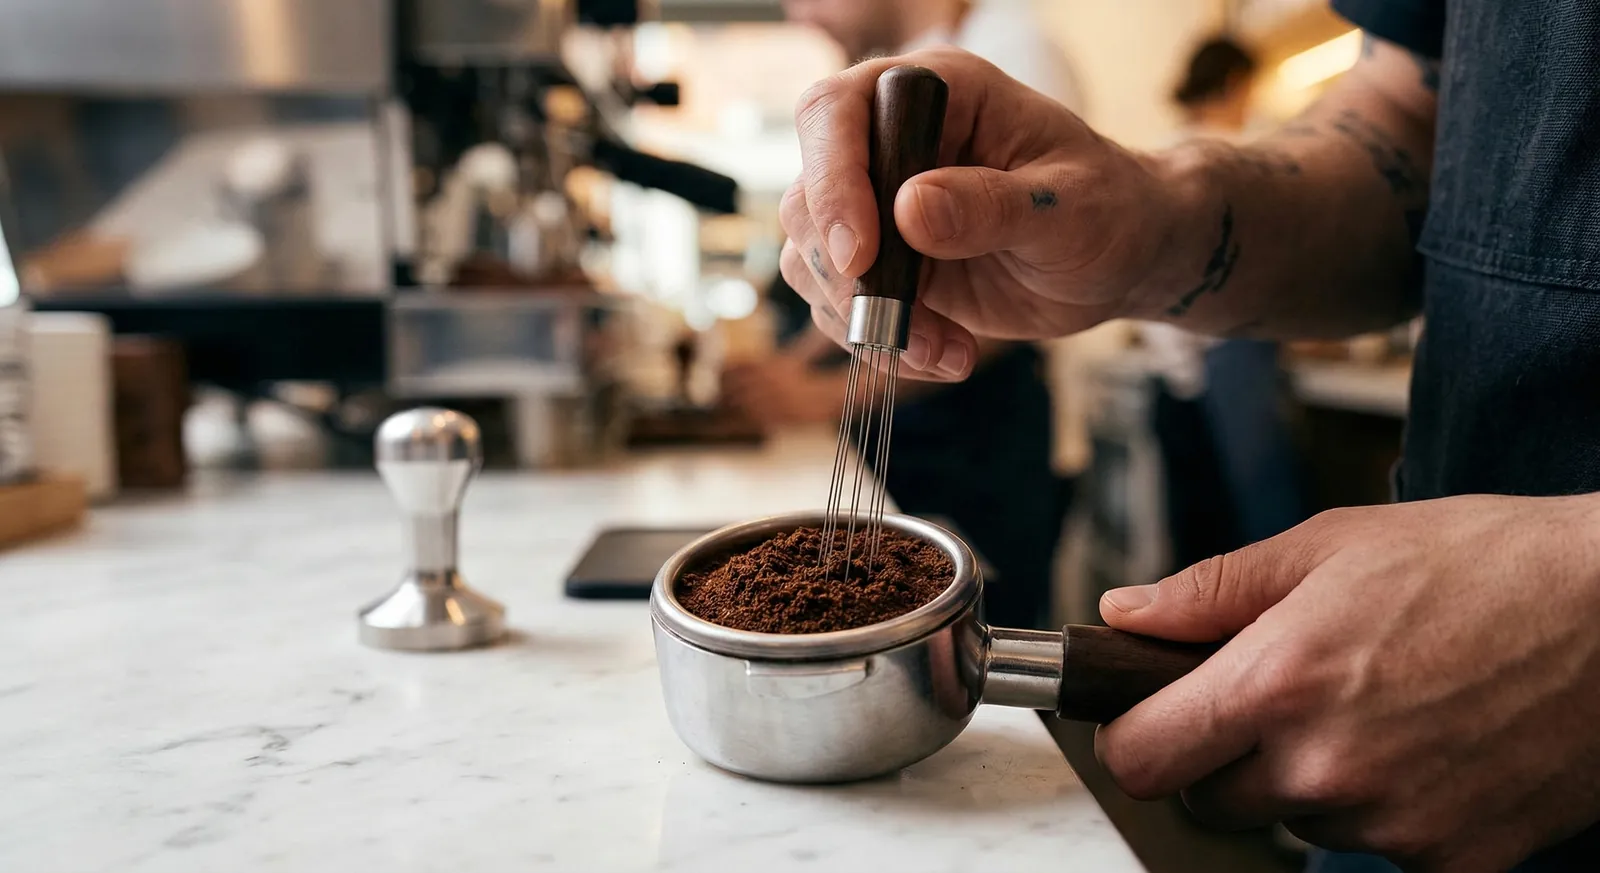
Barista distributing espresso grounds evenly in a portafilter basket with a distribution tool before tamping — proper espresso puck preparation technique for even extraction

Distribution Methods

  • The Stockfleth move (finger levelling): Resting your index finger on the rim of the basket and rotating it in a circular motion while the portafilter tilts redistributes grounds toward the centre. Quick, effective, no extra tools needed.
  • WDT (Weiss Distribution Technique): Stirring grounds with a thin needle or WDT tool breaks up clumps from the grinder chute. Particularly effective for grinders with alignment issues. Takes 5–10 seconds and meaningfully reduces channeling — the best simple upgrade for most home setups.
  • Dosing funnel + distribution tool: A puck screen or OCD-style distribution tool set to your basket depth spins and levels grounds consistently. More expensive, less variable than manual methods.

Tamping

Tamping compresses the grounds into a level, dense puck: a level surface so water meets equal resistance throughout, and firm compression so the puck doesn't move under pressure. About 15–20kg (30–45 lbs) is enough — harder tamping doesn't meaningfully improve extraction and risks wrist strain over hundreds of shots.

Levelness matters more than pressure. An angled tamp creates a thinner section on one side, and water channels straight through it every time. Use a calibrated tamper that fits your basket diameter exactly (58mm for most home machines) and develop a consistent, perpendicular press.

For calibration methods and why most guides overstate tamping pressure's importance, see our espresso tamping pressure guide.

Channeling: The Silent Shot Killer

Channeling is when water bores through one or more narrow paths in the puck rather than saturating it uniformly. The channel over-extracts at high velocity while the rest of the puck barely extracts — the shot tastes sour and bitter at once, which is confusing the first time you experience it.

Bottomless portafilter showing channeling during espresso extraction — uneven spurting flow on one side demonstrating puck channeling versus ideal symmetrical extraction

A bottomless (naked) portafilter is the most effective diagnostic for channeling: with the basket visible from below, a perfect shot shows a single symmetrical curtain spreading evenly from the centre, while channeling shows as spurts or jets on one side, or streams that detach and reattach. Our dedicated espresso channeling guide covers every cause and fix in more depth than fits here.

What Causes Channeling

  • Uneven distribution before tamping — clumps create density variations
  • Angled or uneven tamp — creates a thin zone on one side
  • Very light roasts with high CO2 — grounds can be porous and fragile, creating cracks under pressure
  • Worn or damaged basket — small holes or scratches create preferred flow paths
  • Overfilling the basket — too much coffee with no headspace gets displaced by the group head screen

Pre-Infusion and Its Effect on Extraction

Pre-infusion is a low-pressure soak (typically 1–4 bars) applied to the puck for 5–10 seconds before full extraction pressure engages, saturating dry, CO2-rich grounds before the 9-bar hit so they can expand, release gas, and seal micro-cracks.

The practical benefit is reduced channeling, more even saturation, and sweeter extraction — most noticeable with freshly roasted beans (3–10 days post-roast) that carry the most CO2. The improvement is real but incremental, roughly equivalent to a 0.5-step better grind distribution.

Most modern mid-range machines include some form of pre-infusion — the Breville Barista Express uses a mechanical pre-infusion through its solenoid valve, the Gaggia Classic Pro can be modified for it, and higher-end machines like the Rocket Appartamento allow programmable pressure profiling with extended pre-infusion phases. It's one of the features we specifically test in our best espresso machines roundup.

Shot Diagnosis: Reading What You See and Taste

The single most valuable skill for fixing bad shots is diagnosing them from taste and visual cues alone — without a refractometer, without a timer, just the feedback in front of you. Here's the framework:

Shot tastes sharp and sour, finishes quickly

Under-extraction. Grind finer. Check shot time — if under 20s, this confirms under-extraction. Check distribution for clumps.

Shot tastes bitter and dry, leaves mouth coating

Over-extraction. Grind coarser. Check shot time — if over 35s, confirms it. Check water temperature if machine has PID.

Shot is sour AND bitter simultaneously

Channeling. Improve distribution (WDT), check tamp angle, inspect basket. Grind adjustment alone won't fix this.

Shot is balanced but weak, lacks body

Low concentration. Reduce yield by 4–6g (tighter ratio), or increase dose by 0.5g. Grind may also be slightly too coarse for the ratio.

Shot is balanced, sweet, round finish

Correct extraction. Note your dose, yield, grind setting, and temperature. Replicate it. This is the target.

The most important habit: change one variable at a time. Adjust grind and dose simultaneously and you can't know which change made the difference — two focused adjustments get you to a great shot faster than six simultaneous guesses.

If you're also trying to fix bitterness in other brew methods or want a deeper look at why coffee tastes bitter in general, that guide covers extraction-related bitterness alongside other common causes like water quality and stale beans. For a step-by-step diagnosis specifically for espresso — covering grind, temperature, dose, channeling, and machine cleanliness in one place — see our guide on how to fix bitter espresso.

Equipment That Makes a Difference

Great extraction requires a machine that delivers consistent pressure and stable temperature, and a grinder that produces uniform particle size. These aren't marketing points — they're the foundation everything above depends on.

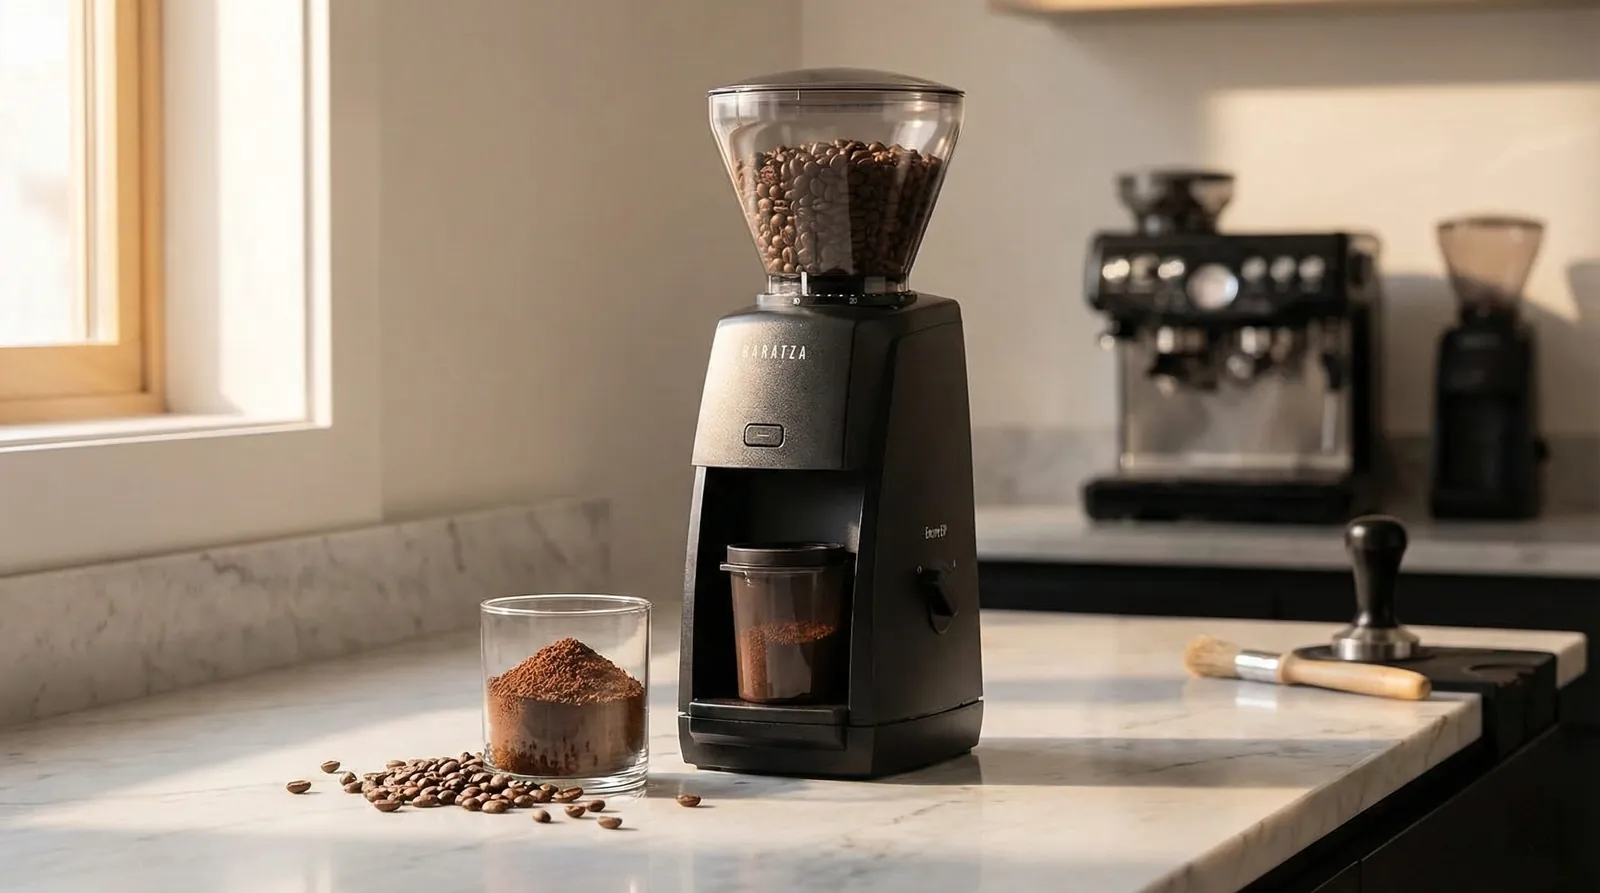
Across every price point, a $400 semi-automatic machine with a quality burr grinder outperforms a $400 machine with a blade grinder on every extraction metric. If choosing between upgrading machine or grinder, upgrade the grinder first. For espresso-focused grinders at every budget: the Baratza Encore ESP (best overall for beginners), the Capresso Infinity Plus (best budget conical burr under $100), and the Baratza Virtuoso+ (versatile espresso + filter pick). Our full best coffee grinders guide covers all tested picks.

For machines, the main extraction-relevant features are PID temperature control, pre-infusion capability, and a quality 9-bar OPV. Our best espresso machines guide details how our top picks perform on each; best espresso machines under $500 covers genuine extraction quality without the prosumer price tag.

New to espresso? Our what is espresso guide covers the fundamentals — pressure, grind, crema, dose — for complete beginners. Curious about crema specifically? Our espresso crema guide covers tiger stripes and whether thick crema means better coffee. Ready to apply extraction theory? Our espresso dial-in guide walks through grind, dose, and yield adjustment, and our espresso tamping guide covers distribution and tamping pressure step by step.

Best Espresso Machines for Extraction Quality

Machines ranked on the features that matter most for extraction control: PID temperature stability, pre-infusion, OPV accuracy, and shot-to-shot consistency.

Top Pick

Gaggia Classic Pro

$450–$550

Adjustable OPV, commercial 58 mm group head, and user-modifiable temperature. The go-to for extraction enthusiasts who want full manual control at a real-world price.

Best All-in-One

Breville Barista Express Impress

$750–$850

Built-in burr grinder with dose control, integrated tamping, and PID temperature. Best for baristas who want grinder and machine extraction variables in one calibrated system.

Best Value

De'Longhi Classic Signature

$225–$235

A 15-bar pump (set to 9 bars in use) at a budget price. Remarkable extraction consistency for the price, though no PID means learning to temperature-surf.

Best Beginner

Breville Bambino Plus

$399–$449

PID temperature control, 3-second heat-up, and automatic pre-infusion. The fastest machine to reach extraction-ready temperature — ideal for learning extraction without waiting.

Best Grinders for Espresso Extraction

Grind uniformity is the single biggest variable in espresso extraction. These are the grinders that consistently deliver fine, even particle distribution for repeatable shots.

Top Pick

Baratza Encore ESP

$199–$299

Stepless micro-adjustment across the full range, so you can find the exact espresso setting instead of jumping between fixed steps. The best first dedicated espresso grinder.

Best Budget

Capresso Infinity Plus

$96–$106

Conical stainless-steel burrs, 16 grind settings, and a slow-speed motor that minimises heat and static. The best sub-$100 option for espresso-fine grinding without spending Baratza money.

Frequently Asked Questions

Espresso extraction is the process of dissolving soluble compounds from ground coffee into water under pressure. When 9 bars of pressure forces hot water (90–96°C) through a compacted puck, it dissolves acids, sugars, oils, and bitter compounds in sequence.

The goal is the right proportion — not too little (sour, thin) and not too much (bitter, dry). Ideal extraction pulls 18–22% of the coffee mass as dissolved solids, typically 18g of grounds yielding 36g of liquid in 25–32 seconds.