

Our pick
Breville Barista Express BES870XL
Pick it if you want one box and no separate grinder: the Barista Express BES870XL has a built-in grinder, PID and 54 mm basket. Skip if: you want to upgrade the grinder later.
Espresso Guides
Last updated
Machine and grinder choice, puck preparation, pulling the shot and dialing in, with the reasoning behind each variable
Affiliate disclosure: this page contains Amazon affiliate links. We may earn a commission if you buy through them, at no extra cost to you, and it never affects our rankings. Learn more
You need a machine with true 9-bar brew pressure, a burr grinder, a 0.1 g scale and beans roasted 7-21 days ago. Weigh 18 g in, pull 36 g out in 25-32 seconds, change only the grind, and taste every shot.
The shortest list that can make real espresso.
| Item | What to look for |
|---|---|
| Machine | True 9-bar brew pressure and stable temperature |
| Burr grinder | Fine, consistent grinding; never a blade grinder |
| Scale | 0.1 g resolution for dose and yield |
| Beans | Roasted 7-21 days ago, medium roast is most forgiving |
| WDT tool | $10-$20; the cheapest consistency upgrade |
A separate machine and grinder that deliver good shots start at roughly $425-$535. New to the drink? Read what is espresso.
The same five steps every time matter more than any trick.
Warm up 20-25 minutes. With the portafilter locked in; a cold group head pulls the shot cooler than your set point.20-25 minutes
Weigh 18 g. Of coffee (17-18 g for 54 mm baskets). Scooping varies by 1-2 g.
Distribute with a WDT tool. In 10-15 circular passes. See what is WDT.
Tamp level. Levelness beats pressure. See how to tamp.
Pull to 36 g. In 25-32 seconds, flushing 2-3 seconds of water first. Uneven or spraying flow means channeling.25-32 seconds
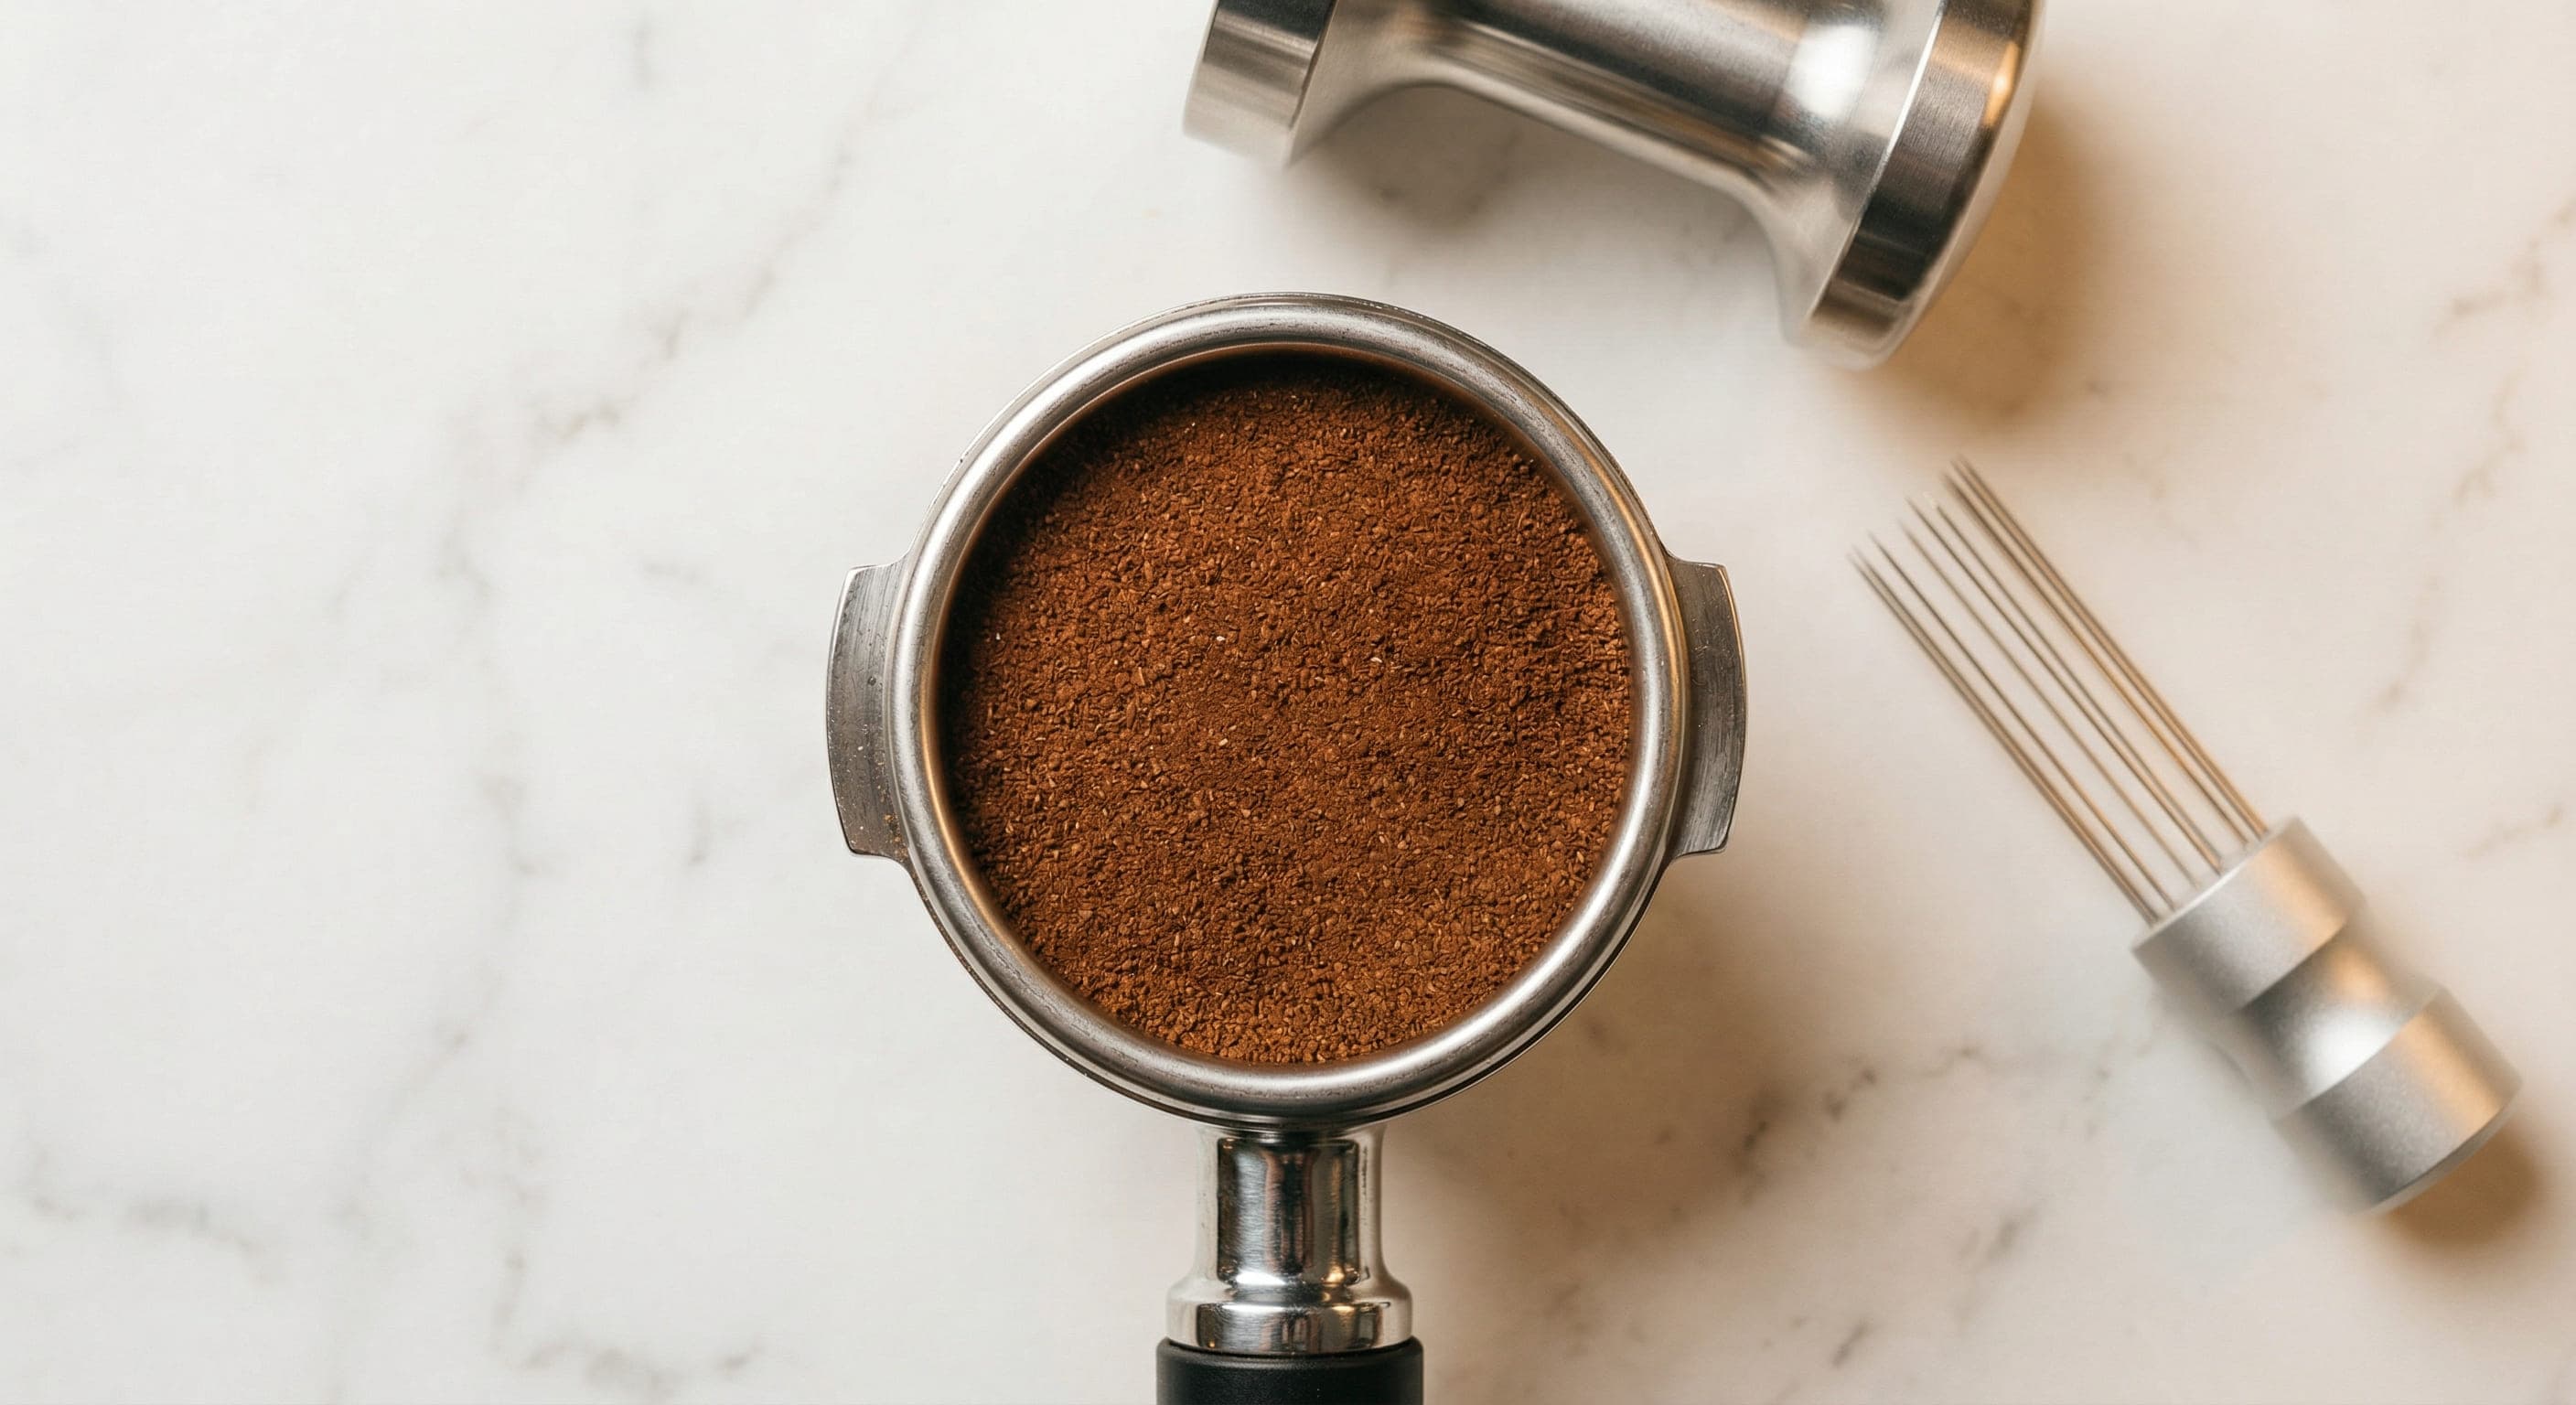
Match the taste to the fix, and change one variable at a time.
| Taste | Fix |
|---|---|
| Sour, thin, fast | Grind finer. See why is my espresso sour |
| Bitter, dry, harsh | Grind coarser. See how to fix bitter espresso |
| Bitter and sour together | Puck prep: use WDT and level the tamp first |
| Sweet and balanced | Dialed in; note the setting |
Expect a few adjustment shots per new bag. The full process is in how to dial in espresso, and shot appearance is covered in espresso extraction. To check a shot, enter it in our espresso dial-in calculator.
Fresh and medium-roasted is the safest start.
Beans older than 4-5 weeks give flat shots with poor crema (see how to increase espresso crema for the other levers). Beans under about a week hold excess CO2 and pull unpredictably, so buy from roasters who print a roast date.
| Roast | What to know |
|---|---|
| Medium | Most forgiving; balanced and quick to dial in |
| Light | Needs a finer grind and more heat to avoid sourness |
| Dark | Turns bitter easily; a slightly shorter yield helps |
More in how to pick espresso beans and best coffee beans for espresso.
Look for true 9-bar brew pressure, not the pump rating on the box.
Many machines advertise 15 or 19 bar but cap real brew pressure at 9 with an over-pressure valve. A PID controller holds temperature within about ±1°C, so beginners should favor one.
Our pick
Pick it if you want one box and no separate grinder: the Barista Express BES870XL has a built-in grinder, PID and 54 mm basket. Skip if: you want to upgrade the grinder later.
Our pick
Pick it if you want a standalone machine to pair with your own grinder: the Bambino Plus heats in about 3 seconds and has PID. Skip if: you want a built-in grinder.
Our pick
Pick it if you want a machine you can upgrade and mod: the Gaggia Classic Pro has a 58 mm commercial group head. Skip if: you want a built-in grinder.
Our pick
Pick it if your budget is tight: the De'Longhi Classic Signature costs about $225-$235 but has no PID. Skip if: you want PID temperature control.
Affiliate links: we may earn a commission at no extra cost to you.
More options at every budget: best espresso machines and best under $500.
Pressure, fine grounds and about half a minute of contact produce a concentrated shot.
A pump pushes hot water at about 9 bar through a compact puck of fine coffee. Water dissolves acids, sugars and bitter compounds in sequence, so extraction time and grind size control the balance. The aim is about 18 g in and 36 g out in 25 to 32 seconds as a starting point, then adjust by taste.
Consistency comes from four variables: dose, grind, water temperature and puck prep. Machines with PID temperature control hold water temperature steady, while basic thermoblock models may need a short warm-up and flush. Read what is espresso extraction for deeper detail.
A scale, fresh beans and tidy puck prep deliver most of the improvement.
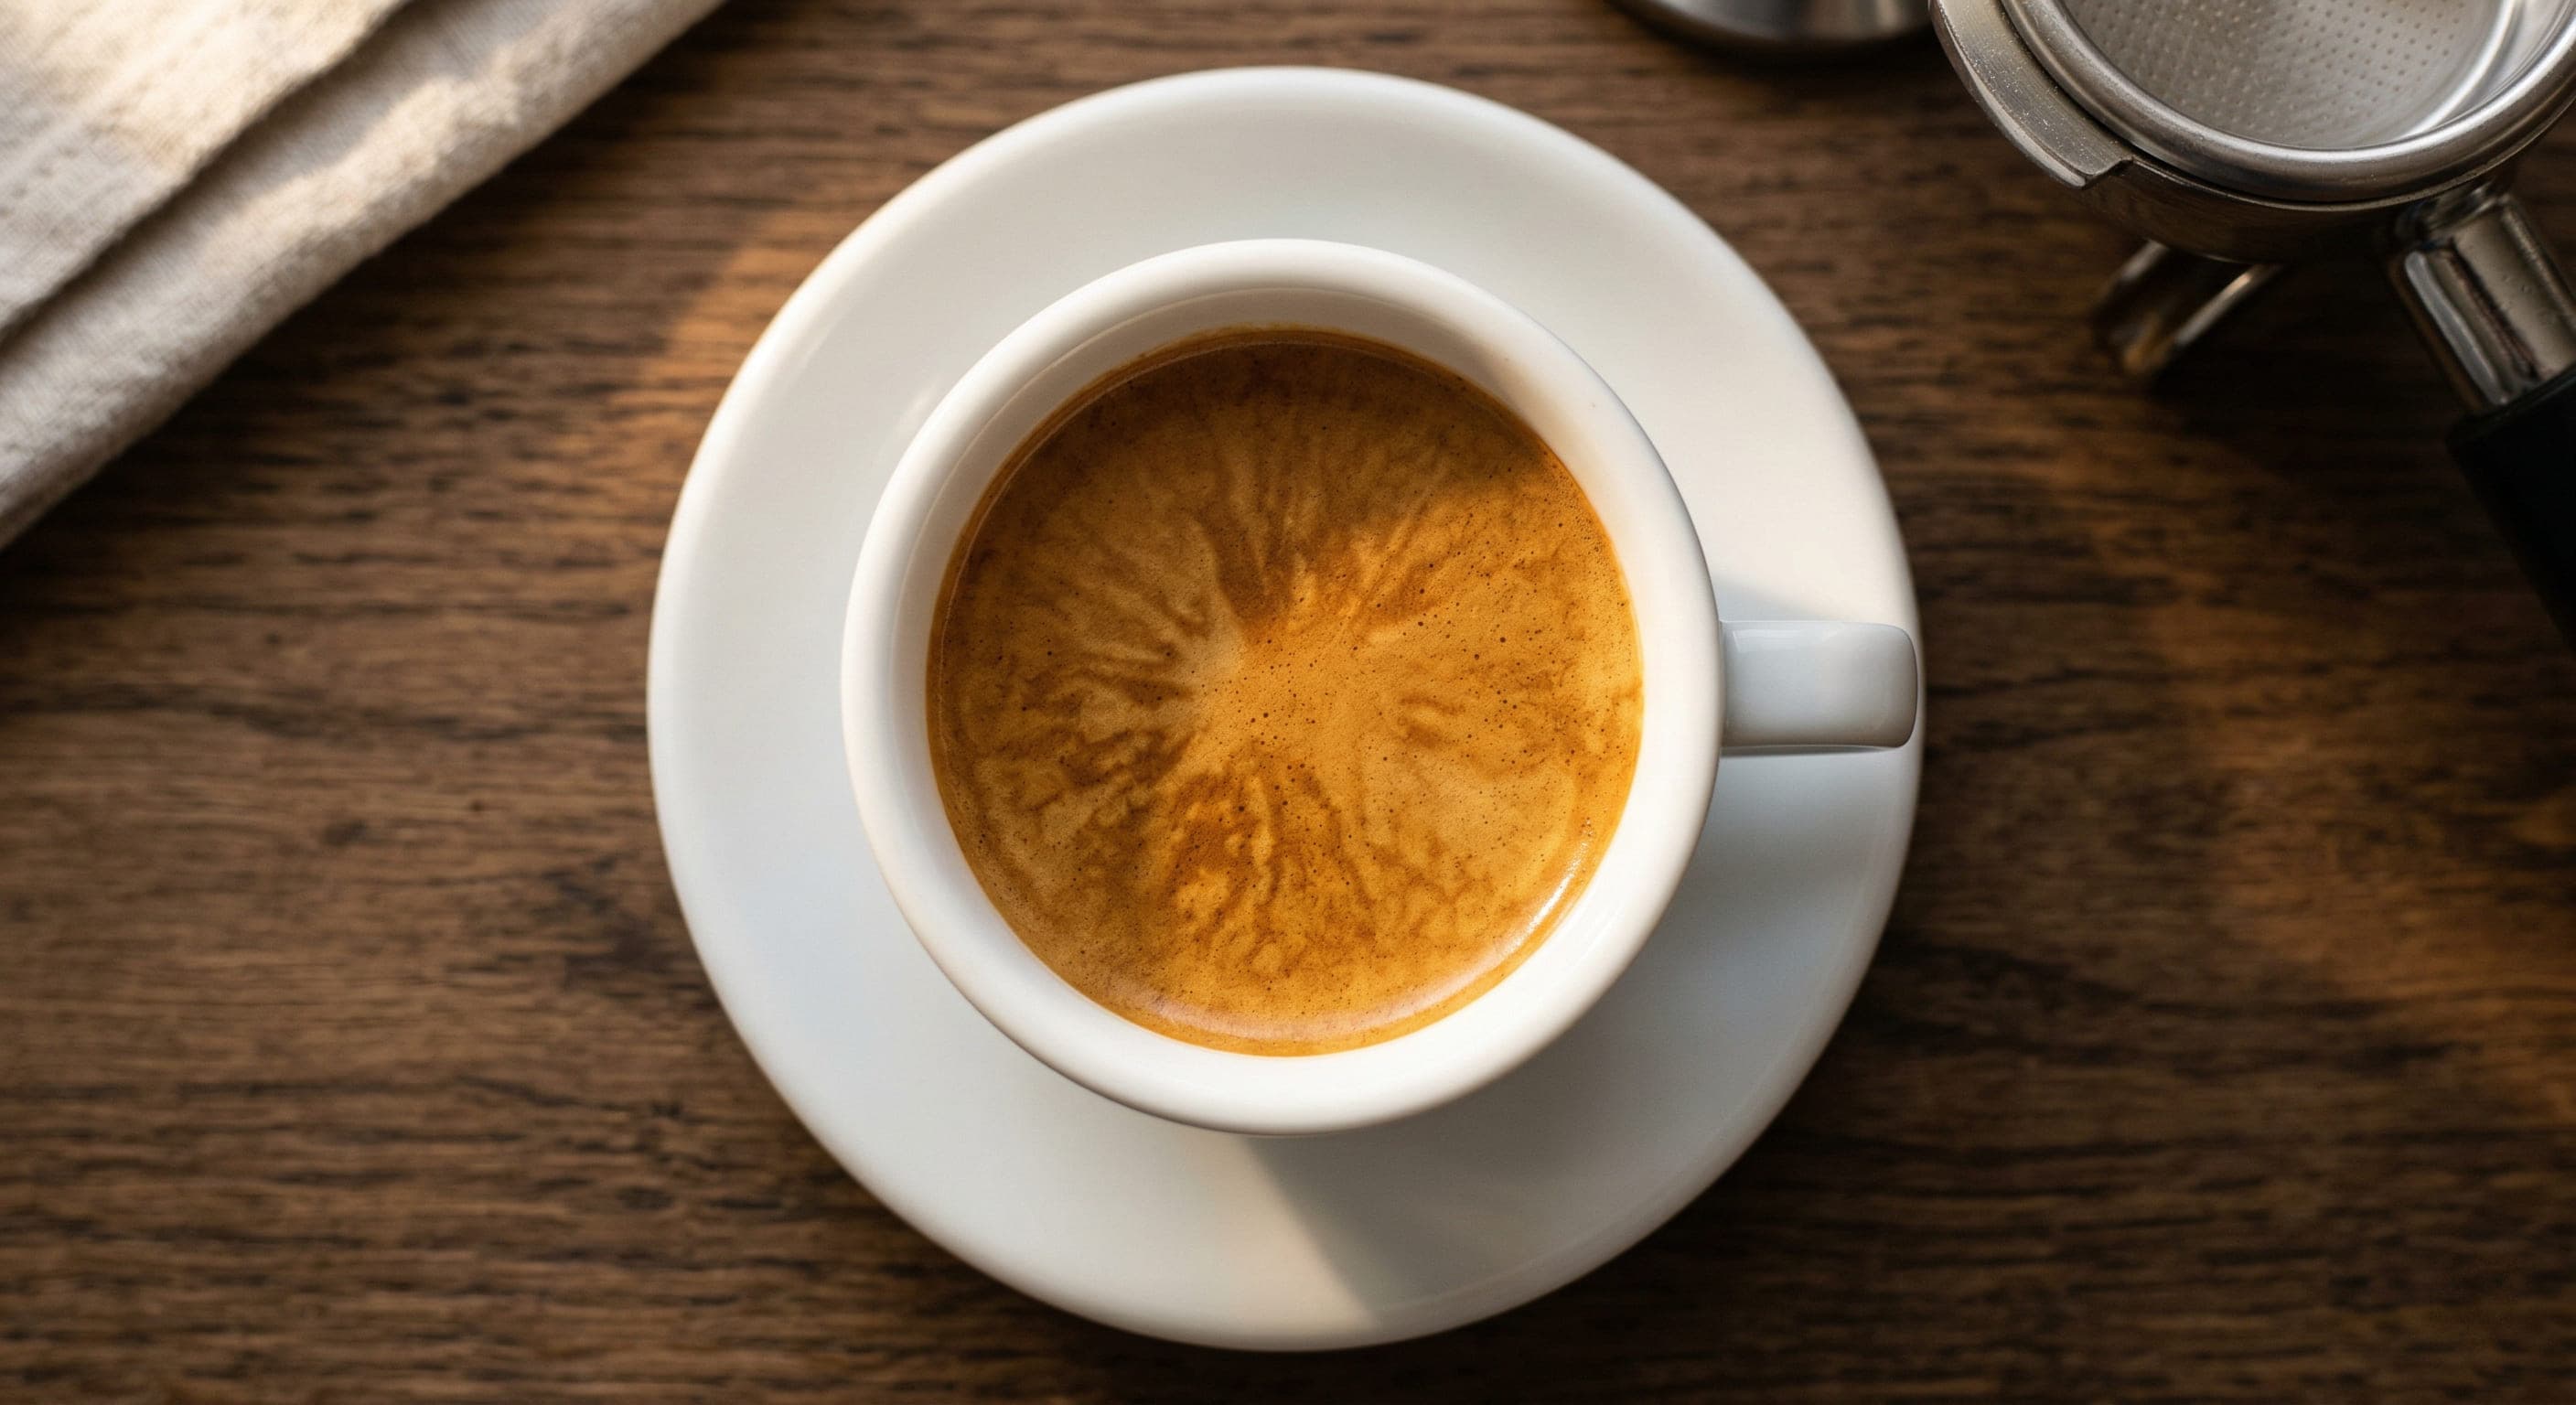
Add a pressurised basket only if you are using pre-ground coffee; switch to non-pressurised once you grind fresh.
The same steps every time make good shots repeatable.
Switch the machine on and lock the portafilter in so it heats with the group.
Weigh your dose, usually 18 g for a double, and grind straight into the portafilter.
Distribute with a WDT tool, level, then tamp once, firmly and level.
Flush the group for a second or two, lock in and start the shot with a scale and timer under the cup.
Stop at your target yield, usually about twice the dose, and taste.
Adjust only the grind if needed, then knock out the puck and rinse the basket.
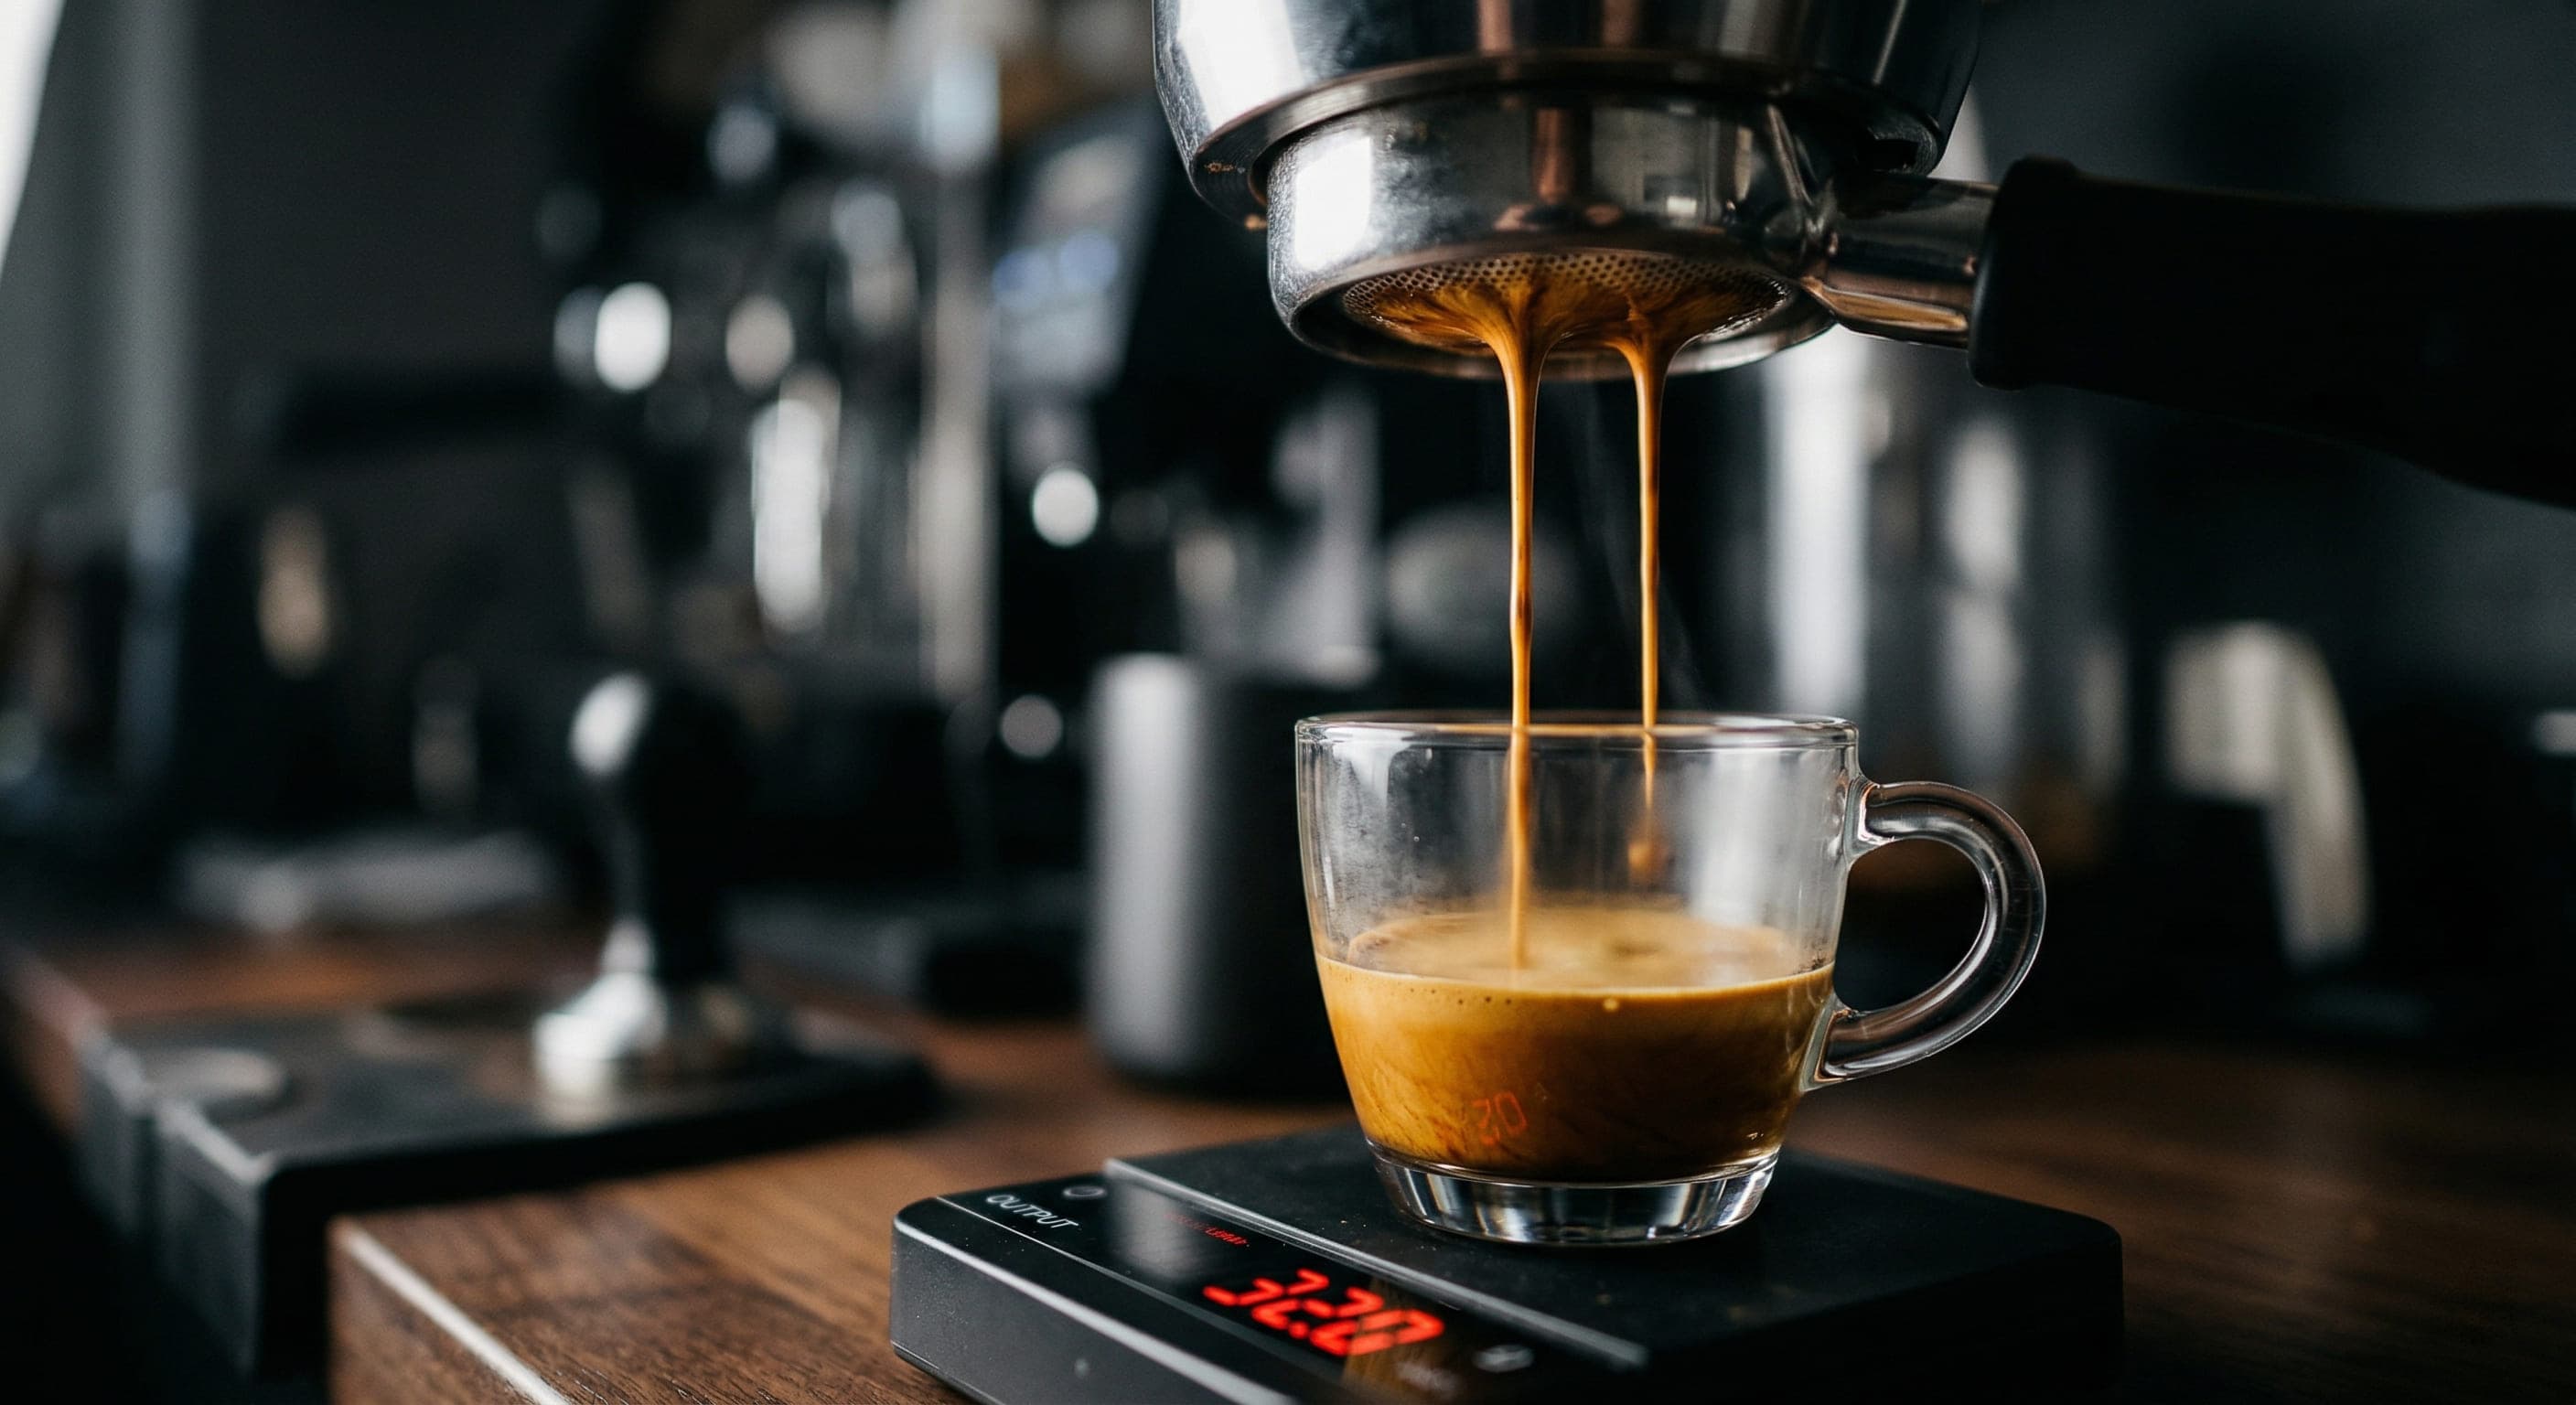
Doing the same steps in the same order makes it easier to spot what changed when a shot tastes different. Keep a short note of grind, dose, yield, time and taste for each bag. Our dial-in guide covers how to read each shot. Set a target shot weight with the espresso yield calculator.
Clean as you go: rinse the basket, wipe the group gasket and purge the steam wand after every drink, so the machine is ready for the next one.
Spend in this order for the most improvement per dollar.
| Upgrade | Why it helps |
|---|---|
| Fresh beans with a roast date | Fresh coffee extracts sweetly and produces crema |
| A capable espresso grinder | Fine, even grinding is the biggest single factor in shot quality |
| A scale reading to 0.1 g | Lets you repeat dose and yield exactly |
| WDT tool and a well-fitting tamper | Even puck prep reduces channeling |
| Filtered water | Better taste and less scale |
| A precision basket or puck screen | Small gains once the basics are right |
Upgrading the machine is usually the last step, not the first. A modest machine with a good grinder and fresh beans makes better espresso than an expensive machine with a poor grinder. Our best espresso grinders under $300 lists proven options.
Signs your equipment, not your technique, is the limit.
If several of these apply after you have fixed beans, grind and prep, it may be time to upgrade. Our best espresso machines guide is a good place to compare options.
Spend more here than on the machine.
Grind consistency is the most controllable variable. A budget grinder gives a wide spread of particle sizes, so part of the dose over-extracts while part under-extracts, and no technique fixes it.
Our pick
Pick it if you want the standard entry-level espresso grinder: the Baratza Encore ESP has micro-stepped fine adjustment and is repairable. Skip if: you want stepless adjustment.
Our pick
Pick it if you need to stay under about $110: the Capresso Infinity Plus reaches espresso-fine with conical burrs. Skip if: you need fine micro-adjustment.
Compare more in best coffee grinders. If you already own a machine, the grinder is usually the highest-impact upgrade.
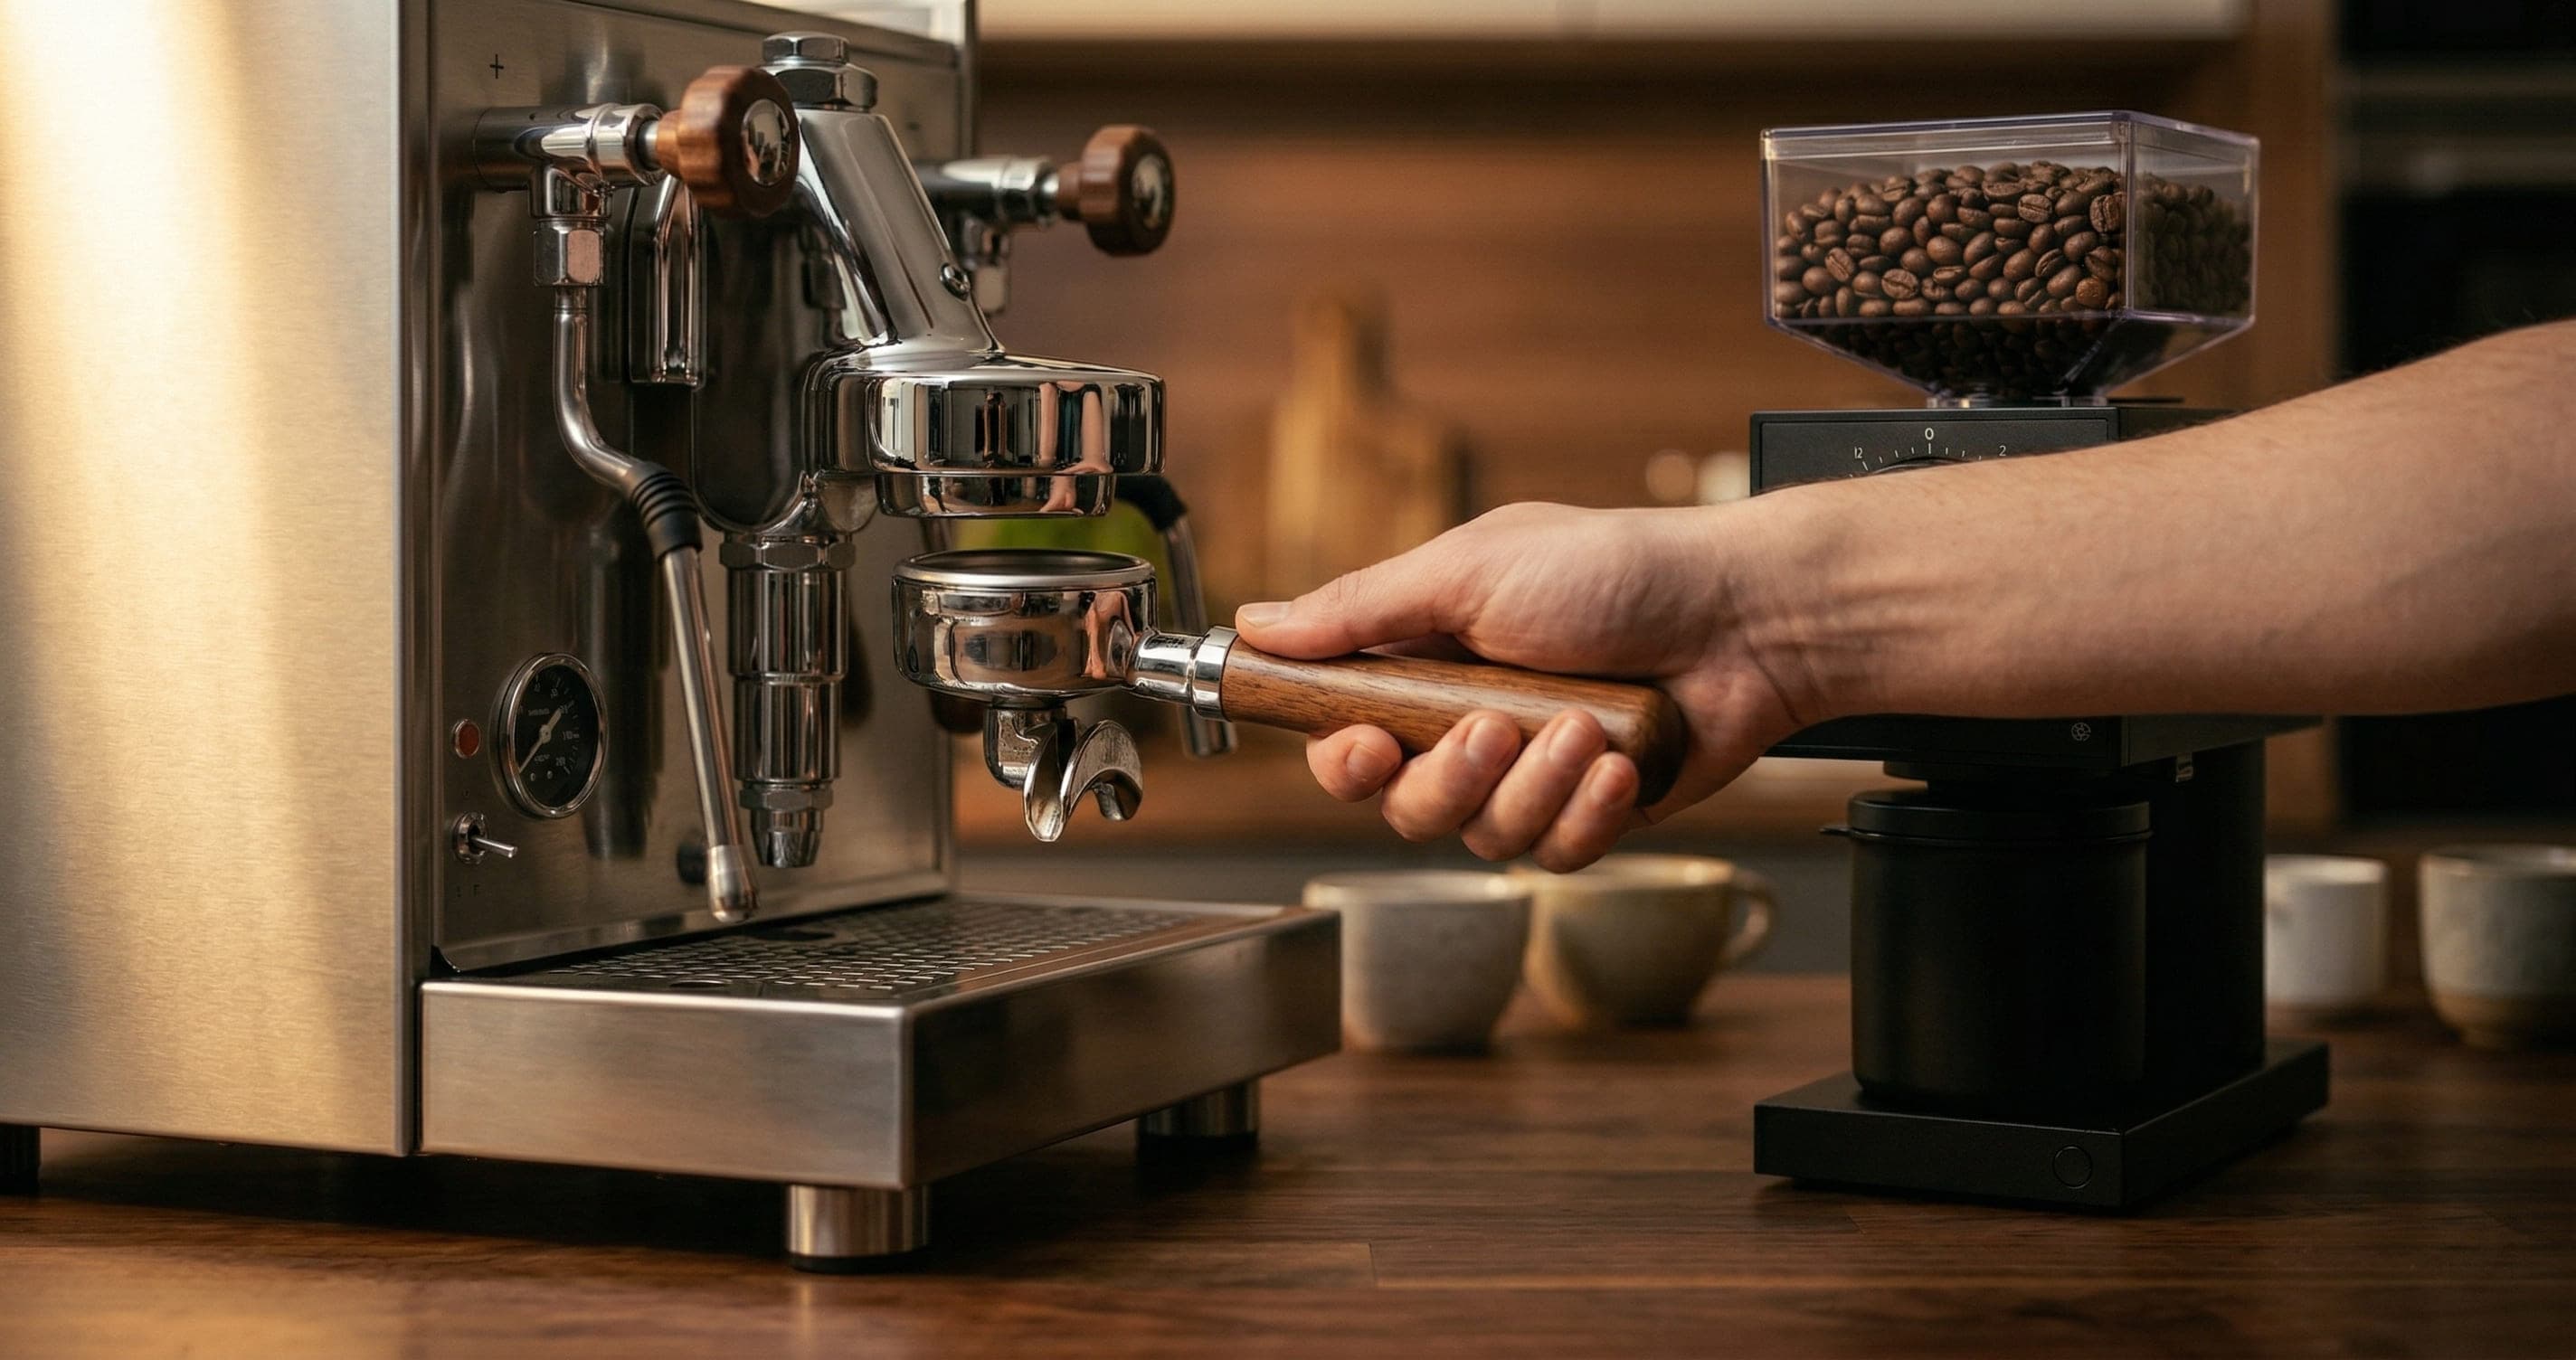
Quick answers before you buy.
Very fine: finer than filter, slightly coarser than Turkish.
Settings vary by grinder, so adjust by time and taste.
Most people pull consistently good shots within 2-4 weeks.
Usually not well. Supermarket pre-ground is rarely fine enough and goes stale fast, so shots run quickly and taste thin.
A burr grinder is the better first purchase. See best coffee grinders.
The grind is almost always too coarse, or the dose is too low.
Grind finer in small steps and re-weigh.
Our guide on shots that run too fast or slow covers the full checklist.
Not true espresso, which needs about 9 bar of pressure.
A moka pot or AeroPress makes a concentrated, espresso-style coffee that works for milk drinks.
Over time, usually yes.
Beans for a double shot cost far less than a cafe drink, but the machine and grinder are a real upfront cost.
It pays back for daily drinkers.
Keep reading: more guides on the same topic.
 How to
Espresso6 min read
Learn how to dial in espresso: a starting recipe, grind changes by shot time and taste, and fixes for sour or bitter shots.
 Explained
Espresso6 min read
Espresso extraction explained: how brew ratio, grind size and time shape taste, plus how to fix sour or bitter shots.
 How to
Espresso6 min read
Learn how to tamp espresso: pick the right tamper size, distribute with WDT, press level and fix channeling with a simple routine.
 Explained
Espresso6 min read
What is espresso? Learn how a shot is made, why 9 bar matters, how it differs from coffee and what gear you need at home.


Reader questions
Questions or tips? Leave a comment
Ask about your setup or share what worked for you. Comments are checked before they appear.